
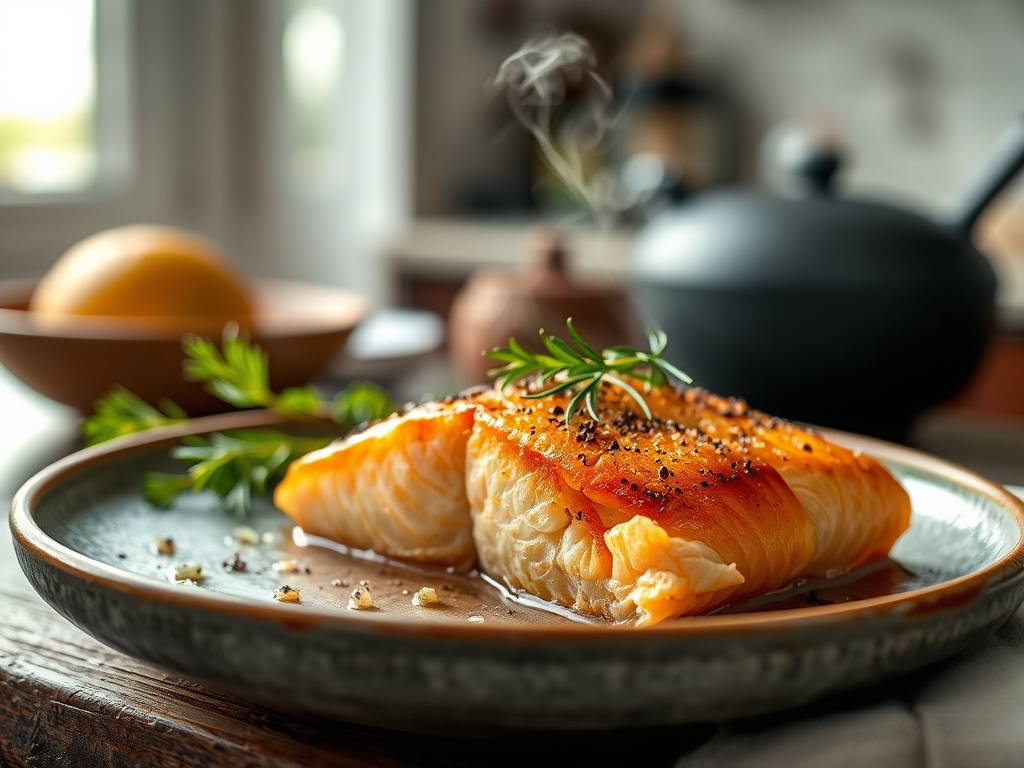
Imagine a fillet so buttery it practically sighs under the weight of your fork; its skin crackling like parchment while the interior remains a translucent, sunset pink. Achieving this level of perfection is not about luck. It is about chemistry. Masterful dry brine salmon recipes transform a standard Tuesday night dinner into a high-end bistro experience by manipulating moisture at the cellular level. When you apply a concentrated rub of salt and sugar, you are not just seasoning the surface; you are initiating a process of osmotic exchange that restructures the proteins. This technique ensures your fish stays succulent even under high heat. Forget the watery, gray fillets of the past. We are diving into a world where salt acts as a structural architect, locking in juices and amplifying the natural, rich lipids of the fish. By the time we are done, you will understand exactly why professional chefs never skip the cure. We are going to harness the power of dehydration to create the ultimate hydration. It sounds like a paradox, but in the kitchen, contradictions are often where the most delicious magic happens.
The Gathers:
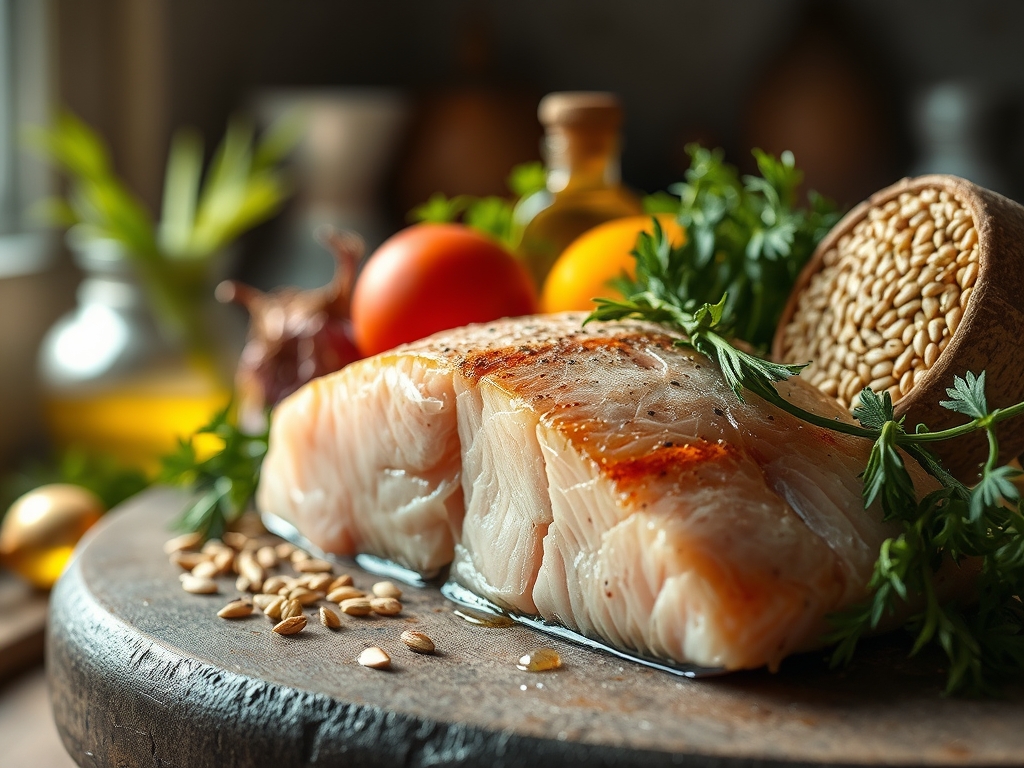
To execute these dry brine salmon recipes with precision, your mise-en-place must be immaculate. Start with a high-quality center-cut Atlantic or King salmon fillet. You will need a digital scale to ensure your salt-to-sugar ratio is chemically balanced; usually a 2:1 ratio of kosher salt to demerara sugar. The demerara provides a deep, molasses-like undertone that aids in the Maillard reaction. Gather your aromatics: fresh dill, toasted coriander seeds, and the zest of a lemon taken off with a microplane to avoid the bitter white pith.
You will also need a heavy-bottomed skillet, preferably cast iron, to provide the thermal mass necessary for a consistent sear. A bench scraper is surprisingly useful here for cleaning your workstation of excess salt crystals once the curing is complete. For the finishing touch, have a high-smoke-point oil like avocado oil and a knob of cold, unsalted butter ready in a saucier for a final baste.
Smart Substitutions:
If you are avoiding refined sugar, coconut sugar offers a similar caramelization point. For a piquant twist, swap the lemon zest for lime and add a pinch of smoked paprika to simulate a wood-fired flavor profile. If you lack a cast iron pan, a heavy stainless steel skillet works, provided you allow for proper heat distribution.
The Clock:
Mastering the "Chef's Flow" is about managing your downtime. The active prep takes a mere 15 minutes, but the "magic window" for the dry brine is between 30 and 45 minutes. Any shorter, and the salt has not penetrated the deep muscle fibers; any longer, and you risk curing the fish into jerky.
While the salmon rests, use that 30-minute block to prepare your sides or a bright reduction sauce. The actual cook time is remarkably fast; usually 3 to 4 minutes per side depending on thickness. Factor in a mandatory 5-minute rest period post-sear. This allows the internal temperature to stabilize via thermal carryover, ensuring the juices redistribute rather than spilling out onto the plate the moment you slice in.
The Masterclass:
1. The Osmotic Application
Pat the salmon bone-dry with paper towels. Sprinkle your salt and sugar mixture evenly over all sides, including the skin. Place the fish on a wire rack set over a sheet tray to allow air to circulate around the entire fillet.
Pro Tip: This step utilizes osmosis. Initially, salt draws moisture out of the fish. However, after about 20 minutes, that salty brine is reabsorbed into the fibers, seasoning the fish deeply and breaking down tough proteins for a tender mouthfeel.
2. The Surface Dehydration
After 40 minutes, rinse the brine off quickly under cold water and pat the fish dry again. It is vital that the surface is bone-dry before it hits the pan. A wet fillet will steam, not sear, resulting in a rubbery texture.
Pro Tip: Achieving a dry surface is the secret to enzymatic browning. By removing surface water, the heat of the pan can immediately begin the Maillard reaction, creating that golden-brown crust we crave.
3. The Cold-Start Sear
Place the salmon skin-side down in a cold, heavy-bottomed skillet with a thin film of oil. Turn the heat to medium-high. Use a fish spatula to press the fillet down firmly for the first 30 seconds to prevent the skin from curling.
Pro Tip: Starting in a cold pan allows the subcutaneous fat to render slowly. This ensures the skin becomes incredibly crispy without the flesh overcooking before the fat has a chance to melt.
4. The Flip and Baste
Once the skin is crisp and releases easily from the pan, flip the fillet using tongs. Add a knob of butter and your aromatics to the pan. Tilt the skillet and use a large spoon to continuously pour the foaming butter over the fish.
Pro Tip: This is known as arrosage. The hot butter acts as a conductive medium, finishing the cook gently while the milk solids in the butter toast, adding a nutty complexity to the flavor profile.
5. The Internal Calibration
Use a digital thermometer to check the thickest part of the fillet. Remove the salmon from the heat when it hits 125 degrees Fahrenheit for a perfect medium-rare.
Pro Tip: Thermal carryover will cause the temperature to rise another 5 degrees while the fish rests. Pulling it early prevents the albumin (that unsightly white protein) from pushing out of the flakes.
6. The Rest and Finish
Transfer the salmon to a warm plate. Let it rest for at least 5 minutes. This allows the muscle fibers to relax and hold onto their moisture, ensuring every bite is viscous and rich.
Pro Tip: Resting allows the viscosity of the internal fats to stabilize. If you cut it too soon, the heat energy will force the moisture out, leaving the fish dry despite your best efforts.
The Deep Dive:
From a macro perspective, salmon is a nutritional powerhouse, loaded with Omega-3 fatty acids and high-quality protein. A 6-ounce portion typically contains about 34 grams of protein and 22 grams of healthy fats. For those on specific diets, this recipe is naturally Keto and Gluten-Free. To make it Vegan, you can apply this dry-brine technique to thick slabs of "watermelon tuna" or firm tofu, though the cook times will vary significantly.
The Fix-It:
- Skin sticking? You likely tried to flip it too early. The fish will naturally release once the proteins have denatured and formed a crust.
- White gunk (Albumin) appearing? The heat was too high. This is the fish's way of "sweating" out protein because the fibers contracted too fast. Lower your flame.
- Too salty? You may have left the brine on too long or used table salt instead of kosher. Always use large-flake salt for better control.
Meal Prep: To reheat without losing quality, avoid the microwave. Use a low oven (275 degrees) with a splash of water or broth in the pan, covered with foil. This creates a gentle steam environment that rehydrates the fats without overcooking the delicate protein.
The Wrap-Up:
There you have it; the definitive guide to dry brine salmon recipes that will change your kitchen game forever. By understanding the science of osmosis and the beauty of a slow render, you are no longer just following a recipe; you are mastering an ingredient. Go ahead and grab your cast iron and your digital scale. It is time to treat that salmon with the respect it deserves. Your dinner guests will thank you, and your palate will never settle for "basic" fish again.
The Kitchen Table:
How long should I dry brine salmon?
For the best results, aim for 30 to 45 minutes. This allows the salt to penetrate the fibers and then be reabsorbed, ensuring the fish is seasoned throughout without becoming overly salty or tough.
Do I need to rinse the brine off?
Yes, a quick rinse under cold water is essential to remove excess surface salt. Always pat the fish completely dry afterward with paper towels to ensure you get a crispy, golden sear.
Can I dry brine overnight?
It is not recommended for salmon. Unlike turkey or chicken, fish flesh is very delicate. Brining overnight will result in a texture that is more like lox or jerky rather than a flaky, tender fillet.
Why is my salmon skin not crispy?
The most common culprit is moisture. If the skin is even slightly damp when it hits the pan, it will steam. Ensure the skin is bone-dry and use a heavy-bottomed skillet for consistent heat.
What is the best oil for searing salmon?
Use an oil with a high smoke point, such as avocado oil or grapeseed oil. These can handle the high heat required for a perfect sear without breaking down or smoking excessively.