
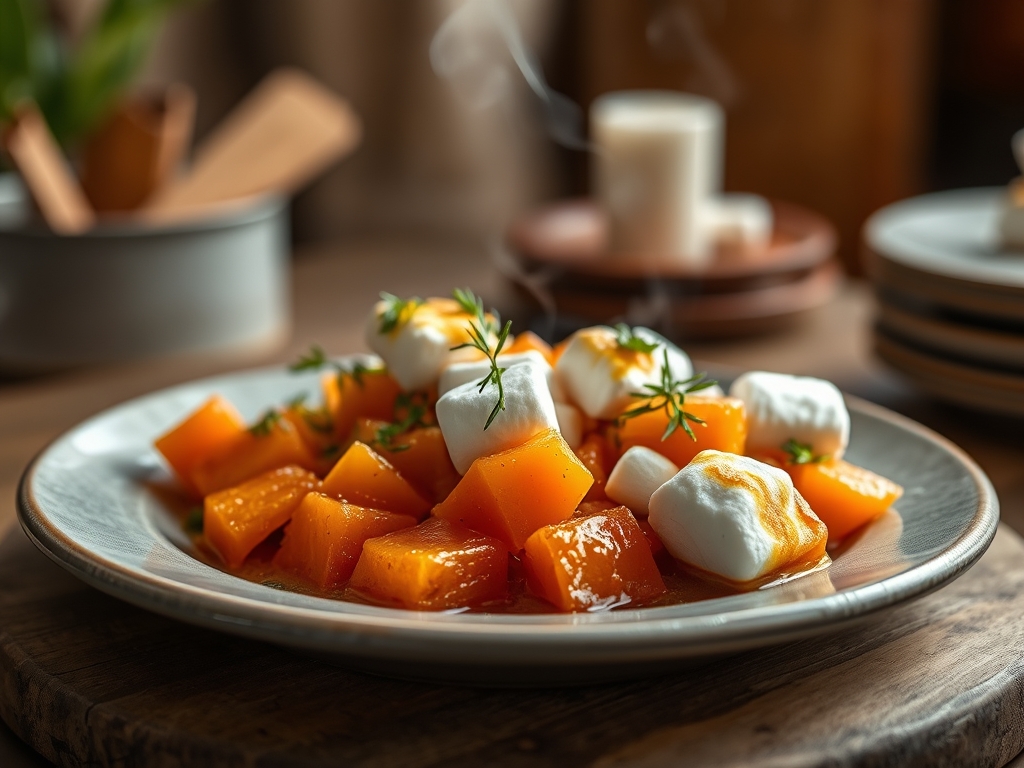
Imagine the scent of scorched sugar and warm nutmeg dancing through your kitchen as a heavy-bottomed skillet bubbles with liquid gold. When it comes to the ultimate comfort food, few dishes compete with the nostalgic, gooey glory of candied sweet potato recipes with marshmallows. This is not just a side dish; it is a masterclass in sugar chemistry and texture contrast. We are looking for that perfect transition from the earthy, dense starch of the tuber to a glossy, syrupy glaze, all topped with a cloud of toasted meringue. Whether you are hosting a holiday feast or just craving a Tuesday night hug in a bowl, mastering this classic requires more than just tossing ingredients in a pan. It requires an understanding of how heat transforms simple carbohydrates into a complex, caramelized masterpiece. We are going to dive deep into the molecular magic that makes these potatoes sing, ensuring every bite is a balance of salt, spice, and velvety sweetness. Grab your apron; we are about to turn a humble root vegetable into a culinary icon.
The Gathers:
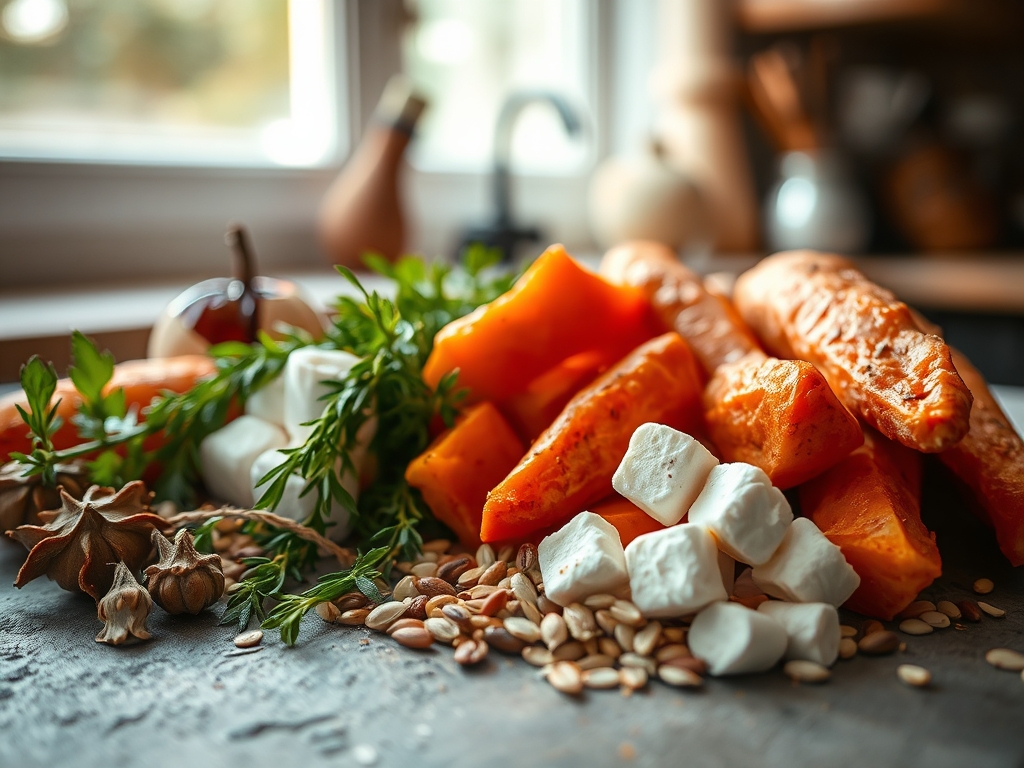
To achieve a professional result, your mise-en-place must be precise. We start with four pounds of Beauregard or Jewel sweet potatoes; these varieties have a high sugar content and a moist texture that holds up during the hydrolysis of starches. You will need one cup of unsalted European-style butter, which has a higher fat percentage to ensure a more viscous sauce. For the sweetener, we use a blend of dark brown sugar for its molasses depth and pure maple syrup to infuse a woody complexity.
The spice profile relies on freshly grated nutmeg (use a microplane for maximum aromatic release), cinnamon, and a pinch of ground cloves. Do not skip the kosher salt; it is the essential reagent that balances the glucose levels. For the crowning glory, high-quality jumbo marshmallows are preferred for their ability to aerate and expand under the broiler.
Smart Substitutions: If you want to lean into a more piquant profile, swap the maple syrup for hot honey. If you find yourself out of brown sugar, combine white sugar with a tablespoon of molasses using a bench scraper to fold them together on a clean surface until uniform. For a citrus note, a teaspoon of orange zest can brighten the heavy fats.
The Clock:
Mastering the "Chef's Flow" is about managing thermal energy and timing. Expect a total commitment of 75 minutes.
- Prep Time: 20 minutes. This includes peeling, slicing, and measuring your aromatics.
- Active Cook Time: 15 minutes. This is when you render the butter and create the syrup emulsion in a saucier.
- Baking Time: 35 to 40 minutes. The potatoes must reach a fork-tender state where the internal pectins have softened.
- The Broil: 2 to 3 minutes. This requires constant vigilance to avoid carbonizing the sugar.
The flow is simple: while the oven preheats to 375 degrees Fahrenheit, you prep the tubers. By the time the potatoes are sliced, your syrup should be simmering. This overlap ensures the potatoes begin cooking the moment they hit the heat.
The Masterclass:
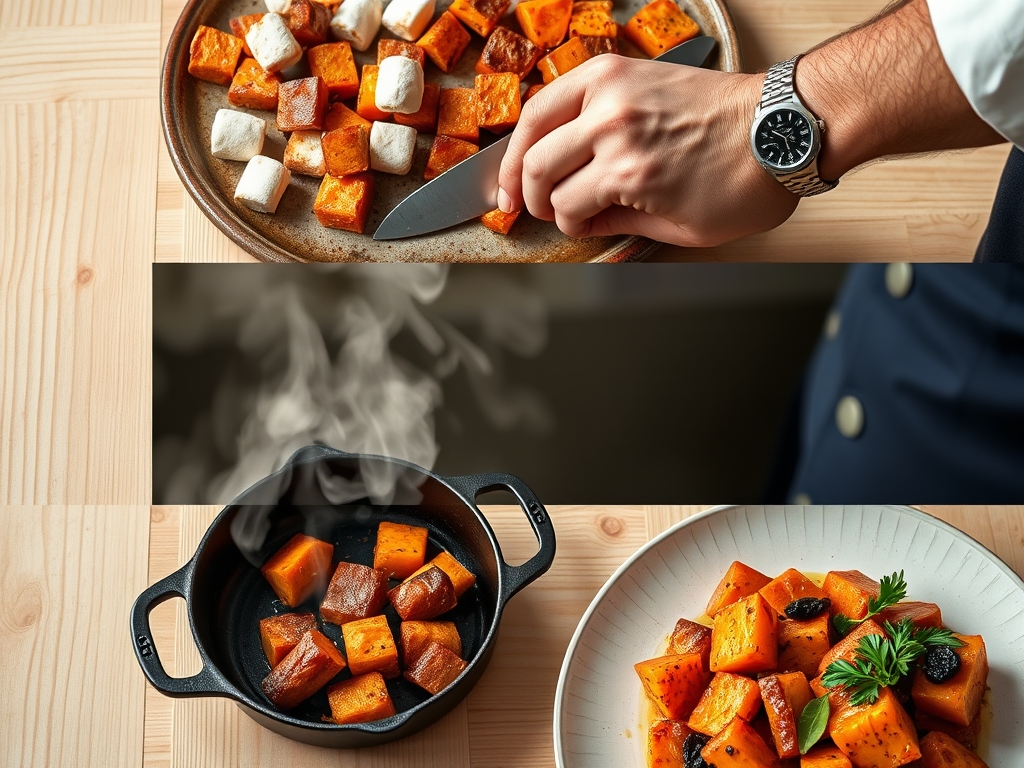
1. The Precision Cut
Peel your potatoes and use a sharp chef knife to cut them into uniform one-inch rounds. Consistency is king here; if the sizes vary, the smaller pieces will disintegrate into mush while the larger ones remain fibrous.
Pro Tip: Uniformity prevents differential cooking. When all pieces have the same surface-area-to-volume ratio, the heat penetrates the center of each slice at the same rate, ensuring a consistent mouthfeel across the entire dish.
2. The Syrup Emulsion
In a saucier, melt your butter over medium heat. Whisk in the brown sugar, maple syrup, and spices. Bring the mixture to a gentle simmer until it becomes a glossy, emulsified liquid.
Pro Tip: This stage utilizes the Maillard reaction. By heating the sugar and butter together before adding them to the potatoes, you are developing complex flavor compounds that raw sugar simply cannot provide during the baking process alone.
3. The Initial Roast
Arrange the potatoes in a heavy baking dish. Pour the syrup over them, using tongs to ensure every surface is coated. Cover tightly with foil to trap steam.
Pro Tip: This creates a pressurized environment that accelerates the breakdown of hemicellulose in the cell walls of the potato. This "steam-roasting" phase ensures the interior is creamy before the exterior begins to caramelize.
4. The Reduction Phase
Remove the foil halfway through the baking time. Baste the potatoes with the accumulating juices every ten minutes.
Pro Tip: Basting encourages evaporative cooling on the surface while concentrating the sugars. As the water content in the syrup evaporates, the sugar concentration rises, leading to a thick, tacky glaze that clings to the vegetable.
5. The Marshmallow Crown
Once the potatoes are tender, switch your oven to the broiler setting. Distribute the marshmallows evenly over the top, leaving small gaps for heat circulation.
Pro Tip: Watch for thermal carryover. The sugar in the marshmallows will continue to cook for thirty seconds after you pull them from the oven. Remove the dish when they are golden brown, not dark brown, to avoid a bitter, burnt aftertaste.
The Deep Dive:
Macro Nutrition: One serving typically contains 340 calories, 12g of fat, and 58g of carbohydrates. While high in sugar, sweet potatoes provide a massive dose of Vitamin A and potassium.
Dietary Swaps: For a vegan version, utilize a high-quality plant-based butter and vegan-certified marshmallows (which use carrageenan instead of gelatin). For a gluten-free dish, this recipe is naturally safe, but always verify your spices for hidden anti-caking agents. To lower the glycemic index, replace half the sugar with an allulose-based sweetener, though the caramelization will be slightly less intense.
The Fix-It:
- Runny Syrup: If the sauce is too thin, drain it into a small pan and reduce it on the stovetop for five minutes before pouring it back over.
- Hard Potatoes: This usually means the oven temp was too low or the foil seal wasn't tight. Add two tablespoons of water and re-cover for ten minutes.
- Burnt Topping: If the marshmallows scorched, scrape them off immediately. The sugar underneath is likely fine; just add a fresh layer and try again with the oven rack in a lower position.
Meal Prep: To reheat, avoid the microwave as it turns marshmallows into rubber. Use a toaster oven at 300 degrees Fahrenheit. This low heat allows the internal starches to re-gelatinize without burning the sugar crust.
The Wrap-Up:
There you have it; the science and soul behind the perfect candied sweet potato recipes with marshmallows. By focusing on the emulsion of your syrup and the precision of your cuts, you have elevated a traditional staple into a gourmet experience. This dish is a celebration of texture, from the velvet potato to the sticky glaze and the toasted, airy topping. It is the kind of recipe that turns a meal into a memory. Now, go forth, use your saucier with pride, and watch as your guests scramble for the last spoonful of that golden, sugary goodness.
The Kitchen Table:
Can I make these a day in advance?
Yes. Roast the potatoes in the syrup, then cool and refrigerate. On the day of serving, reheat them in the oven until the syrup bubbles before adding the marshmallows for the final broil to ensure a fresh, toasted texture.
Why are my sweet potatoes stringy?
Stringiness is usually a result of the potato variety or age. Older tubers develop more lignin. To avoid this, choose firm, medium-sized Beauregard potatoes and ensure you are slicing across the grain of the fibers.
Can I use canned yams for this recipe?
You can, though the texture will be significantly softer. Since canned yams are already cooked, skip the covered roasting phase. Simply toss them in the syrup and bake uncovered for 20 minutes before adding the marshmallow topping.
What is the best way to store leftovers?
Store in an airtight container in the fridge for up to four days. Note that the marshmallows will dissolve into the syrup over time, so the texture will become more homogeneous and sweeter upon reheating.