
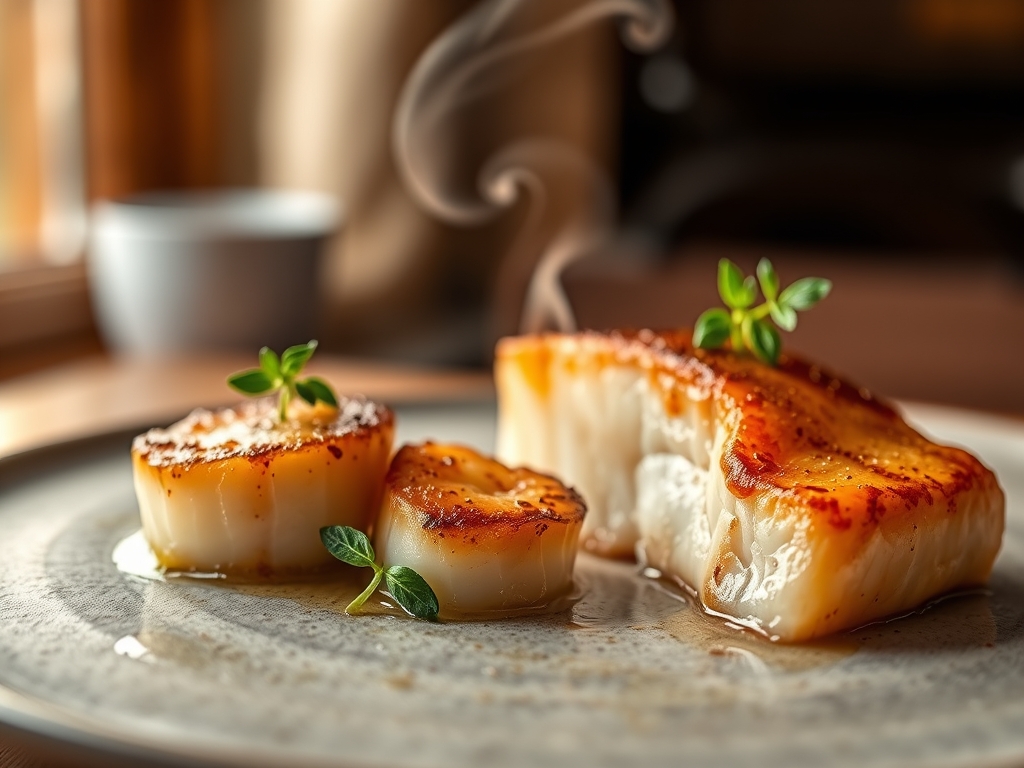
Imagine the sharp hiss of cold protein meeting a blistering hot carbon steel pan. The kitchen fills with the aroma of toasted butter and the briny, sweet promise of the ocean. Mastering scallops and salmon recipes is the ultimate culinary flex; it is a delicate dance between the buttery, flake-apart texture of a king salmon and the marshmallow-soft, caramelized crust of a dry-packed sea scallop. This duo represents the pinnacle of seafood luxury. It is not just about dinner; it is about manipulating heat and moisture to achieve that perfect contrast between a crispy exterior and a succulent, translucent center. Whether you are hosting a high-stakes dinner party or treating yourself to a Tuesday night glow-up, these two ingredients are your ticket to a Michelin-star experience in your own kitchen. We are diving deep into the chemistry of the sear and the architecture of the plate to ensure your seafood is never rubbery or bland. Let us get to work.
The Gathers:
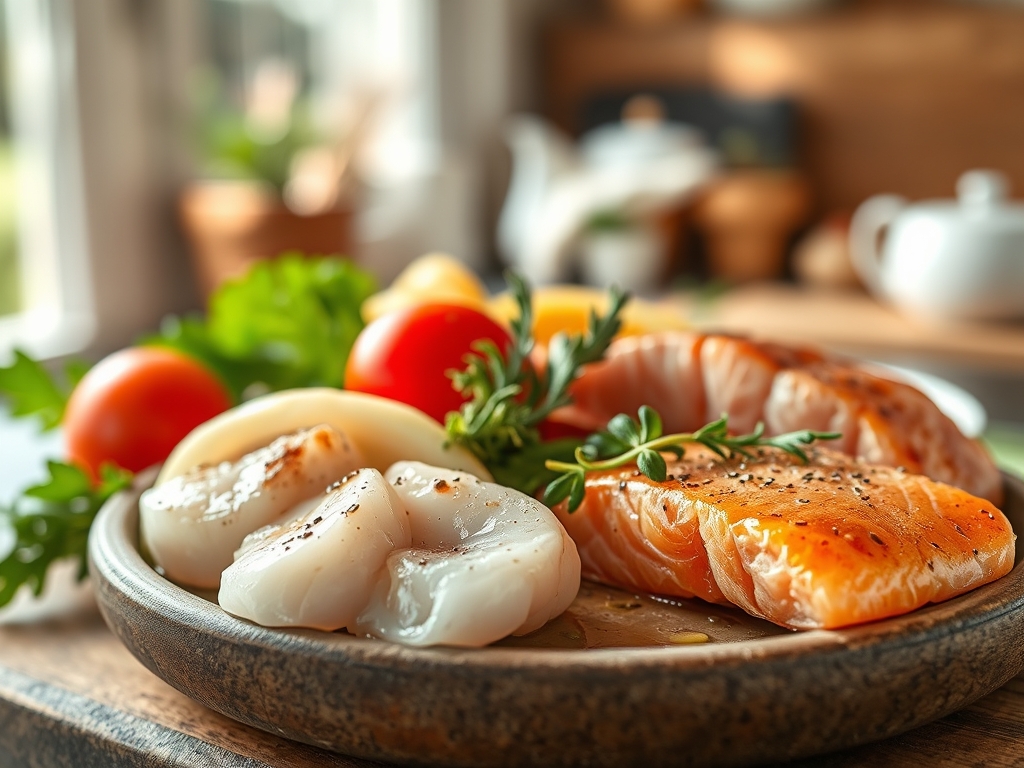
Your mise-en-place is the foundation of success. For the scallops, you must source "dry-packed" U-10 or U-12 sea scallops. Wet-packed scallops are treated with sodium tripolyphosphate, which causes them to leach water and prevents the Maillard reaction. For the salmon, look for center-cut fillets with high intramuscular fat, such as Ora King or Sockeye. You will need a high-smoke-point fat like avocado oil or clarified butter (ghee) to handle the intense heat required for searing.
Beyond the proteins, gather your aromatics. You will need fresh thyme sprigs, smashed garlic cloves, and a high-quality sea salt like Maldon for finishing. Use a microplane to zest a lemon for a piquant lift and have a chilled knob of unsalted butter ready for the final arroser (butter basting).
Smart Substitutions:
If you cannot find sea scallops, large bay scallops work for a pasta-based dish, though they cook much faster. If salmon is unavailable, Arctic Char is a brilliant substitute; it possesses a similar lipid profile and a delicate, pink hue. For a dairy-free version, replace the butter with a high-quality vegan butter alternative that contains lecithin to ensure proper browning.
The Clock
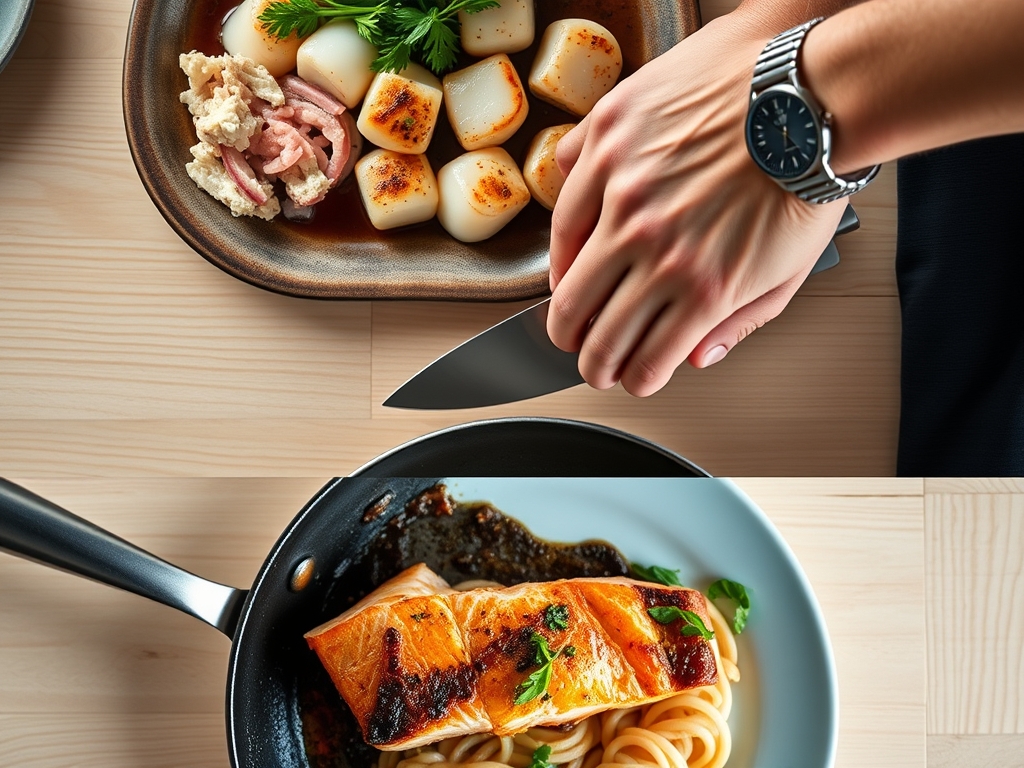
Efficiency in the kitchen is about "Chef's Flow." This is the logical sequencing of tasks to minimize downtime and ensure everything hits the table at the optimal temperature. Total active prep time is approximately 15 minutes, while the cooking process takes a swift 12 minutes.
The flow begins with the salmon, as it requires a slightly longer duration to render the subcutaneous fat and reach an internal temperature of 125 degrees Fahrenheit. While the salmon rests, the scallops take center stage. They require only 90 seconds per side. By the time the scallops are finished, the salmon has redistributed its juices, ensuring a moist bite. Use a digital scale to portion your proteins evenly, which guarantees a synchronized cook time across the pan.
The Masterclass
1. The Desiccation Phase
Pat your scallops and salmon bone-dry using heavy-duty paper towels. Moisture is the enemy of the sear. If the surface is damp, the heat of the pan will be wasted evaporating water rather than browning the protein.
Pro Tip: This is known as surface evaporation. By removing external moisture, you allow the surface temperature to rise rapidly above 300 degrees Fahrenheit, triggering the Maillard reaction almost instantly for a golden-brown crust.
2. Seasoning and Heat Management
Place a heavy-bottomed skillet over medium-high heat until the oil begins to shimmer and show faint wisps of smoke. Season your seafood with salt only seconds before it hits the pan.
Pro Tip: Salt is hygroscopic, meaning it draws moisture out of the flesh. If you salt too early, you create a layer of brine on the surface that will steam the fish instead of searing it.
3. The Salmon Sear
Place the salmon skin-side down. Use a fish spatula to press down firmly for the first 30 seconds. This prevents the skin from curling as the collagen fibers contract.
Pro Tip: This technique ensures maximum contact with the pan, facilitating even heat distribution and creating a glass-like, crispy skin through protein denaturation.
4. The Scallop Drop
Once the salmon is flipped, add the scallops to the vacant spaces in the pan. Do not crowd them; overcrowding drops the pan temperature and leads to a "stewing" effect.
Pro Tip: Scallops are mostly water and protein. High heat causes the proteins to coagulate quickly on the outside, creating a protective barrier that keeps the interior viscous and sweet.
5. The Arroser Finish
Drop the butter, garlic, and thyme into the pan. As the butter foams, tilt the pan and use a large spoon to continuously drench the seafood in the hot, infused fat.
Pro Tip: This is thermal carryover management. The hot butter gently finishes the tops of the scallops and salmon without overcooking the delicate bottom layers, while the fat carries the fat-soluble compounds of the garlic and thyme into the meat.
The Deep Dive
Macro Nutrition:
This pairing is a nutritional powerhouse. A standard serving provides roughly 45g of high-quality protein and is rich in Omega-3 fatty acids, which are essential for brain health. Scallops add a significant dose of Vitamin B12 and magnesium, making this a high-density, low-carb masterpiece.
Dietary Swaps:
- Keto: This recipe is naturally keto-friendly. Serve over a bed of pureed cauliflower aerated with heavy cream.
- Vegan: For a plant-based twist, use "King Oyster Mushroom" scallops and a marinated tofu "salmon" fillet. Use miso paste to replicate the umami depth.
- GF: This dish is naturally gluten-free. Ensure your chicken stock or deglazing liquid is certified GF.
The Fix-It:
- Scallops are sticking: You likely tried to flip them too early. Protein bonds to the pan initially; once a crust forms, the scallop will naturally "release."
- Salmon is white and chalky: This is albumin, a protein that pushes to the surface when the fish is cooked too fast or too high. Lower your heat slightly.
- Rubber texture: You have overshot the internal temperature. Pull the seafood off the heat 5 degrees before your target; the internal heat will continue to rise during the rest.
Meal Prep & Reheating:
To maintain "day-one" quality, do not use a microwave. Microwaves vibrate water molecules, which toughens the delicate protein structures. Instead, reheat gently in a saucier with a splash of broth or water over low heat, covered, until just warm.
The Wrap-Up
You are now equipped to master the sophisticated world of scallops and salmon recipes. By focusing on moisture control, heat management, and the science of the sear, you have transformed basic ingredients into a culinary event. Remember, the best food comes from a place of curiosity and precision. Don't be afraid of the high heat; embrace the sizzle, trust your senses, and enjoy the incredible textures you have created. Now, grab your tongs and get cooking!
The Kitchen Table
How do I know when scallops are perfectly cooked?
Look for the "sides" to turn opaque. The top and bottom should have a golden-brown crust, while the center remains slightly translucent. They should feel firm but have a slight springy "give" when pressed with a finger.
Should I leave the skin on the salmon?
Absolutely. The skin acts as an insulator, protecting the delicate flesh from the direct heat of the pan. Plus, when seared correctly, it provides a salty, crispy texture that contrasts beautifully with the soft meat and scallops.
What is the best oil for searing seafood?
Use an oil with a high smoke point, such as avocado oil, grapeseed oil, or clarified butter. Avoid extra virgin olive oil for high-heat searing, as it will burn and become bitter before the seafood is properly browned.
Why did my scallops turn out rubbery?
Rubbery scallops are a result of overcooking. Because they are lean, they lose moisture rapidly once they pass 130 degrees Fahrenheit. Always remove them from the pan the moment they feel slightly firm to the touch.