
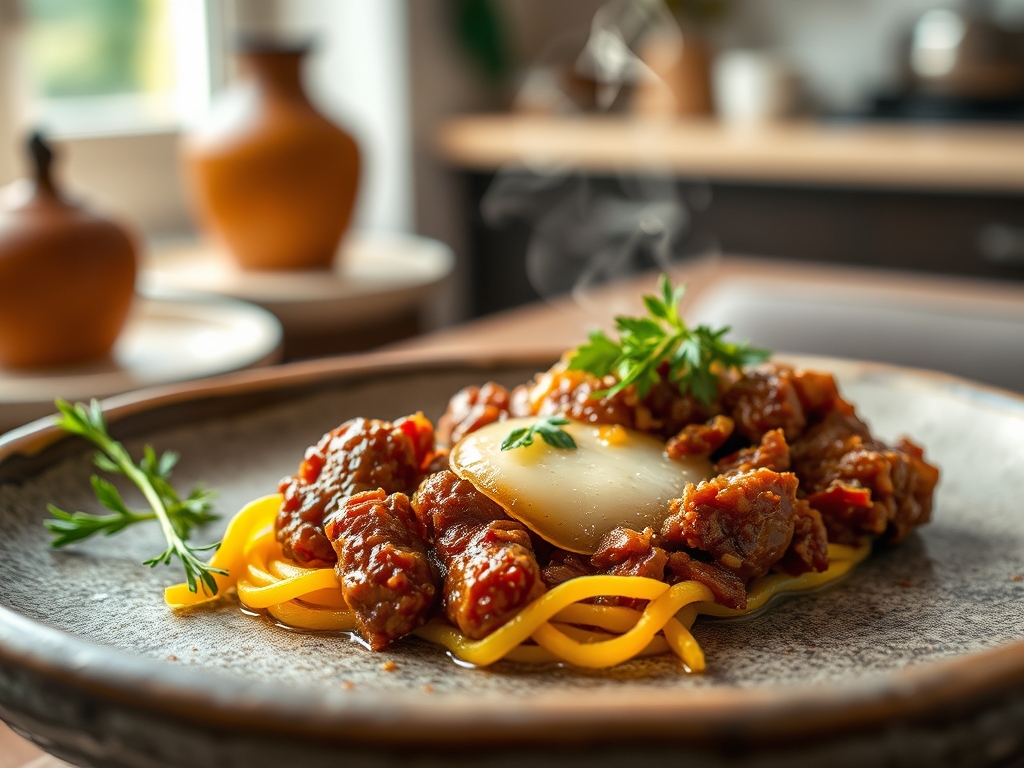
Picture a heavy-bottomed skillet resting on a blue flame; the sound of fat rendering is a rhythmic percussion against the stainless steel. As you drop the meat in, the Maillard reaction begins to transform pale protein into deep, mahogany crumbles. When you finally fold in the sharp cheddar, it creates a viscous, golden lacquer that defines the best cheese ground beef recipes. This is not just dinner; it is a masterclass in fat-to-protein ratios and emulsification.
The Gathers:
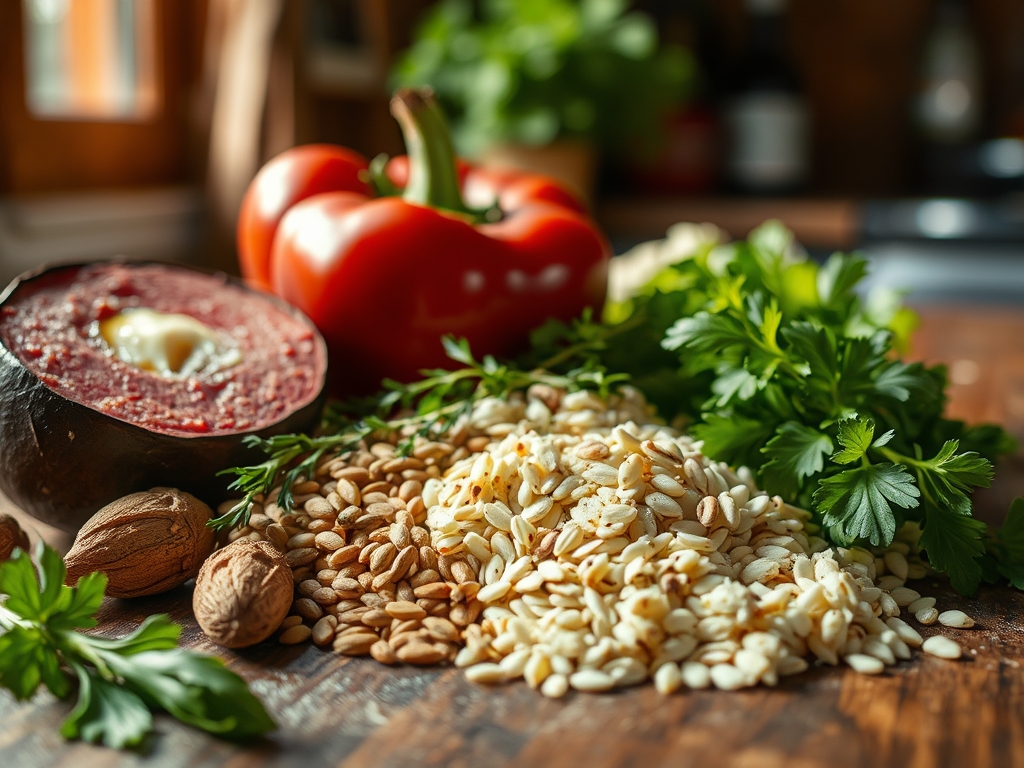
To execute these hacks with precision, your mise-en-place must be flawless. Start with an 80/20 blend of ground chuck. This specific ratio ensures enough intramuscular fat to carry flavor without drowning the dish in grease. You will need a piquant sharp cheddar for acidity and a high-moisture mozzarella for that iconic "cheese pull."
Your tool kit is equally vital. Reach for a heavy-bottomed skillet to ensure even heat distribution and a stiff metal spatula to maximize surface contact during the sear. A microplane is essential for grating hard cheeses like Parmesan; the fine teeth increase surface area, allowing the cheese to melt into a silky emulsion rather than clumping.
Smart Substitutions:
If you are looking to lighten the profile, ground bison offers a leaner, more nutrient-dense alternative, though you must add a teaspoon of neutral oil to prevent sticking. For the dairy, a high-quality cashew cream infused with nutritional yeast provides a similar umami depth for those avoiding lactose. Always use a digital scale to measure your portions; precision is the difference between a soggy mess and a structured masterpiece.
The Clock:
Mastering the "Chef's Flow" is about managing the thermal momentum of your kitchen. Prep time takes exactly 15 minutes if you use a bench scraper to organize your aromatics. The cook time for most of these hacks ranges from 12 to 20 minutes.
The secret is the rest period. Just as a steak requires time for juices to redistribute, your cheesy beef mixtures need three minutes off the heat to allow the proteins to firm up and the cheese to set. This prevents the "oil slick" effect often seen in rushed home cooking.
The Masterclass:
1. The Smash-and-Sear Technique
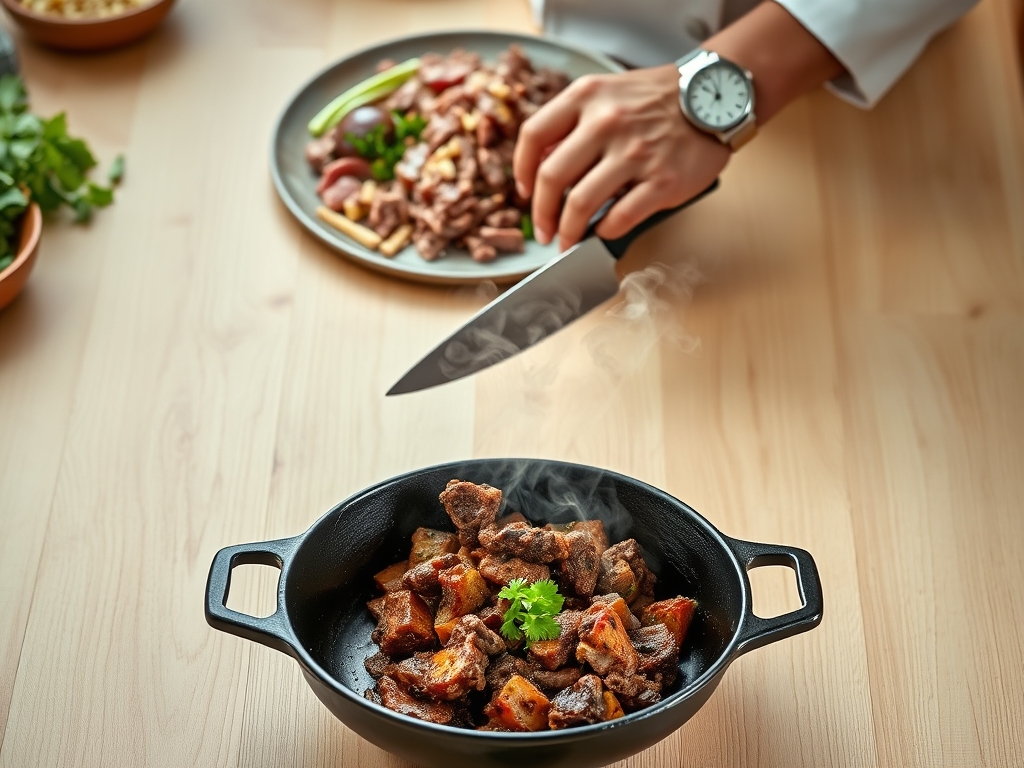
Place cold beef balls directly onto a ripping hot surface. Use a heavy press or a secondary smaller skillet to flatten them into thin discs. This maximizes the surface area for the Maillard reaction, creating a crust that holds onto cheese like a magnet.
Pro Tip: This is known as thermal conductivity. By increasing the pressure, you force out moisture quickly, allowing the temperature to rise above 300 degrees Fahrenheit for rapid browning.
2. The Deglaze Fold
After browning your meat, the bottom of your pan will be covered in "fond" (browned bits). Pour in a splash of beef stock or dry wine. Use a wooden spoon to scrape those bits up before folding in your cheese.
Pro Tip: This process uses solvent extraction. The liquid dissolves the concentrated flavor molecules, which then become suspended in the cheese sauce, deepening the overall flavor profile.
3. The Cold-Cheese Incorporation
Instead of melting cheese over high heat, pull the pan off the burner entirely. Toss in your shredded cheese and cover the pan for sixty seconds. The residual heat will melt the cheese gently.
Pro Tip: This prevents protein denaturation. High heat causes cheese proteins to tighten and squeeze out fat, leading to a grainy texture. Gentle residual heat keeps the emulsion smooth and viscous.
4. The Aerated Meatball
When forming beef into balls for cheesy sliders, do not overwork the meat. Use your fingertips to gently combine the ingredients, leaving small air pockets throughout the mixture.
Pro Tip: These pockets act as thermal insulators and reservoirs for melted cheese. If the meat is too dense, the cheese has nowhere to go but out of the meat and onto the pan.
5. The Starch-Buffer Method
If you are making a stovetop cheesy beef pasta, toss your shredded cheese with a teaspoon of cornstarch before adding it to the skillet.
Pro Tip: The starch acts as a stabilizing agent. It coats the fat globules in the cheese, preventing them from separating and ensuring a velvety, uniform sauce that clings to the beef.
6. The Umami Bomb Infusion
Before adding the cheese, stir in a teaspoon of tomato paste or Worcestershire sauce. Let it caramelize for sixty seconds until it turns a dark brick red.
Pro Tip: This relies on synergistic umami. The glutamates in the beef and the cheese are amplified by the nucleotides in the fermented sauces, creating a much more intense savory experience.
7. The Reverse-Sear Melt
For thicker beef patties or loaves, cook the meat until it is nearly done, then add the cheese and finish it under a broiler for 45 seconds.
Pro Tip: This utilizes radiant heat. The intense top-down energy browns the cheese sugars (caramelization) while the meat finishes via carryover cooking, keeping the center juicy.
The Deep Dive:
Nutritionally, these cheese ground beef recipes are powerhouses of bioavailable protein and essential fats. A standard serving provides roughly 30 grams of protein and is naturally low in carbohydrates, making it a staple for ketogenic lifestyles.
Dietary Swaps:
For a gluten-free version, ensure your beef stock and spices are certified. For a vegan twist, use "impossible" crumbles and a potato-based cheese sauce to mimic the viscosity of dairy.
The Fix-It:
- Greasy Sauce: If the fat separates, whisk in a tablespoon of hot pasta water. The starch will re-emulsify the sauce.
- Tough Meat: You likely overworked the protein. Next time, use a light touch and avoid "kneading" the beef.
- Bland Flavor: You missed the deglazing step. Add a squeeze of lemon juice or a dash of vinegar to brighten the heavy fats.
Meal Prep:
To maintain "day-one" quality, reheat your beef in a saucier over low heat with a splash of milk. This re-hydrates the cheese proteins without breaking the emulsion, avoiding the rubbery texture common with microwave reheating.
The Wrap-Up:
Transforming humble ingredients into a culinary event is all about understanding the "why" behind the "how." By mastering the sear, respecting the melt, and using the right tools, you turn simple cheese ground beef recipes into high-end comfort food. Now, grab that skillet and start rendering; your kitchen is waiting for its masterclass.
The Kitchen Table:
Why does my cheese turn oily when melting?
High heat causes cheese proteins to contract and expel fat. To fix this, use low residual heat and grate your own cheese to avoid the anti-clumping starches found in pre-shredded bags.
What is the best fat ratio for ground beef?
An 80/20 ratio is ideal for most recipes. The 20 percent fat content provides enough moisture to emulsify with the cheese, creating a rich, flavorful sauce without requiring additional oils.
Can I freeze cheesy ground beef dishes?
Yes, but the texture may change slightly. For best results, undercook the beef slightly before freezing. Reheat gently on the stovetop with a splash of liquid to restore the creamy cheese consistency.
How do I get a better sear on my beef?
Pat the meat dry with paper towels to remove surface moisture. Ensure your skillet is preheated until it wisps smoke. Do not crowd the pan; cook in batches to maintain high surface temperatures.