
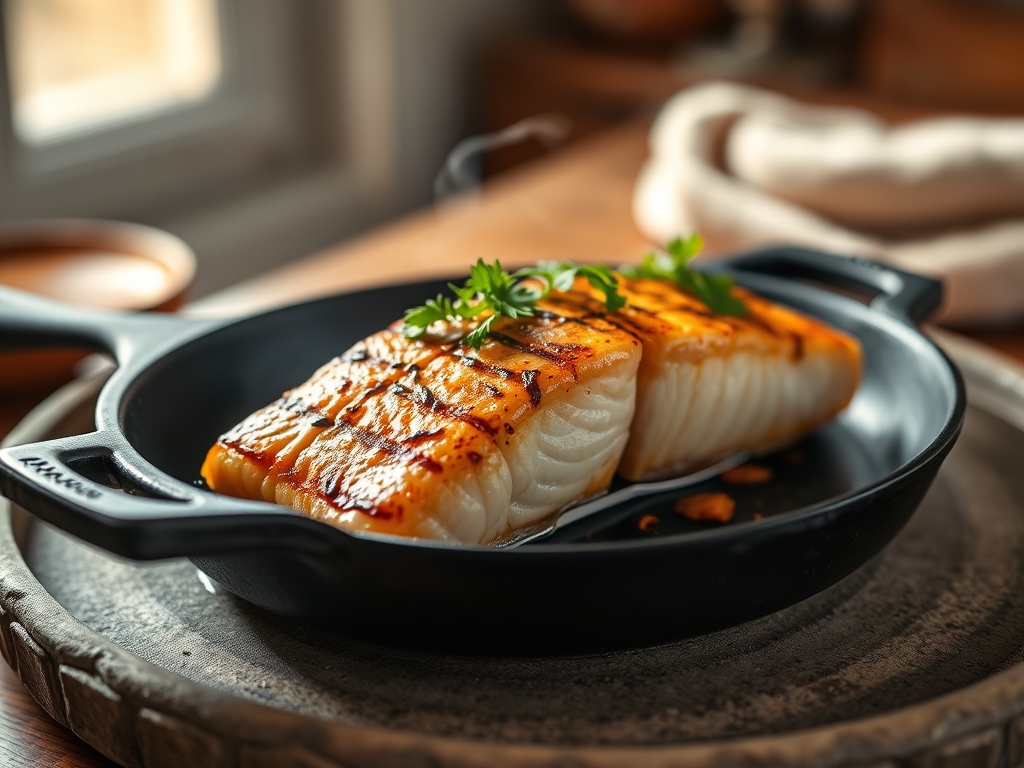
Imagine the sound of a violent hiss as cold protein meets a screaming hot surface. That specific acoustic signature is the sound of moisture evaporating instantly to make room for a golden crust. When you master salmon recipes on cast iron skillet techniques, you are not just cooking; you are engineering a structural masterpiece of flaky interior and glass-like skin.
The magic lies in the iron. Unlike flimsy non-stick pans that lose heat the moment food touches them, cast iron acts as a thermal battery. It stores massive amounts of energy and releases it evenly, ensuring that your fish undergoes the Maillard reaction rather than just steaming in its own juices. We are going for that deep, mahogany brown that shatters under a fork.
The Gathers:
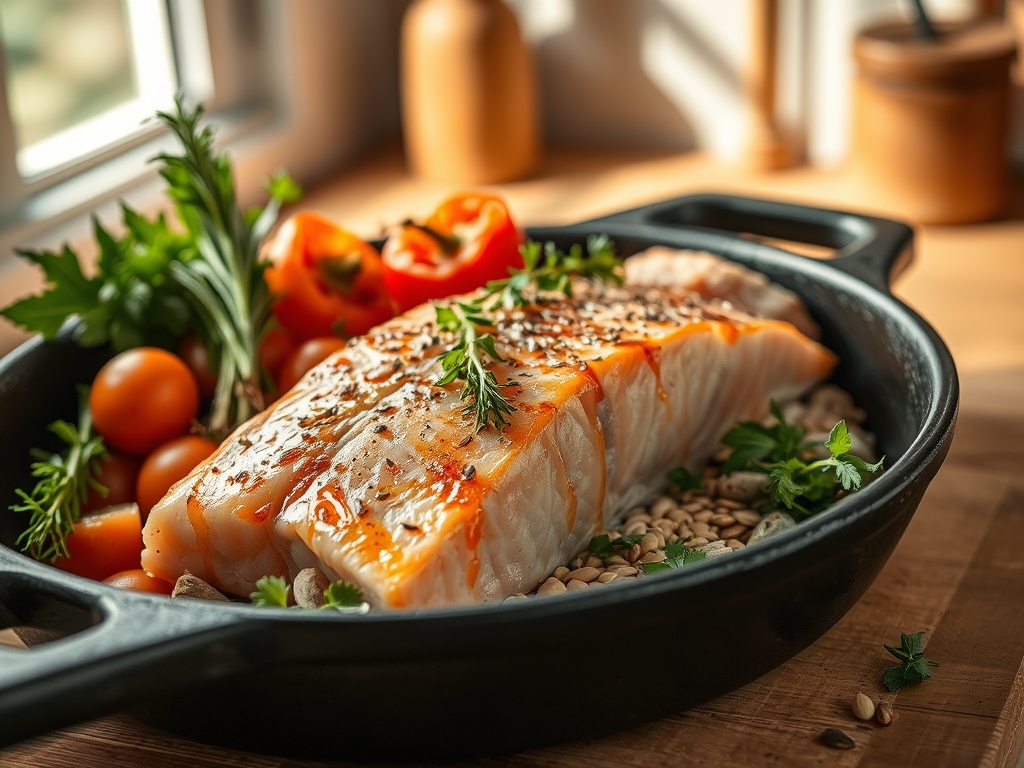
To achieve a restaurant-grade sear, your mise-en-place must be precise. Start with center-cut fillets, ideally skin-on, because that skin acts as a protective heat shield. You will need a high-smoke-point fat; think avocado oil or clarified butter (ghee) rather than extra virgin olive oil, which will smoke and turn bitter at the temperatures we require.
Grab your digital scale to ensure your fillets are roughly 6 ounces each for even cooking. You will also need coarse kosher salt to draw out surface moisture and a microplane for zesting citrus at the very end to provide a piquant contrast to the rich fats.
Smart Substitutions: If you are out of ghee, use a neutral grapeseed oil. For a flavor boost without the burn, add a cold knob of butter and a smashed garlic clove only during the final sixty seconds of cooking. This technique, known as arroser, allows you to infuse the fish with nutty aromas without scorching the milk solids.
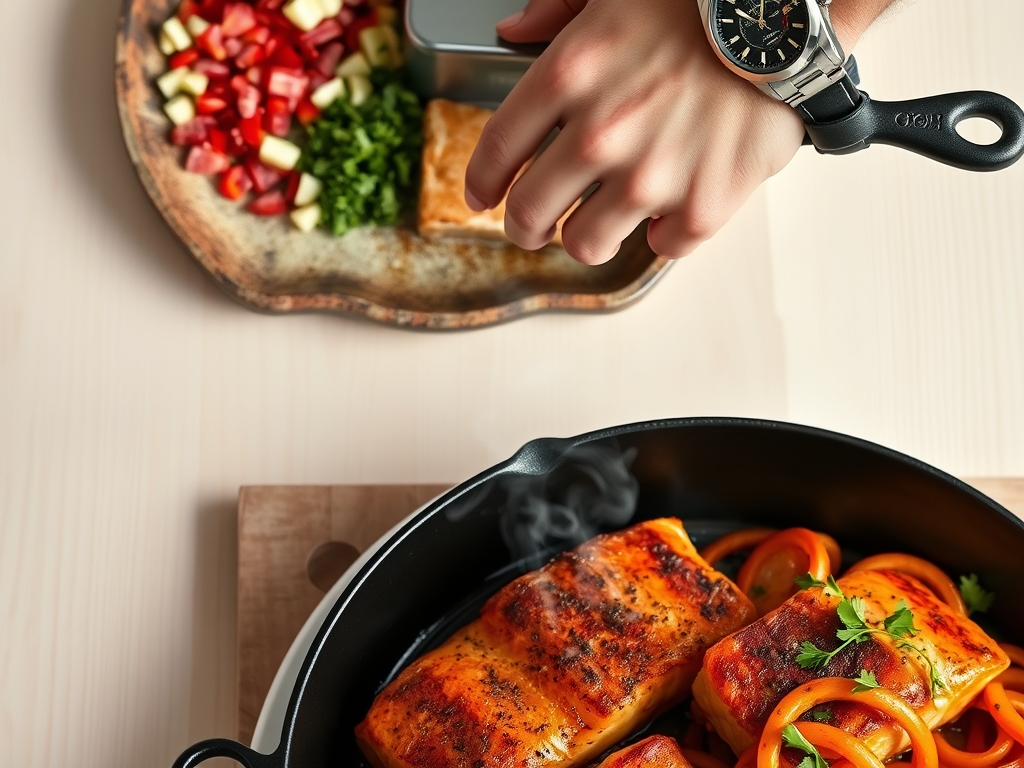
The Clock
The "Chef's Flow" is all about timing. Total active time is roughly 15 minutes, but the preparation starts 20 minutes before the heat even turns on. You cannot cook cold fish. If the muscle fibers are chilled, they will contract violently when they hit the pan, squeezing out moisture and leaving you with a tough, dry result.
Allow the salmon to temper on the counter for 15 to 20 minutes. The actual searing process is a 4-3 split: four minutes on the skin side to render the fat and create a crisp barrier, followed by three minutes on the flesh side to reach a perfect medium-rare. Factor in a three-minute rest period. This is non-negotiable; it allows the internal juices to redistribute so they do not gush out onto the plate.
The Masterclass
1. The Desiccation Ritual
Use a paper towel to pat the salmon bone-dry. Any residual surface moisture will turn into steam, which is the enemy of a crisp sear. Salt the skin side only seconds before it hits the pan to prevent the salt from drawing out internal moisture too early.
Pro Tip: This is about preventing evaporative cooling. If the surface is wet, the pan's energy is wasted turning water into steam (212 degrees Fahrenheit) instead of browning the proteins (300 degrees Fahrenheit plus).
2. The Thermal Load
Heat your heavy-bottomed skillet over medium-high heat until a drop of water dances and evaporates instantly. Add your oil and wait for it to shimmer and show a slight viscous ripple. This ensures the metal pores are sealed with fat, creating a natural non-stick surface.
Pro Tip: Cast iron has high emissivity, meaning it radiates heat far beyond the surface. This ambient heat starts cooking the sides of the fillet even before you flip it.
3. The Initial Press
Lay the fillet in the pan away from you to avoid oil splatter. Use a fish spatula or a bench scraper to press down firmly on the fillet for the first 30 seconds. Salmon skin tends to curl when it hits heat; pressing it flat ensures maximum surface contact.
Pro Tip: Pressing prevents the collagen in the skin from shrinking unevenly, which would otherwise lift the center of the fillet away from the heat source and cause uneven browning.
4. The Patient Render
Do not touch the fish. Let it sit on the skin side until you see the opaque color creep up about three-quarters of the way from the bottom. The skin will naturally release from the pan once a sufficient crust has formed. If it sticks, it is not ready.
Pro Tip: This stage involves lipid rendering. The fat layer under the skin melts and essentially deep-frys the skin from the inside out, creating that signature crunch.
5. The Gentle Flip
Slide your spatula under the fillet and flip it gently. The flesh side only needs a short duration to finish. This is the time to add aromatics like thyme or rosemary. Use a spoon to baste the hot, infused oil over the crispy skin.
Pro Tip: We are utilizing thermal carryover here. The internal temperature will continue to rise by 5 to 10 degrees after you remove it from the pan, so pull the fish at 125 degrees Fahrenheit for a final 130 to 135 degree finish.
6. The Deglaze and Rest
Remove the fish to a warm plate. While the pan is still hot, deglaze it with a splash of white wine or lemon juice. Scrape up the brown bits (the fond) to create a quick pan sauce. This captures all the concentrated flavor left behind.
Pro Tip: The resting period allows the muscle proteins to relax. During cooking, they tighten and push water outward; resting lets that moisture move back toward the center for a succulent bite.
The Deep Dive
From a macro perspective, salmon is a nutritional powerhouse, offering roughly 25 grams of protein and 11 grams of healthy fats per 4-ounce serving. It is naturally Keto and Gluten-Free. For a vegan alternative, you can apply these same searing techniques to thick slabs of "King Oyster" mushrooms or firm tofu, though you will need to add a touch of liquid smoke to mimic the oceanic depth.
The Fix-It:
- The Skin is Soggy: You likely crowded the pan. Cook in batches to ensure air can circulate and moisture can escape.
- The Fish is Sticking: You tried to flip it too early or the pan wasn't hot enough. Wait for the protein to "self-release."
- White Gunk (Albumin) Appearing: This is a sign of overcooking or cooking at too high a heat too fast. Temper your fish longer next time.
Meal Prep: To reheat salmon without it becoming "fishy" or dry, avoid the microwave. Instead, place it in a low oven (275 degrees Fahrenheit) with a tablespoon of water and cover it with foil. This creates a gentle steam chamber that preserves the delicate fats.
The Wrap-Up
Mastering salmon recipes on cast iron skillet setups is a rite of passage for any home cook. It is the perfect marriage of rugged hardware and delicate protein. Once you hear that first sear and see that shimmering, golden skin, you will never go back to basic baking. Grab your skillet, trust the science, and let that Maillard reaction do the heavy lifting for your next dinner party.
The Kitchen Table
How do I prevent salmon from sticking to cast iron?
Ensure the pan is preheated until shimmering and the fish is patted completely dry. Do not attempt to flip the fillet until the skin naturally releases from the surface, indicating a proper crust has formed.
Should I cook salmon with the skin on or off?
Always cook with the skin on. The skin acts as an insulator, protecting the delicate flesh from the intense direct heat of the cast iron, while providing a delicious, crispy texture contrast to the flaky meat.
What is the best oil for searing salmon?
Use oils with high smoke points like avocado, grapeseed, or clarified butter. Avoid extra virgin olive oil or unrefined coconut oil, as they will burn and create bitter flavors at the high temperatures required for searing.
How do I know when the salmon is done?
The salmon is perfectly medium-rare when the internal temperature reaches 125 degrees Fahrenheit on a digital thermometer. The flesh should be opaque on the outside but still slightly translucent and moist in the very center.