
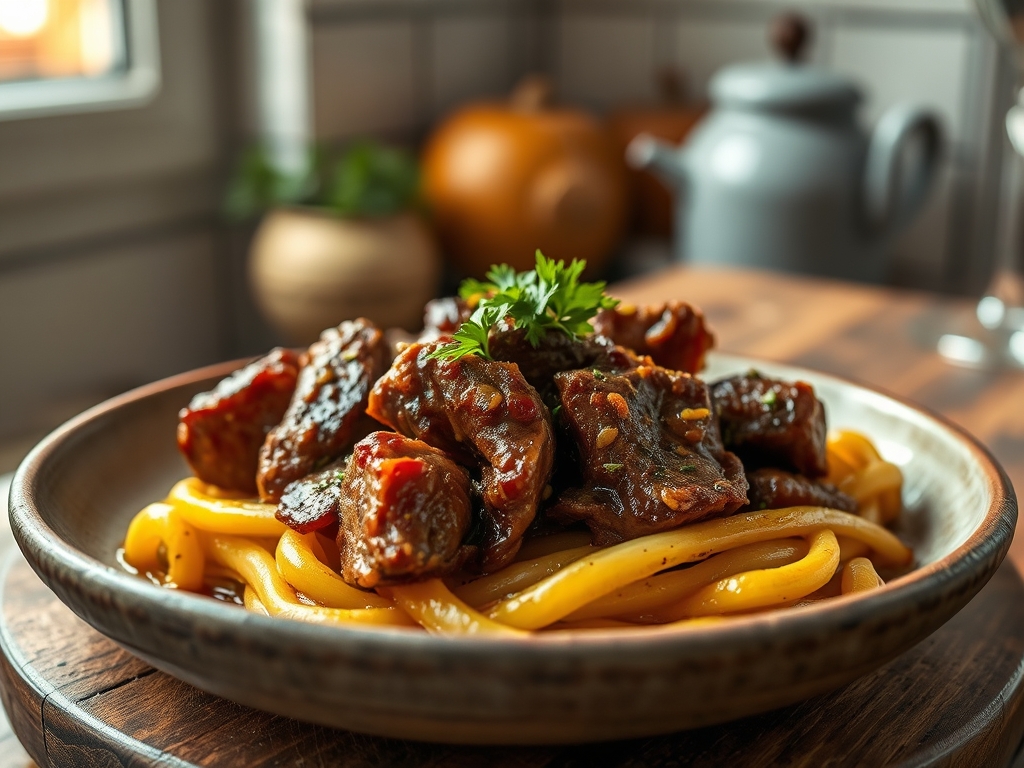
Imagine the sound of a heavy cast iron lid sliding into place; it is a metallic thud that signals the start of a culinary transformation. Inside that vessel, the magic of heat and pressure begins to turn tough connective tissue into something that melts at the mere suggestion of a fork. If you are searching for the absolute pinnacle of comfort food, mastering dutch oven beef recipes is your definitive rite of passage. There is a specific, intoxicating aroma that fills a kitchen when beef chuck undergoes a slow braise; it is a mixture of rendered fat, toasted aromatics, and the deep, caramelized notes of a well-executed sear. We are not just making dinner here. We are manipulating protein structures and liquid ratios to create a masterpiece that feels like a warm hug but tastes like a five-star bistro. Whether you are hosting a Sunday family gathering or just prepping for a week of high-protein meals, these techniques will ensure your beef is never dry, never gray, and always spectacularly tender.
The Gathers:
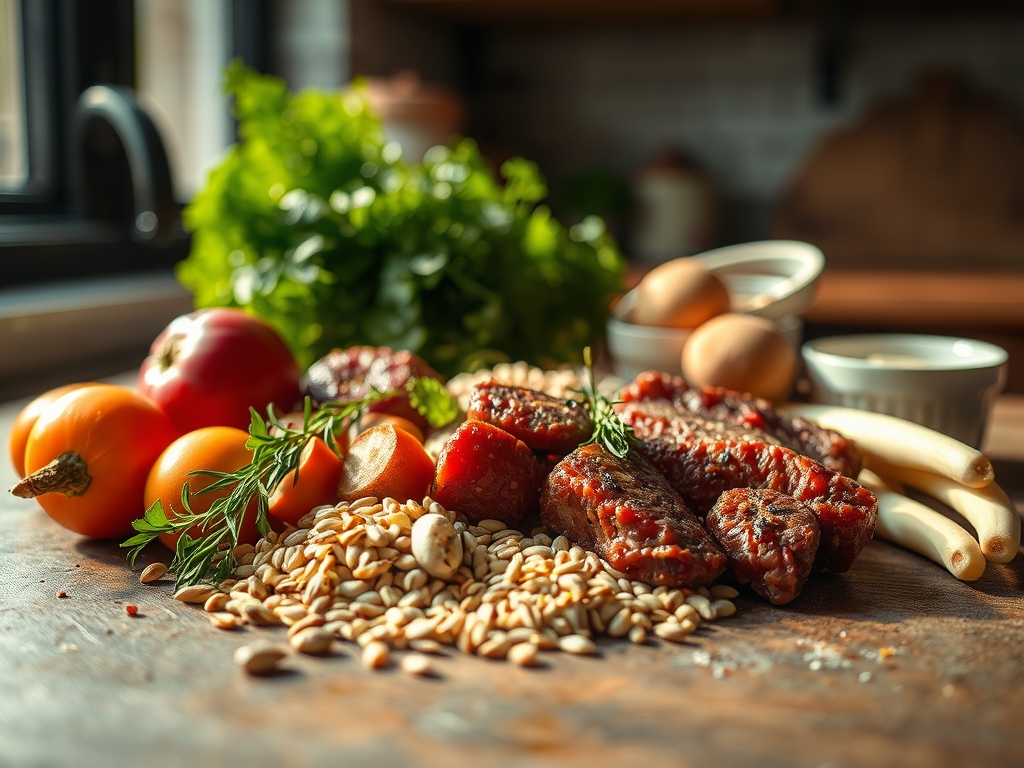
Before we ignite the burner, we must assemble our laboratory. The foundation of any elite beef roast is the cut itself. You want a 3 to 5 pound chuck roast or brisket. These cuts are high in collagen; this is a structural protein that, when heated slowly, converts into gelatin to provide that viscous, mouth-coating richness. You will also need your aromatics: yellow onions, carrots, and celery. Do not just chop them; appreciate the mirepoix as the aromatic backbone of your sauce. For the liquid, a high-quality bone broth or a dry red wine like Cabernet Sauvignon is essential for deglazing.
Smart Substitutions: If you are avoiding alcohol, a splash of balsamic vinegar mixed with beef stock provides the necessary acidity to brighten the heavy fats. Instead of standard table salt, use a digital scale to measure out kosher salt for more accurate seasoning. If you lack fresh herbs like rosemary or thyme, use one-third the amount of dried herbs, as their oils are more concentrated. Use a microplane to zest a bit of garlic or ginger into the pot if you want a more piquant, modern profile.
The Clock:
Efficiency in the kitchen is about "Chef's Flow." This is the art of overlapping tasks so you are never standing idle. Your total active prep time is roughly 30 minutes, but the "low and slow" magic takes between 3 to 4 hours.
The Breakdown:
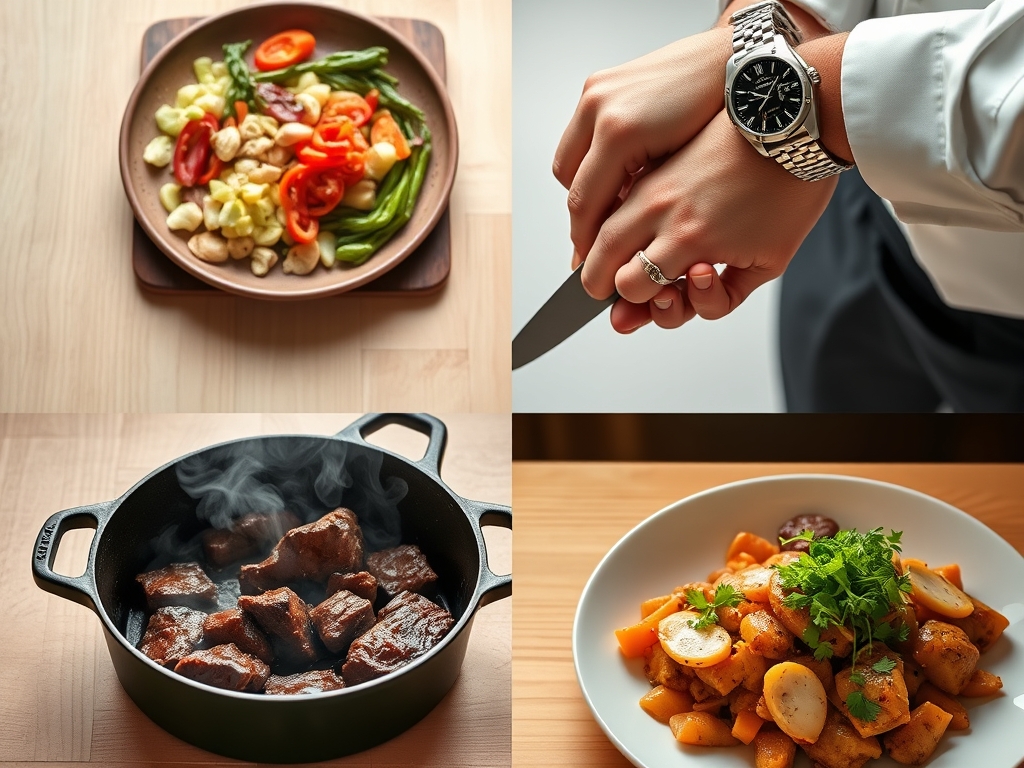
- Prep (20 mins): Trimming, seasoning, and chopping.
- The Sear (10 mins): Developing the Maillard reaction.
- The Braise (3 to 4 hours): Hands-off time where the oven does the heavy lifting.
- The Rest (15 mins): Crucial for moisture retention.
While the beef is in the oven, use that time to clean your bench scraper and heavy-bottomed skillet, or prep your side dishes. The goal is to have the kitchen spotless by the time the timer dings.
The Masterclass:
1. The Temper and Season
Remove your beef from the refrigerator at least 45 minutes before cooking. Pat the surface bone-dry with paper towels. Moisture is the enemy of a good sear; if the surface is wet, the meat will steam instead of brown. Generously coat every inch with kosher salt and cracked black pepper.
Pro Tip: This is called dry-brining. Salt draws moisture out, dissolves into a brine, and is then reabsorbed into the muscle fibers, seasoning the meat deeply while breaking down proteins for a more tender result.
2. The Hard Sear
Heat your dutch oven over medium-high heat with a high-smoke-point oil like avocado or grapeseed oil. Using heavy-duty tongs, sear the beef for 5 to 7 minutes per side until a deep, dark brown crust forms. Do not crowd the pot; if you have multiple roasts, work in batches.
Pro Tip: This is the Maillard reaction. It is a chemical reaction between amino acids and reducing sugars that creates hundreds of different flavor compounds. Without this step, your beef will lack depth and complexity.
3. Sauté the Aromatics
Remove the beef and set it aside on a plate. Lower the heat and toss in your onions, carrots, and celery. Use a wooden spoon to scrape up the brown bits stuck to the bottom of the pot. These bits are called "fond" and they are pure flavor gold.
Pro Tip: Adding a pinch of baking soda to the onions can speed up caramelization by increasing the pH level, though use it sparingly to avoid affecting the final texture.
4. The Deglaze
Pour in your wine or acidic liquid. Use your spoon to vigorously scrape the bottom of the pot until the liquid is clear of debris. Let the liquid reduce by half to concentrate the flavors and cook off the harsh alcohol edge.
Pro Tip: Deglazing is a thermal shock process. The cool liquid hitting the hot pan releases the fond into the liquid, creating a complex emulsion that serves as the base for your gravy.
5. The Long Braise
Return the beef to the pot along with any accumulated juices. Add enough stock to come halfway up the side of the meat. Add your herbs and a few cloves of smashed garlic. Place the lid on tight and slide it into a 300 degree Fahrenheit oven.
Pro Tip: We use a low temperature to ensure the internal temperature of the meat rises slowly. This prevents the muscle fibers from contracting too violently, which would squeeze out all the moisture and leave the meat "stringy."
6. The Rest and Shred
Once the meat is fork-tender, remove it from the pot. Let it rest on a cutting board for at least 15 minutes before slicing or shredding. This allows the internal juices to redistribute.
Pro Tip: This accounts for thermal carryover. The internal temperature will continue to rise by 5 to 10 degrees after removal. Resting ensures that when you cut the meat, the juice stays in the fiber rather than running across the board.
The Deep Dive:
Macro Nutrition: A standard 6-ounce serving of pot roast provides roughly 45 grams of protein and 28 grams of fat. It is a powerhouse of iron, B12, and zinc. To keep it lean, trim the exterior fat cap before searing, though leaving some fat is vital for flavor and texture.
Dietary Swaps:
- Keto: Replace carrots with radishes or turnips; they mimic the texture of potatoes but with a fraction of the carbs.
- Vegan: While this guide focuses on beef, you can use the same aromatic base and "sear" large wedges of cabbage or cauliflower for a similar savory experience.
- GF: Ensure your beef stock is certified gluten-free and use cornstarch or arrowroot powder instead of flour if you choose to thicken the sauce.
The Fix-It:
- Tough Meat: If it is still chewy, it simply hasn't cooked long enough. Put the lid back on and give it another 45 minutes. Collagen takes time to melt.
- Salty Sauce: If the liquid reduced too much and became a salt bomb, add a peeled, halved potato to the pot for 20 minutes to absorb excess salt, or splash in a little water or unsalted stock.
- Greasy Gravy: Use a saucier or a fat separator to remove the top layer of oil before serving. Alternatively, chill the liquid; the fat will solidify at the top for easy removal.
Meal Prep & Reheating: Beef roasts actually taste better the next day because the flavors continue to infuse and the gelatin sets. To reheat, avoid the microwave. Place the beef and its juices in a covered dish in a 300 degree oven until warmed through. This preserves the "day-one" moisture levels.
The Wrap-Up:
Mastering dutch oven beef recipes is about more than just following a list of steps; it is about understanding the relationship between heat, time, and protein. When you see that perfectly browned crust and feel the resistance of the meat vanish under your fork, you will know you have achieved culinary excellence. This dish is a testament to the beauty of slow cooking. It turns humble ingredients into a luxurious feast that nourishes the soul as much as the body. So, grab your heavy pot, trust the process, and get ready for the best roast of your life.
The Kitchen Table:
Why is my dutch oven beef still tough?
Beef stays tough if the collagen hasn't fully converted into gelatin. This usually means it needs more time in the oven. Continue braising at a low temperature until the meat easily pulls apart with two forks.
Can I overcook beef in a dutch oven?
Yes. While it is hard to do with moist heat, eventually the muscle fibers will lose all structural integrity and become mushy. Stop cooking once the meat is "fork-tender" but still holds its shape.
Do I have to sear the meat first?
Technically no, but you should. Searing creates the Maillard reaction, which provides the deep, savory "umami" flavor that defines a great roast. Without searing, your beef will taste boiled and one-dimensional.
What is the best liquid for braising beef?
A combination of high-quality beef bone broth and a dry red wine is ideal. The broth provides body and minerals, while the acidity in the wine helps break down tough connective tissues and balances the rich fats.