
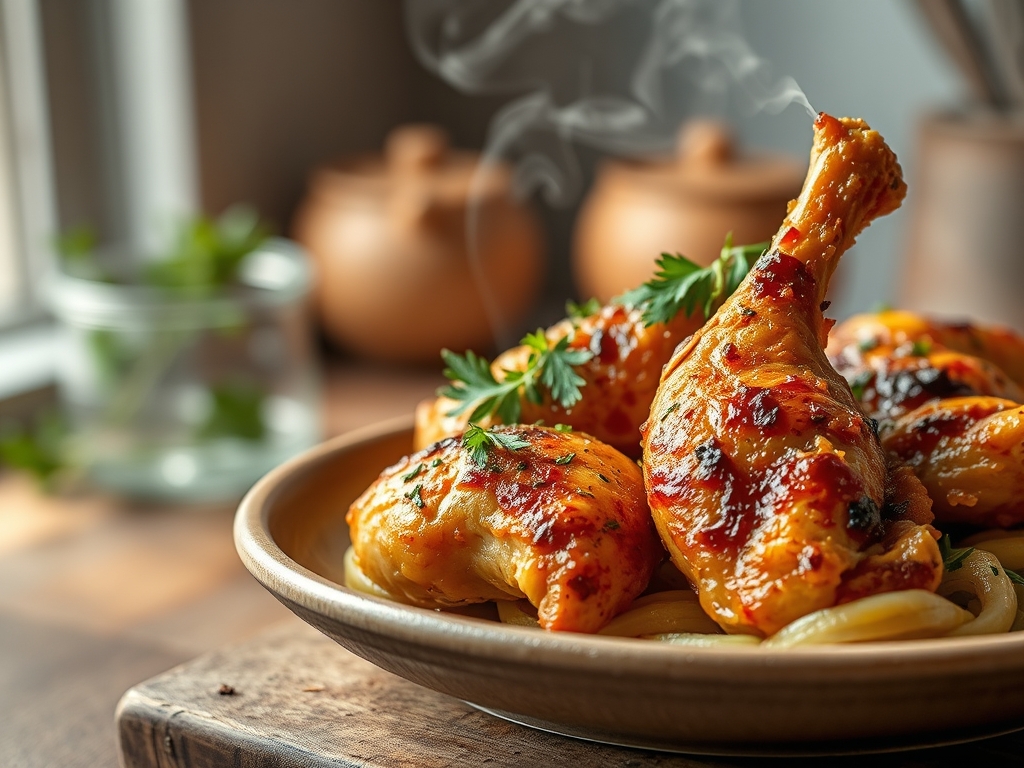
Close your eyes and listen to that specific, high-frequency shatter of a perfect crust. It is the holy grail of home cooking; the sound that confirms you have mastered the art of heat and moisture. When you search for chicken recipes crispy enough to wake the neighbors, you are not just looking for dinner; you are looking for a chemical transformation. Most home cooks settle for "golden brown," but we are aiming for a glass-like lacquer that stands up to the heaviest sauces. To get there, we have to stop treating frying like a chore and start treating it like a laboratory experiment. We are about to manipulate proteins and starches to achieve a crunch so structural it defies physics.
The secret to those legendary chicken recipes crispy textures lies in the battle against water. Moisture is the mortal enemy of the crunch. If your bird is weeping liquid into the oil, you are steaming, not frying. We want to achieve a state of rapid dehydration on the surface while maintaining a succulent, viscous interior. This requires a bit of planning and a deep understanding of how heat moves through muscle fiber. Grab your heavy-bottomed skillet and clear your counter. We are going to build a crust that is scientifically engineered to stay crunchy until the very last bite.
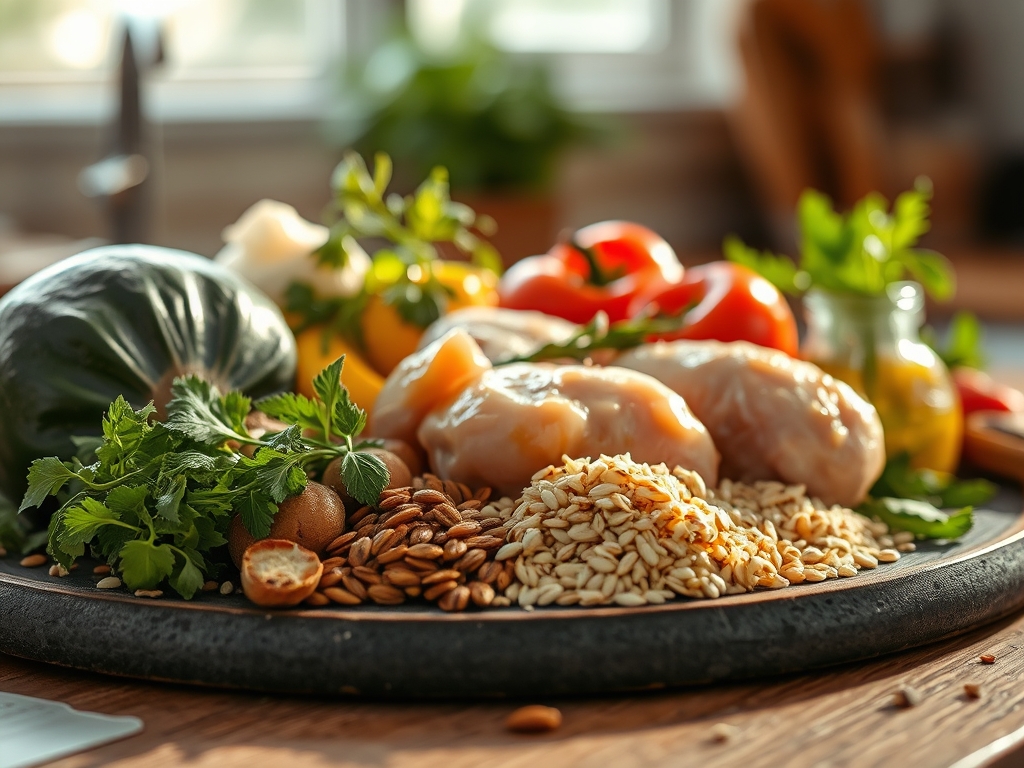
The Gathers:
Your mise-en-place is the foundation of your success. Start with high-quality poultry, ideally air-dried. Most supermarket chicken is chilled in water baths, meaning the skin is already saturated with moisture. Look for air-chilled labels to ensure the skin is taut and ready to render. You will need a high-smoke-point fat like peanut oil or clarified butter; avoid extra virgin olive oil here, as its low smoke point will result in a bitter, acrid flavor before the chicken is even cooked through.
For the dredge, we are moving beyond basic flour. You need a blend of all-purpose flour for structure and cornstarch or potato starch for that "shatter" effect. Starches lack the gluten-forming proteins of flour, which prevents the coating from becoming bread-like or chewy. Add a teaspoon of baking powder to the mix. This alkaline addition increases the pH of the surface, accelerating the Maillard reaction and creating tiny carbon dioxide bubbles that increase the surface area for maximum crunch.
Smart Substitutions: If you are avoiding gluten, a 50/50 mix of white rice flour and cornstarch actually produces a crispier result than wheat flour because it absorbs less oil. For a piquant kick, swap standard paprika for smoked pimenton. If you lack buttermilk for the brine, whisk plain yogurt with a splash of pickle juice; the lactic acid tenderizes the meat while the vinegar provides a bright, acidic counterpoint.
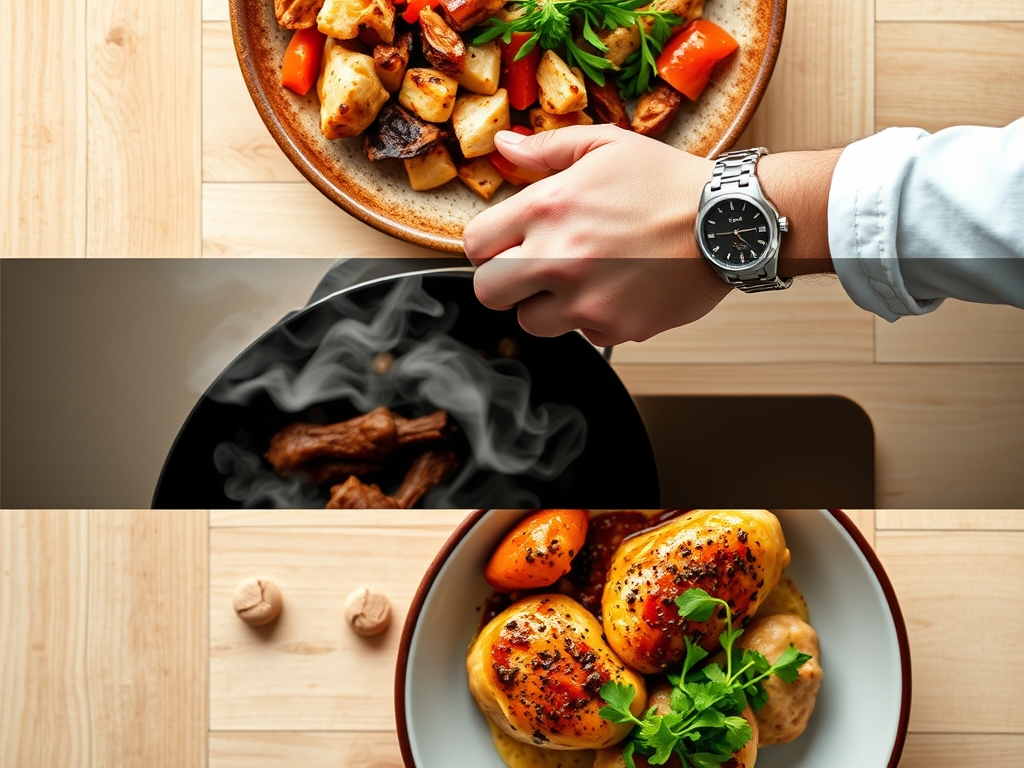
The Clock
Efficiency in the kitchen is about "Chef's Flow," which means aligning your tasks so there is zero downtime. Total active prep time is approximately 25 minutes, but the "passive" time is where the magic happens. You must allow for a 30-minute room-temperature rest for the meat. Cold chicken hitting hot oil causes the muscle fibers to seize, squeezing out moisture and dropping the oil temperature.
The frying process itself takes 12 to 15 minutes depending on the cut. However, the most critical part of the clock is the 10-minute post-fry rest. During this time, thermal carryover allows the internal temperature to rise to a safe 165 degrees Fahrenheit without overcooking the exterior. Total time from fridge to table is roughly 75 minutes. Do not rush the cooling phase; if you plate immediately, the steam escaping the meat will soften your hard-earned crust.
The Masterclass
1. The Salt Cure and Surface Prep
Dry your chicken with paper towels until the surface is matte. Use a digital scale to measure out 1.5% salt by weight and season the bird aggressively. Let it sit uncovered in the fridge for at least four hours. This acts as a dry brine, drawing moisture out of the skin and then re-absorbing the seasoned liquid into the meat.
Pro Tip: This process is called denaturing. The salt breaks down the tightly wound protein strands in the muscle, allowing them to hold onto more moisture during the high-heat cooking process.
2. The Double-Dredge Technique
Dip your seasoned chicken into a liquid wash (buttermilk and egg), then into your starch blend. Press the flour into the meat firmly with your palms. Shake off the excess, then dip and dredge a second time. This creates a thick, craggy surface with plenty of "nooks and crannies" for the oil to penetrate.
Pro Tip: Use a bench scraper to keep your workstation clean during this messy process. The double layer creates a "sacrificial" outer crust that protects the meat from drying out while it undergoes enzymatic browning.
3. The Temperature Spike
Heat your oil in a heavy-bottomed skillet (cast iron is king) to 375 degrees Fahrenheit. When you add the chicken, the temperature will naturally dip to the ideal frying range of 325 to 350 degrees. Use an infrared thermometer to monitor this constantly. If the oil is too cool, the coating will absorb fat and become greasy; too hot, and the outside burns before the inside is safe.
Pro Tip: This is the Leidenfrost effect in action. The moisture escaping the chicken creates a protective layer of steam that prevents the oil from soaking into the meat, provided the temperature is high enough.
4. The Agitation Method
Do not let the chicken sit still. Use tongs to gently move the pieces around and flip them frequently. This ensures even heat distribution and prevents "hot spots" from the bottom of the pan from scorching the coating.
Pro Tip: Moving the chicken helps to aerate the oil and ensures that the fat renders out of the skin completely. This is essential for achieving a thin, parchment-like crispness rather than a thick, flabby layer of fat.
5. The Butter Baste Finish
In the final two minutes of cooking, toss a knob of cold butter and a few sprigs of thyme into the pan. Use a large spoon to continuously douse the chicken in the foaming butter. This adds a rich, nutty flavor and fills in any microscopic gaps in the crust.
Pro Tip: This is known as Arrosage. The milk solids in the butter undergo rapid caramelization, providing a final layer of complex flavor and a deep mahogany color.
6. The Wire Rack Elevation
Never, ever drain your chicken on paper towels. This traps steam underneath the bird, which immediately turns your crispy coating into a soggy mess. Place the chicken on a wire cooling rack set over a baking sheet.
Pro Tip: Elevating the chicken allows for 360-degree air circulation. This prevents the "steaming" effect and ensures the bottom stays just as crunchy as the top.
7. The Resting Period
Let the chicken rest for at least eight minutes before slicing. This allows the internal juices to redistribute. If you cut it too soon, the liquid will flood out, ruining the structural integrity of the crust.
Pro Tip: This period allows for moisture equilibrium. The steam inside the meat settles, ensuring that the first bite is juicy while the crust remains shatteringly dry.
The Deep Dive
From a macro nutrition perspective, frying is calorie-dense, but by maintaining the correct oil temperature, you minimize oil absorption. A standard fried breast contains roughly 30g of protein and 15g of fat. For a Keto version, swap the flour for crushed pork rinds and parmesan cheese; the high fat content of the rinds creates a remarkably similar texture. For Vegan "chicken" recipes crispy enough to fool anyone, use oyster mushrooms or seitan, but ensure you use a cornstarch-heavy batter to mimic the protein-binding of eggs.
The Fix-It:
- The Coating is Falling Off: This happens because the chicken was too wet before dredging. Ensure the skin is bone-dry and use a light dusting of plain flour before the liquid wash to act as "glue."
- The Crust is Dark but the Meat is Raw: Your oil is too hot. Lower the heat and finish the chicken in a 350-degree oven.
- The Texture is Chewy: You likely overdeveloped the gluten. Use more cornstarch and stop whisking your batter once the ingredients are just combined.
Meal Prep Science: To reheat and maintain "day-one" quality, avoid the microwave at all costs. The microwave vibrates water molecules, which softens the starch bonds. Instead, use an air fryer or a toaster oven at 375 degrees for five minutes. This flash-heats the surface and re-crisps the residual oils.
The Wrap-Up
Mastering the science of the crunch is about more than just following a recipe; it is about understanding the physics of the kitchen. By controlling moisture, managing oil temperature, and choosing the right starches, you can elevate a simple bird into a culinary masterpiece. Now that you have the blueprint, go forth and shatter some expectations. Your kitchen is now a high-performance lab, and the results are going to be delicious.
The Kitchen Table
Why is my fried chicken soggy?
Sogginess is caused by trapped steam or low oil temperature. If the oil is under 325 degrees, the breading absorbs fat instead of repelling it. Always drain your chicken on a wire rack to allow steam to escape from all sides.
Can I use an air fryer for these results?
Yes, but you must spray the chicken generously with oil. Air fryers are essentially high-powered convection ovens; without a thin layer of fat on the surface, the starch cannot undergo the Maillard reaction properly to create a true crunch.
What is the best oil for frying chicken?
Peanut oil is the gold standard due to its high smoke point and neutral flavor profile. If you have allergies, avocado oil or refined coconut oil are excellent high-heat alternatives that will not burn or smoke during the process.
How do I keep the breading from falling off?
The "dry-wet-dry" method is essential. Pat the chicken dry, dredge in flour, dip in liquid, then back into the starch. Letting the breaded chicken rest for ten minutes before frying allows the starches to hydrate and "set" onto the meat.