
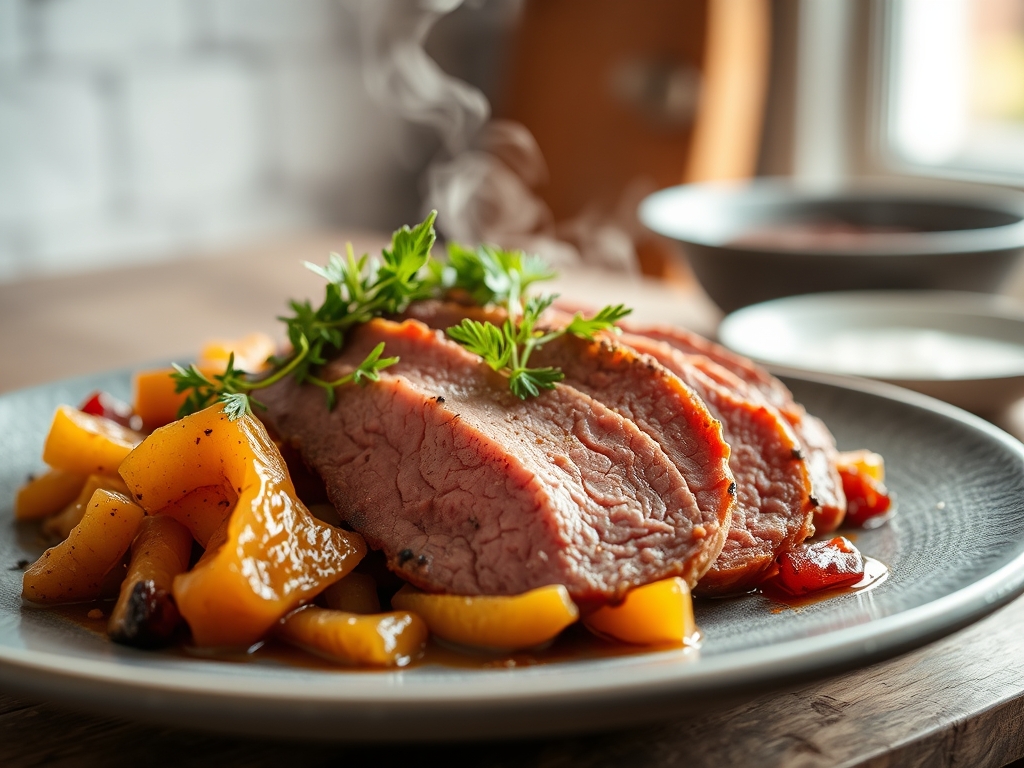
Picture the steam rising from a heavy-bottomed Dutch oven; it is thick with the scent of cloves, peppercorns, and the deep, salty promise of a cured brisket. When you look for boiled corned beef recipes, you are not just looking for a meal; you are chasing a specific kind of alchemy that turns a tough, fibrous cut of meat into something that yields at the mere suggestion of a fork. It is the ultimate comfort food, yet it is notoriously easy to ruin if you treat it like a standard pot roast. We are going for that perfect balance of salt, spice, and silkiness.
Most people think of this as a "set it and forget it" situation, but the truth is far more delicious. It is a slow-motion transformation where collagen melts into gelatin and salt-cured proteins relax under the gentle pressure of a simmer. I want your kitchen to smell like a high-end delicatessen and your brisket to have that signature pink hue that stays vibrant even after slicing. We are going to dive into the molecular mechanics of the brine and the precise thermal control needed to keep the meat from turning into a pile of dry strings. Grab your favorite apron; we are about to turn a humble brisket into a masterpiece of traditional technique.
The Gathers:
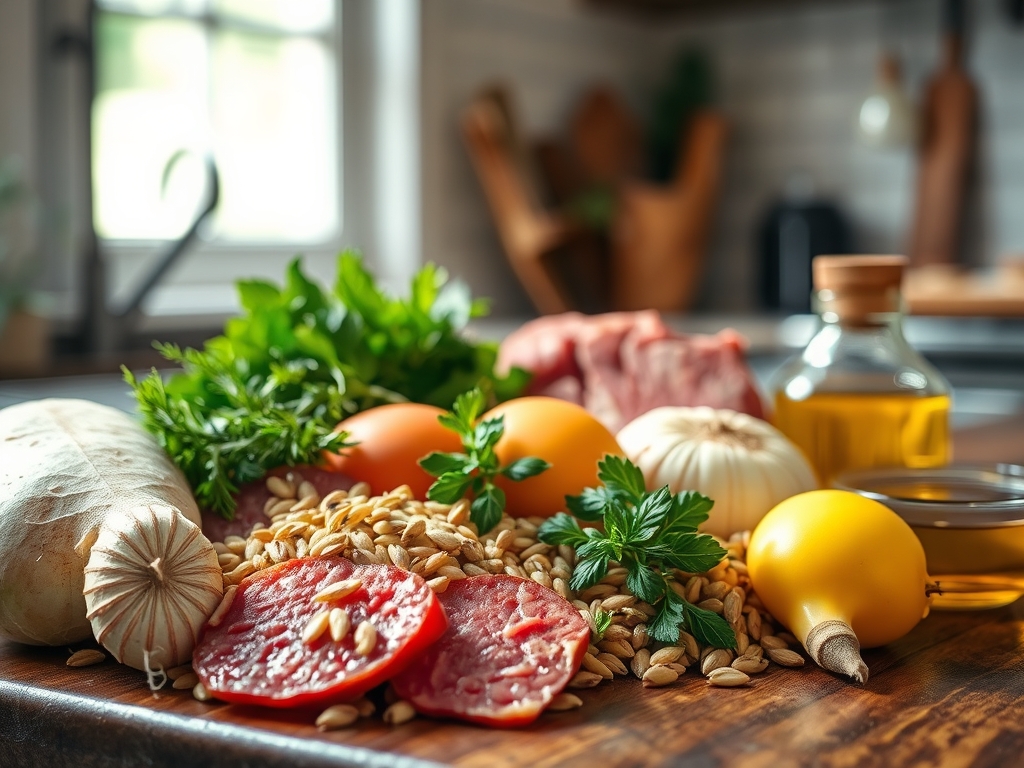
To begin, place your brisket on a clean surface and use a digital scale to verify the weight; this determines your precise cooking window. You will need a four to five pound corned beef brisket, preferably the point cut for more fat rendering or the flat cut for uniform slices. The "corn" in the name refers to the large grains of salt used in the curing process, which you must partially rinse away to control the final salinity.
Your mise-en-place should include a saucier or a small bowl to mix your aromatics: whole black peppercorns, mustard seeds, coriander seeds, and a few crushed allspice berries. Do not forget the bay leaves; they provide a subtle, herbal backbone that cuts through the fatty richness. For the vegetables, gather firm carrots, red potatoes, and a head of green cabbage.
Smart Substitutions: If you find the packaged spice packet too one-dimensional, create your own blend using star anise for a licorice-like depth or a teaspoon of red pepper flakes for a piquant kick. If you are watching your sodium, you can "double-blanch" the meat by boiling it for ten minutes, discarding the water, and starting fresh with unsalted beef stock to infuse the meat with more complex flavors.
The Clock
Efficiency in the kitchen is all about the Chef's Flow. This is not a fast process, but it is a low-effort one if you time your interventions correctly. Expect about 15 minutes of active prep time to rinse the meat and chop your aromatics. The simmering phase requires roughly 45 to 50 minutes per pound.
The "Flow" dictates that you prepare your vegetables while the meat is already an hour into its simmer. If you add them too early, they will disintegrate into a viscous mush. By staggering your additions, you ensure the potatoes remain creamy and the cabbage retains a slight structural snap. Always factor in a 20-minute resting period at the end; this is non-negotiable for moisture retention.
The Masterclass
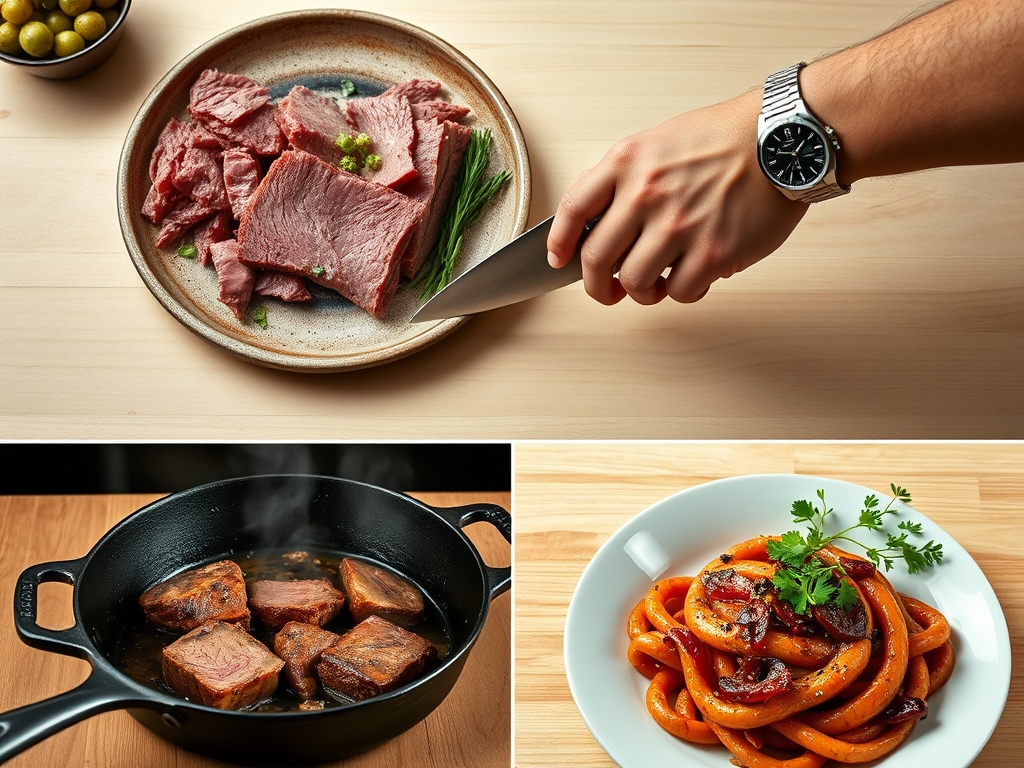
1. The Purge and Rinse
Place the brisket under cold running water to remove the excess surface brine. This prevents the cooking liquid from becoming an oversaturated salt solution, which would actually draw moisture out of the meat through osmosis.
Pro Tip: This step manages osmotic pressure. By removing surface salts, you allow the interior flavors of your aromatics to penetrate the meat more effectively rather than just coating the exterior.
2. The Initial Infusion
Place the meat in a heavy-bottomed pot and cover with water or stock by at least two inches. Add your spices and a few cloves of smashed garlic. Bring the liquid to a boil, then immediately drop the heat to a very low simmer.
Pro Tip: Maintaining a sub-boiling simmer (around 190 degrees Fahrenheit) is crucial. High heat causes the muscle fibers to contract violently, squeezing out all the internal juices and leaving the meat tough.
3. The Scum Removal
During the first thirty minutes, use a fine-mesh skimmer or a large spoon to remove the grey foam that rises to the surface. These are denatured proteins and impurities being released from the meat.
Pro Tip: Removing these impurities ensures a clean, clear cooking liquid. This prevents "off" flavors from being reabsorbed into the meat as the liquid reduces.
4. The Long Melt
Cover the pot with a tight-fitting lid to prevent evaporation. Let the brisket simmer undisturbed. This is where the connective tissue, specifically collagen, begins to break down.
Pro Tip: This is a lesson in collagen hydrolysis. At sustained low temperatures, the tough collagen fibers transform into silky gelatin, which provides that melt-in-your-mouth texture.
5. The Vegetable Introduction
About 45 minutes before the meat is finished, add your potatoes and carrots. Use tongs to nestle them around the meat so they are fully submerged in the flavorful broth.
Pro Tip: Adding vegetables late prevents enzymatic browning and overcooking. The starch in the potatoes will slightly thicken the liquid, creating a more luxurious mouthfeel.
6. The Cabbage Finish
Add the cabbage wedges in the last 15 to 20 minutes. You want them to wilt and absorb the fat from the broth without becoming translucent or sulfurous.
Pro Tip: Cabbage contains sulfur compounds that become more pungent the longer they are cooked. A short simmer keeps the flavor sweet and the texture crisp-tender.
7. The Rest and Carve
Remove the meat from the liquid and place it on a cutting board with a juice groove. Cover it loosely with foil. Wait at least 20 minutes before using a sharp carving knife to slice against the grain.
Pro Tip: This allows for thermal carryover and juice redistribution. If you cut it immediately, the internal pressure will force all the liquid out, leaving you with dry meat.
The Deep Dive
Macro Nutrition: Corned beef is a powerhouse of protein and B vitamins, though it is high in sodium and saturated fats. A standard 4-ounce serving contains roughly 280 calories and 18 grams of protein. Pairing it with fiber-rich cabbage helps balance the glycemic load of the meal.
Dietary Swaps: For a Keto version, simply omit the potatoes and add extra radishes, which take on a potato-like texture when boiled. For a Gluten-Free approach, ensure your spice mix and beef stock are certified, as some pre-packaged spices use wheat-based anti-caking agents. Vegan "corned beef" can be achieved using seitan simmered in a brine of beet juice, pickling spices, and soy sauce.
The Fix-It:
- Too Salty? If the broth is a salt bomb, add a peeled, halved raw potato for the last 30 minutes; it acts as a sponge for excess salt.
- Tough Meat? If it is still chewy, you simply haven't cooked it long enough. Put it back in the pot. Time is the only cure for stubborn collagen.
- Greasy Broth? Use a grease mop or a slice of bread to blot the surface oil before serving.
Meal Prep: To reheat, do not use the microwave; it will turn the fat rubbery. Instead, slice the cold meat and gently warm it in a saucier with a splash of the leftover cooking liquid. This "low and slow" reheating preserves the gelatinous texture.
The Wrap-Up
Mastering boiled corned beef recipes is a rite of passage for any home cook who loves the intersection of science and soul food. It is about patience, temperature control, and respecting the chemistry of the cure. When you pull that brisket out and see it glistening, you know you have done more than just cook; you have engineered a culinary hug. Serve it with a side of grainy mustard and a cold drink, and watch your friends marvel at your kitchen prowess. You have got this!
The Kitchen Table
Can I cook corned beef in a slow cooker?
Yes, set it on low for 8 to 10 hours. The low heat is perfect for breaking down collagen, but ensure the meat is fully submerged in liquid to prevent the top from drying out.
Why is my corned beef always tough?
Toughness usually results from boiling the meat too vigorously or not cooking it long enough. High heat tightens muscle fibers; a gentle simmer and patience are required to melt the connective tissue into gelatin.
How do I know which way the grain runs?
Look for the long parallel lines of muscle fibers on the raw meat. After cooking, slice perpendicular to these lines. This shortens the fibers, making every bite tender rather than stringy or chewy.
Should I keep the fat cap on?
Absolutely. The fat cap insulates the meat during the long simmer and renders down, providing essential moisture and flavor. You can always trim excess fat after the cooking process is complete before serving.