
Perfectly grilled chicken releases a plume of smoke carrying caramelized proteins and rendered fat, the surface lacquered deep amber while the interior remains silky and impossibly moist. Most home cooks struggle with dry, rubbery breasts or undercooked thighs because they lack a systematic approach to heat management and moisture retention. These easy grilling chicken recipes rely on ten repeatable techniques that transform backyard cooking into restaurant-caliber execution, emphasizing temperature control, strategic brining, and proper resting protocols that preserve juiciness from first cut to final bite.
The challenge with poultry on a grill stems from its dual-texture composition: white meat dries out above 165°F while dark meat demands higher temperatures to break down collagen. Understanding this biological reality allows you to manipulate cooking zones, timing, and preparation methods to achieve uniformly succulent results. Each of the following tips addresses a specific failure point in the grilling process, building a foolproof system for consistent performance regardless of cut, marinade, or grill type.
The Gathers

Bone-in, skin-on chicken thighs glisten with subcutaneous fat that will render into natural basting liquid during cooking, their irregular shape requiring strategic positioning over heat zones. Boneless, skinless breasts present uniform thickness after pounding, their pale pink flesh ready to absorb brine or marinade in under thirty minutes. As you see in the ingredient spread below, kosher salt forms the foundation, its coarse crystals dissolving slowly to penetrate muscle fibers through osmosis.
Fresh garlic cloves release allicin when crushed, their pungent oils mixing with olive oil to create a fat-soluble flavor carrier that adheres to poultry skin. Acidic components like lemon juice or apple cider vinegar denature surface proteins, creating a "cooked" layer that locks in moisture when heat is applied. Black peppercorns, whole or cracked, deliver piperine compounds that survive high temperatures without turning bitter.
Smart Substitutions: Replace olive oil with avocado oil for a higher smoke point (520°F versus 375°F). Swap kosher salt for fine sea salt at a 1:0.7 ratio to avoid oversalting. Use lime juice instead of lemon for a sharper, more floral acidity that pairs beautifully with cumin or coriander rubs.
The Clock
Prep Time: 15 minutes (basic seasoning) to 4 hours (advanced brining)
Cook Time: 18-25 minutes (breasts), 28-35 minutes (thighs and drumsticks)
Total Time: 33 minutes to 4 hours 35 minutes
Chef's Flow: Begin brining or marinating in the morning for evening service. Pull chicken from refrigeration 30 minutes before grilling to temper, reducing thermal shock that causes muscle fibers to seize. While the grill preheats, pat surfaces completely dry with paper towels, a critical step that promotes Maillard browning instead of steam. This staggered workflow prevents last-minute chaos and ensures proteins hit the grate at optimal temperature.
The Masterclass
1. Dry-Brine with Salt and Time
Coat chicken pieces with kosher salt at a ratio of 1/2 teaspoon per pound, then refrigerate uncovered for 2 to 12 hours. The salt draws moisture to the surface, dissolves, then migrates back into the meat carrying seasoning deep into muscle tissue.
Why It Works: This process restructures myosin proteins, increasing their water-holding capacity by up to 10%. The uncovered refrigeration also dries the skin, ensuring crispness when fat renders over flame.
2. Create a Two-Zone Fire
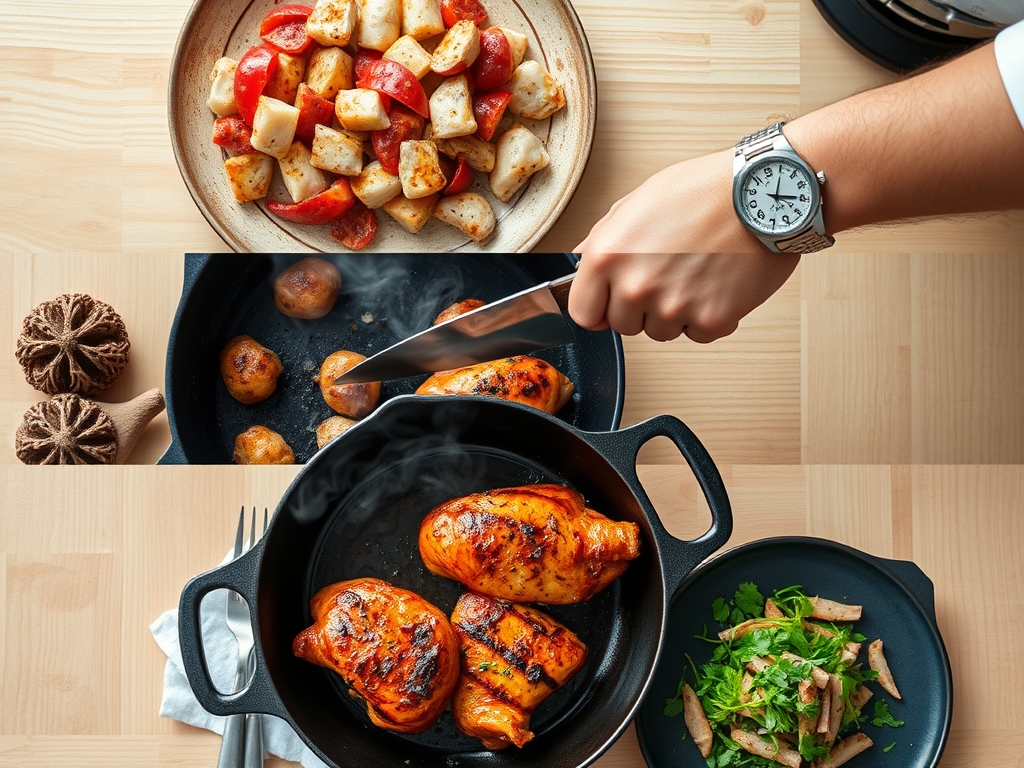
Bank all coals or activate burners on one side only, establishing a direct high-heat zone (450-500°F) and an indirect moderate zone (300-325°F). Note the texture shown in the step-by-step photos where sear marks develop over direct heat before pieces migrate to cooler territory.
Chef's Secret: This setup mimics professional broiler technique, allowing you to develop color without overcooking the interior, then finish with gentle convective heat.
3. Oil the Grate, Not the Chicken
Fold a paper towel into quarters, grip with tongs, dip in neutral oil, and swipe across preheated grill bars three times. Applying oil directly to chicken causes flare-ups and uneven browning.
Why It Works: A thin oil film on hot metal creates a temporary non-stick barrier through the Leidenfrost effect, where vaporization forms a protective cushion between protein and iron.
4. Start Skin-Side Down Over Direct Heat
Place chicken skin-side down over the hottest zone and leave undisturbed for 6 to 8 minutes. Resist the urge to peek; premature flipping tears delicate skin and interrupts crust formation.
Chef's Secret: Listen for the sizzle pitch to drop slightly, indicating moisture has evaporated and browning has begun. When the chicken releases easily from the grate, it's ready to flip.
5. Flip Once, Then Move to Indirect Heat
After achieving deep golden-brown color, flip pieces and immediately transfer to the cooler zone. Continue cooking with the lid closed, maintaining steady temperature through convection.
Why It Works: Radiant heat from the lid and hot grill surfaces cooks from all directions, eliminating cold spots while preventing flare-ups from dripping fat.
6. Monitor Internal Temperature Religiously
Insert an instant-read thermometer into the thickest part of each piece, avoiding bone contact. Pull breasts at 160°F, thighs and drumsticks at 175°F.
Chef's Secret: Carryover cooking adds 5 to 7 degrees after removal from heat. This buffer prevents the dreaded dry-as-sawdust texture that plagues poultry perfectionists.
7. Baste During the Final Five Minutes
Brush with melted butter, herb oil, or barbecue sauce only in the last stage of cooking. Early application burns sugars and causes bitter carbonization.
Why It Works: Late basting creates a glossy, flavorful finish without compromising the dry surface needed for initial crisping.
8. Rest for Five to Ten Minutes
Transfer chicken to a wire rack set over a sheet pan, allowing air circulation on all sides. Tenting with foil traps steam and softens hard-won crispy skin.
Chef's Secret: Resting allows juices driven to the center by heat to redistribute through capillary action, reducing moisture loss by up to 30% when you slice.
9. Slice Against the Grain
Identify the direction of muscle fibers (they run lengthwise in breasts) and cut perpendicular to shorten their length. This mechanical tenderization makes even well-done meat seem more succulent.
Why It Works: Shorter fibers require less work to chew, creating a perception of tenderness regardless of actual moisture content.
10. Serve Immediately or Hold Warm
If timing requires a hold, place pieces in a 170°F oven on a wire rack. This gentle ambient heat maintains temperature without additional cooking.
Chef's Secret: Commercial kitchens use heated drawers set to this precise temperature, the sweet spot where proteins stay warm but don't denature further.
Nutritional Info
A 4-ounce serving of grilled chicken breast delivers approximately 185 calories, 35g protein, 0g carbohydrates, and 4g fat (skinless). With skin, fat content rises to 11g while protein remains consistent. Thighs contain 215 calories per 4-ounce serving (skinless), 28g protein, and 10g fat, the higher intramuscular fat content contributing to perceived juiciness.
Grilling introduces minimal added calories unless basting with butter or oil-based sauces. A tablespoon of olive oil adds 120 calories and 14g fat, distributed across multiple servings. Dry-brining contributes negligible sodium when compared to commercial marinades, typically 200-300mg per serving versus 600-900mg in bottled products.
Dietary Swaps
Keto: Chicken is inherently keto-friendly. Maximize fat by leaving skin intact and basting with butter mixed with fresh herbs. Serve alongside grilled zucchini or cauliflower steaks dressed with tahini.
Gluten-Free: All components in basic grilled chicken qualify as gluten-free. Watch for cross-contamination in spice blends or barbecue sauces that may contain malt vinegar or soy sauce. Use tamari or coconut aminos as substitutes.
Vegan: Replace chicken with thick-cut portobello mushroom caps or firm tofu slabs pressed for 30 minutes to expel moisture. Marinate in the same acid-oil-spice blends, then grill over direct heat for 4-5 minutes per side.
Serving & Presentation
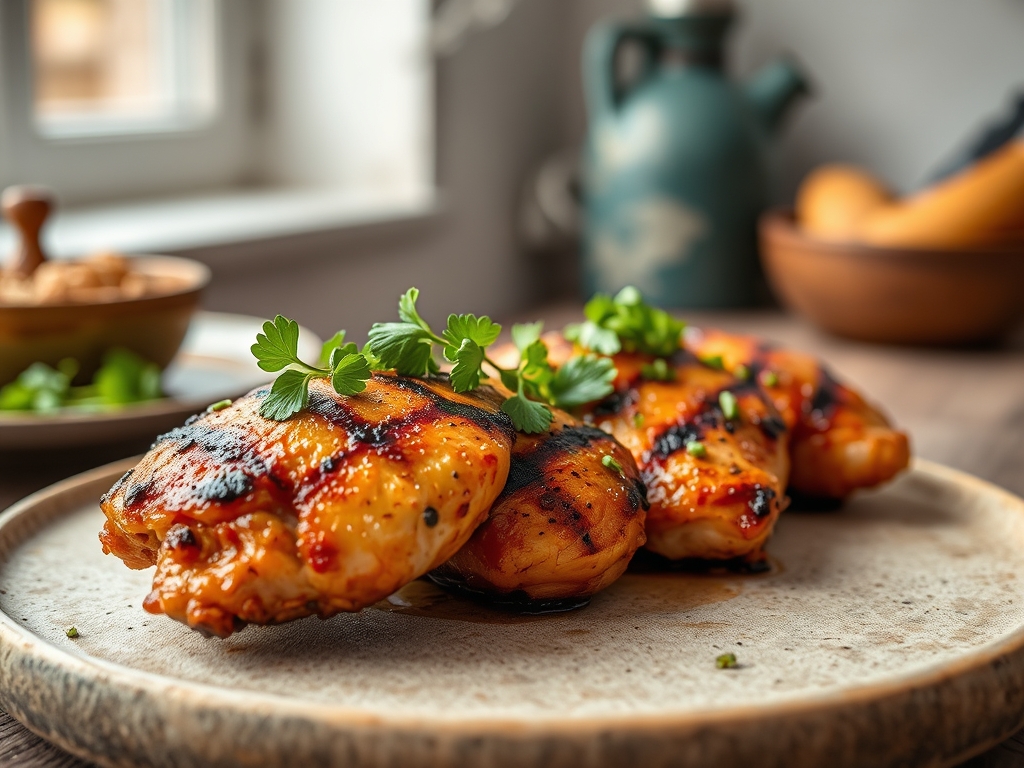
Rustic Board: Arrange chicken pieces on a wooden cutting board, scatter with fresh herb leaves (parsley, cilantro, dill), and drizzle with finishing olive oil. Serve lemon wedges and flaky sea salt on the side for DIY seasoning.
Composed Plate: Slice breast on the bias into five even pieces, fan across the plate over a smear of romesco or green goddess dressing. Add charred lemon half and microgreens for height.
Family-Style Platter: Stack drumsticks and thighs in a shallow bowl lined with parchment, pour pan juices or chimichurri over the top, and garnish with pickled red onions for acid contrast.
The Pro-Dodge
Pitfall 1: Starting with Cold Chicken
Cold meat hitting a hot grill causes exterior to overcook before the center reaches safe temperature. Fix: Temper at room temperature for 30 minutes, which shortens cook time by 20% and promotes even doneness.
Pitfall 2: Constant Flipping and Poking
Excessive movement prevents crust formation and releases precious juices. Fix: Commit to a single flip midway through cooking, trusting the two-zone method to prevent burning.
Pitfall 3: Cutting Immediately After Grilling
Slicing hot chicken causes a flood of juices onto the cutting board. Fix: Respect the rest period; patience here is the difference between moist and dry.
The Meal Prep Corner
Grilled chicken holds beautifully for four days in airtight containers, its flavor developing complexity as seasonings meld. Refrigerate within two hours of cooking, layering pieces between parchment to prevent sticking. Whole pieces reheat better than sliced; warm in a 300°F oven for 12-15 minutes to restore crispy skin without drying the interior.
Freeze cooked chicken for up to three months in vacuum-sealed bags or freezer-safe containers with minimal air exposure. Thaw overnight in the refrigerator, then reheat as above. Avoid microwaving, which creates rubbery texture through uneven steam heating.
For meal prep bowls, slice chicken while still slightly warm and toss with a small amount of olive oil to prevent surface drying. Pair with quinoa, roasted vegetables, and a fat-based dressing that adds moisture when reheated.
The Wrap-Up
Mastering these ten techniques transforms grilling from guesswork into a reliable system that produces juicy chicken every single time. The combination of dry-brining, two-zone cooking, and precise temperature monitoring addresses the biological challenges of poultry while maximizing flavor development through controlled browning. Whether you're preparing easy grilling chicken recipes for weeknight dinners or weekend gatherings, these methods scale effortlessly from four pieces to forty.
Test each tip individually, then layer them together as your confidence builds. Document your results, adjust for your specific grill's quirks, and soon you'll develop an intuitive feel for perfect doneness. Share your grilling victories in the comments below, including any regional rubs or marinades that deserve spotlight.
The Kitchen Table
Q: Can I brine chicken for too long?
Yes. Beyond 12 hours, salt begins to cure the meat, creating a ham-like texture. Stick to 2-4 hours for breasts, 4-8 hours for dark meat. If you accidentally over-brine, rinse thoroughly and reduce seasoning in subsequent steps.
Q: How do I prevent flare-ups without sacrificing char?
Trim excess fat before grilling and use the two-zone method to move pieces away from flames when rendering fat ignites. Keep a spray bottle of water nearby for emergency spot control, but avoid dousing the entire fire.
Q: What's the best wood for smoking chicken?
Fruitwoods like apple or cherry provide mild, sweet smoke that complements poultry without overwhelming delicate flavor. Hickory and mesquite work for heavily spiced rubs but can turn bitter with prolonged exposure.
Q: Should I pound chicken breasts to even thickness?
Absolutely. Place breasts between plastic wrap and use a meat mallet to achieve uniform 3/4-inch thickness. This ensures simultaneous cooking across the entire piece, eliminating thick sections that remain undercooked when thin edges finish.
Q: Can I use boneless, skinless thighs instead of breasts?
Thighs are superior for grilling due to higher fat content and more forgiving cooking window. They remain juicy even at 180°F internal temperature, making them ideal for beginners still mastering temperature control.