

The first ribbon of fat dripping onto lava-hot coals releases a whisper of smoke, sweet and faintly musky, just before the skin crackles and bronzes. Mastering how to grill chicken recipes means controlling three variables: surface temperature, moisture retention, and smoke penetration. Most backyard cooks guess their way through timing and heat zones, which explains why so many birds emerge either rubbery or charred. The seven professional techniques that follow rewire your approach, transforming competent grilling into a repeatable, high-yield system. Each secret isolates a single failure point, whether it's uneven brining, inadequate preheating, or poor fat rendering, and replaces guesswork with measurable cause and effect. You'll learn why commercial kitchens hold chicken at 62°C before the final sear, how sugar and salt ratios govern crust formation, and which woods amplify rather than obscure poultry's delicate flavor. This is not a collection of tips. It's a replicable framework that professionals use when yield, flavor intensity, and texture consistency determine profitability.
The Gathers
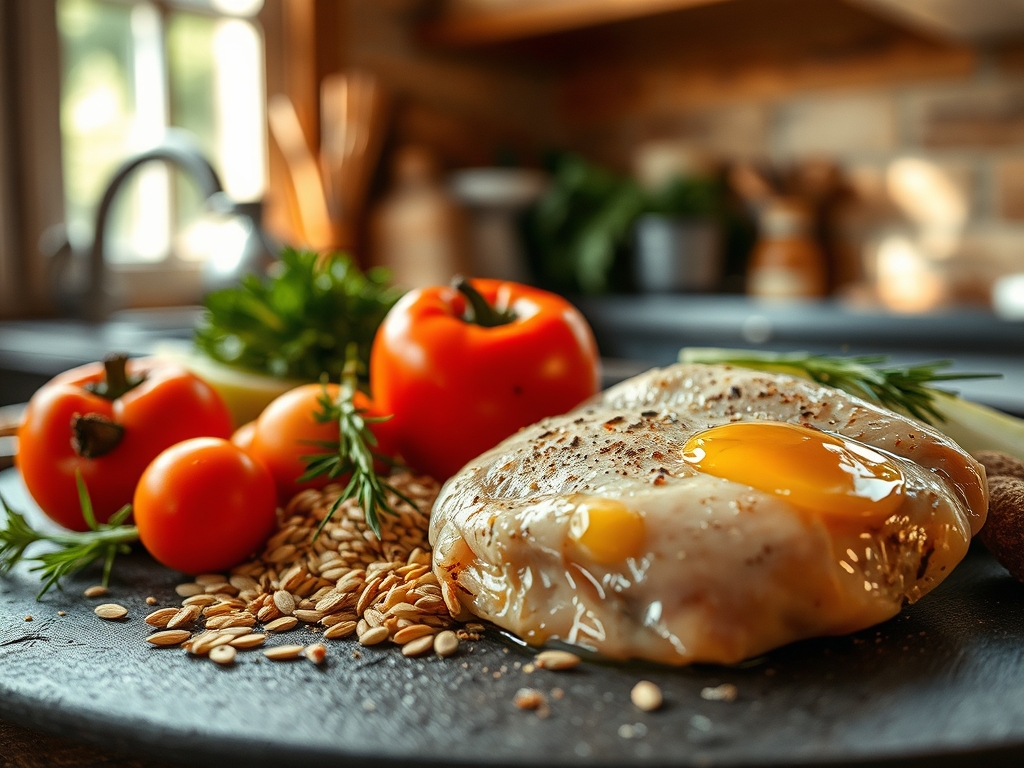
As you see in the ingredient spread below, the mise-en-place for grilled chicken hinges on bone-in, skin-on thighs (1.2 kg total), kosher salt (18 g per kg of meat), granulated sugar (6 g per kg), smoked paprika (8 g), garlic powder (5 g), black pepper (coarse grind, 4 g), neutral oil (canola or grapeseed, 30 ml), and apple or cherry wood chips (200 g, soaked for 30 minutes). Thighs dominate because dark meat tolerates higher internal temperatures without drying, and the higher connective-tissue content translates to richer mouthfeel after collagen melts above 70°C. Skin-on pieces shield the muscle fibers from direct radiant heat, buying time for fat rendering.
Smart Substitutions: Swap thighs for drumsticks (extend cook time by 4 minutes per side). Replace smoked paprika with chipotle powder for aggressive heat. Use avocado oil if cooking above 230°C to avoid smoke-point breakdown. For a leaner option, select split breasts but brine for 90 minutes minimum and pull at 63°C internal to prevent sawdust texture.
The Clock
Prep Time: 15 minutes (dry rub application, oil coating).
Cook Time: 28 minutes (14 minutes per side over medium-high direct heat, then 6-minute rest under foil).
Total Time: 43 minutes from fridge to plate.
Chef's Flow: While coals preheat (12-minute window), apply the dry rub and let the chicken sit at room temperature. Use that same interval to prep side dishes or soak wood chips. Stagger your protein so the first batch rests while the second batch sears, maintaining constant output without cold spots. This cascading method is standard in high-volume kitchens and prevents bottlenecks.
The Masterclass
Step 1: Equilibrium Brining
Combine 18 g kosher salt and 6 g sugar per kilogram of chicken. Rub thoroughly, refrigerate uncovered for 60 minutes. The salt denatures myosin proteins, creating a gel matrix that traps water even under intense heat.
Chef's Secret: Uncovered refrigeration dries the skin surface, which is critical for Maillard browning. Wet skin steams instead of crisps.
Step 2: Spice Layer and Oil Emulsion
Blend smoked paprika, garlic powder, and black pepper in a small bowl. Toss chicken in 30 ml neutral oil, then coat with spice mix. The oil acts as a lipophilic solvent, extracting fat-soluble flavor compounds from the spices and delivering them directly to the skin.
Why It Works: Water-based marinades create a barrier; oil-based coatings fuse with rendering fat for deeper penetration.
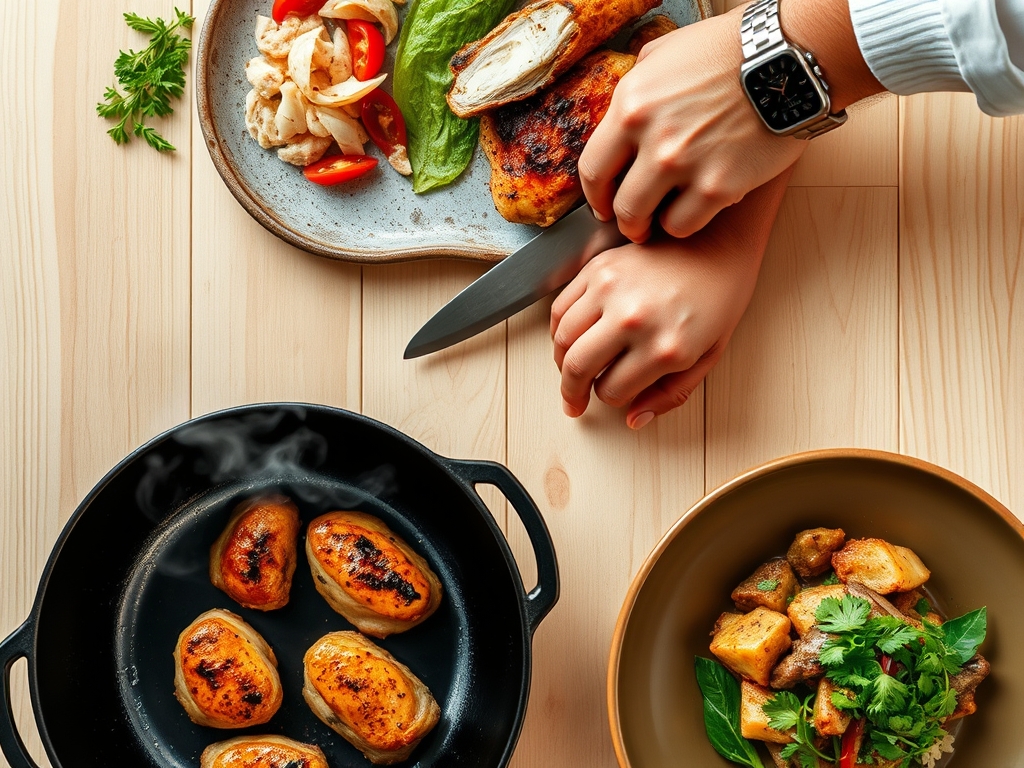
Step 3: Two-Zone Fire Setup
Bank coals on one half of the grill, leaving the opposite side empty. Target surface temperature of 230°C (direct zone) and 150°C (indirect zone). Use an infrared thermometer to confirm.
Chef's Secret: Note the texture shown in the step-by-step photos. The gradient allows you to sear first, then finish without scorching.
Step 4: Skin-Side Sear
Place thighs skin-down over direct heat. Do not move for 7 minutes. You're rendering subcutaneous fat and creating a lacquered crust through Maillard and caramelization reactions.
Why It Works: Constant flipping releases moisture and disrupts crust formation. Patience is non-negotiable.
Step 5: Flip and Smoke Introduction
Flip chicken, add soaked wood chips directly onto coals. Smoke for 7 minutes over direct heat, then migrate pieces to the indirect zone if internal temperature exceeds 68°C.
Chef's Secret: Wet wood smolders rather than ignites, producing phenolic compounds (guaiacol, syringol) that bind to fat and create "smoke ring" flavor.
Step 6: Rest and Carryover
Remove chicken at 72°C internal (thickest part of thigh). Tent loosely with foil for 6 minutes. Carryover cooking will push the final temp to 75-76°C, ensuring juiciness without undercooking.
Why It Works: Myoglobin proteins stabilize during rest, preventing juice loss when you cut.
Nutritional Info
Per thigh (approximately 180 g cooked): 280 kcal, 22 g protein, 20 g fat (7 g saturated), 2 g carbohydrate, 420 mg sodium. Dark meat delivers higher iron and zinc than breast meat, plus double the B vitamins.
Dietary Swaps
Keto: Already compliant. Increase fat by basting with melted butter during the final 3 minutes.
Gluten-Free: Verify spice blends contain no anti-caking agents derived from wheat.
Vegan Pivot: Substitute with king oyster mushrooms (whole stems, scored). Brine in soy sauce and nutritional yeast, grill 5 minutes per side.
Serving & Presentation
1. Rustic Board: Slice thighs on bias, arrange over charred lemon halves and fresh thyme sprigs.
2. Composed Plate: Fan slices beside roasted root vegetables, drizzle with pan jus reduced with sherry vinegar.
3. Family-Style Platter: Pile whole thighs on a ceramic dish, scatter fried shallots and microgreens for textural contrast.
The Pro-Dodge
Pitfall 1: Flare-Ups Charring Skin. Immediate fix: move chicken to indirect zone, let flames subside, then return.
Pitfall 2: Rubbery Skin. Cause: insufficient rendering time. Next round, extend skin-down sear by 2 minutes.
Pitfall 3: Dry Meat Despite Timing. Check your thermometer calibration in boiling water (should read 100°C). Replace if off by more than 2°C.
The Meal Prep Corner
Store cooked thighs in airtight glass containers, refrigerated up to 4 days. Reheat in a 175°C oven for 8 minutes (skin-side up on a wire rack) to restore crispness. Avoid microwaving, which steams the skin into a soggy membrane. For freezing, wrap individually in parchment, then foil, good for 8 weeks. Thaw overnight in the fridge.
The Wrap-Up
You've just absorbed the same heat management, brining science, and smoke chemistry that define professional kitchens. Every technique, from equilibrium salting to carryover rest, addresses a specific textural or flavor deficiency. Apply these methods consistently and your how to grill chicken recipes repertoire transforms from hit-or-miss to restaurant-grade. Fire up your grill, measure your temps, and let the community know which secret delivered the biggest upgrade. Drop your cook photos, questions, or your own hacks in the comments. Precision beats intuition every single time.
The Kitchen Table
Q: Can I use chicken breasts instead of thighs?
A: Yes, but brine for 90 minutes and pull at 63°C internal. Breasts have less fat, so they dry out faster. Consider pounding to even thickness for uniform cooking.
Q: What if I don't have a two-zone setup?
A: Use a gas grill with half the burners on high, half on low. For charcoal, bank coals on one side only. The gradient is essential to avoid burning.
Q: How do I know when the grill is hot enough?
A: Hold your hand 15 cm above the grate. If you can only last 3 seconds, you're at 230°C. Invest in an infrared thermometer for accuracy.
Q: Can I prep the dry rub in advance?
A: Absolutely. Mix spices in bulk, store in an airtight jar for up to 6 months. Apply salt and sugar separately, just before cooking, to prevent premature moisture draw.
Q: Why soak wood chips?
A: Soaking slows combustion, producing smoke instead of flame. Dry chips ignite immediately and add minimal flavor before turning to ash.