
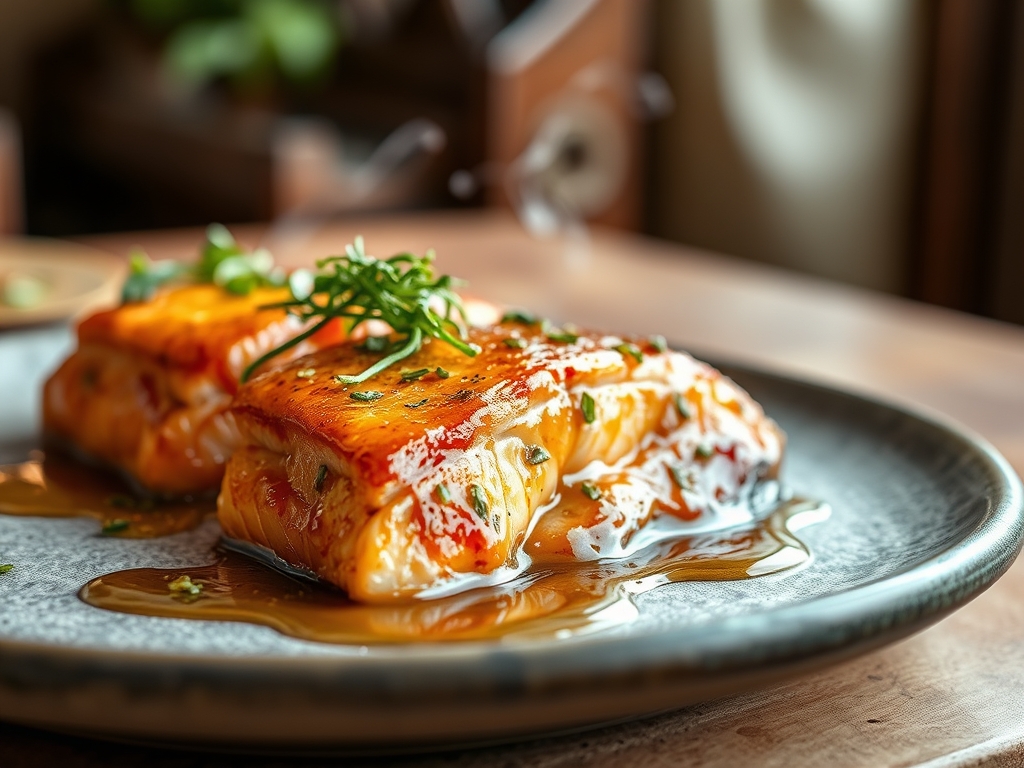
Imagine the sound of a heavy-bottomed stainless steel skillet meeting a high-flame burner; it is a metallic ring that signals the start of something transformative. As the oil reaches its shimmering smoke point, you drop a cold fillet of Atlantic salmon into the pan. The immediate, violent hiss is the sound of water evaporating instantly, allowing the Maillard reaction to begin its work on the proteins. This is the foundation of the most elite honey garlic glazed salmon recipes. Within seconds, the kitchen fills with the scent of toasted sugars and oceanic richness. You are not just cooking dinner; you are managing a complex series of chemical reactions to achieve that elusive balance of a glass-like crust and a buttery, translucent interior.
The magic happens when the viscous sweetness of raw honey meets the sharp, piquant bite of freshly minced garlic. As the glaze hits the hot metal, it deglazes the pan, lifting the savory fond from the bottom and incorporating it into a thick, mahogany sauce. The result is a dish that feels like a high-end bistro luxury but takes less time than ordering a pizza. Let us dive into the mechanics of the perfect sear and the chemistry of the glaze.
The Gathers:
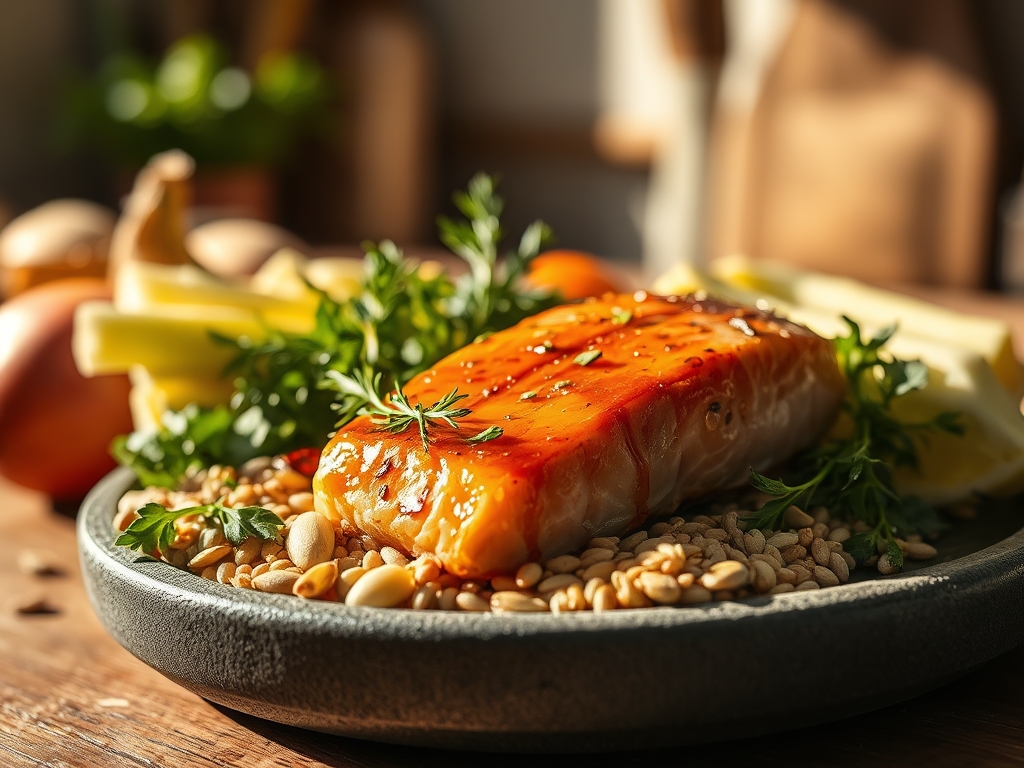
To execute this dish with precision, your mise-en-place must be flawless. Start with six-ounce center-cut salmon fillets. Look for vibrant color and firm tissue structure; this indicates high levels of astaxanthin and intact cellular walls. You will need raw, unfiltered honey for its complex enzyme profile and high glucose content, which aids in rapid caramelization.
For the aromatic base, use fresh garlic cloves rather than the pre-minced variety found in jars. The sulfurous compounds, specifically allicin, are most potent when the garlic is freshly crushed. You will also need low-sodium soy sauce to provide a salty umami backbone without over-seasoning, and fresh lemon juice to provide the citric acid necessary to brighten the heavy fats. Use a microplane to zest the lemon and a digital scale to ensure your honey-to-soy ratio is exactly 2:1 by weight.
Smart Substitutions: If you are avoiding soy, coconut aminos offer a similar savory profile with a lower glycemic index. For those who prefer a deeper, smokier heat, replace the black pepper with a pinch of Aleppo pepper or smoked paprika to introduce phenols that complement the charred honey.
The Clock
Efficiency in the kitchen is about "Chef's Flow," which is the ability to overlap tasks so that no heat is wasted. Your total active prep time is exactly 10 minutes, mostly dedicated to the precision knife work of mincing garlic and portioning fish. The cook time is a brisk 8 to 12 minutes, depending on the thickness of your fillets.
The flow begins with the "tempering" of the fish; letting the salmon sit at room temperature for 15 minutes prevents the muscle fibers from seizing up when they hit the pan. While the fish tempers, you whisk your glaze in a small saucier. By the time your skillet is screaming hot, your glaze is ready, your fish is dry, and your garnishes are chopped. This synchronized approach ensures the salmon never sits long enough to lose its structural integrity.
The Masterclass
1. The Moisture Extraction
Pat the salmon fillets bone-dry with paper towels. Season aggressively with kosher salt and cracked black pepper. Salt acts as a humectant, drawing out surface moisture which must be wiped away again right before the fish hits the pan.
Pro Tip: Surface moisture is the enemy of the sear. If the skin is damp, the energy of the pan goes into boiling water rather than browning the protein. This is known as the latent heat of vaporization; keeping it dry ensures an immediate crisp.
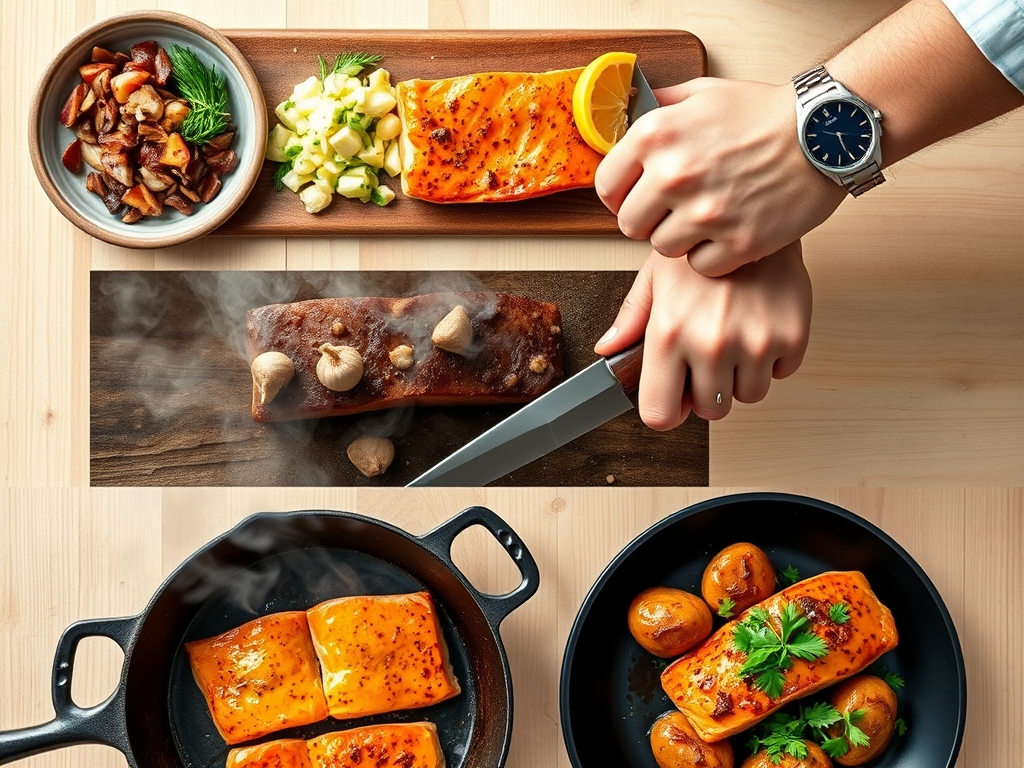
2. The High-Heat Sear
Heat two tablespoons of high-smoke-point oil (like avocado or grapeseed) in your skillet until it ripples. Lay the salmon away from you to avoid oil splatter. Press down lightly with a fish spatula to ensure total surface contact.
Pro Tip: This initial contact creates "thermal shock," which helps the skin proteins contract and crisp. Avoid moving the fish for at least three minutes; the fish will naturally "release" from the pan once the proteins have sufficiently denatured and browned.
3. The Aromatic Infusion
Flip the fillets using tongs. Lower the heat to medium-high and add your minced garlic and a knob of unsalted butter to the empty spaces in the pan. The butter will foam as the water content evaporates.
Pro Tip: This is the "Baste Phase." As the garlic softens, it releases essential oils into the butter. Spooning this hot, flavored fat over the cooked side of the fish utilizes convection to finish the internal cooking gently.
4. The Glaze Reduction
Pour your honey, soy, and lemon mixture directly into the pan. The liquid will bubble vigorously. Use a whisk to incorporate the garlic and butter into the glaze, creating a temporary emulsion.
Pro Tip: As the water in the sauce evaporates, the sugar concentration rises, increasing the boiling point. This creates a thick, syrupy consistency through a process called "sugar concentration," allowing the glaze to cling to the salmon's surface.
5. The Thermal Carryover
Remove the pan from the heat when the salmon reaches an internal temperature of 125 degrees Fahrenheit. Transfer the fillets to a warm plate and let them rest for three minutes while the sauce continues to thicken in the residual heat of the pan.
Pro Tip: Resting allows for "thermal carryover," where the internal temperature rises another 5 to 10 degrees. This prevents the albumin (the white protein) from leaking out, keeping the fish succulent.
The Deep Dive
From a nutritional standpoint, this dish is a powerhouse of Omega-3 fatty acids, specifically EPA and DHA, which are vital for cognitive function. A standard six-ounce serving provides roughly 34 grams of high-quality protein and a significant dose of Vitamin B12.
Dietary Swaps: To make this Keto-friendly, replace the honey with a monk fruit-based syrup and use liquid aminos. For a vegan "salmon" alternative, use thick slabs of roasted cauliflower or firm tofu, though you will need to increase the oil content to mimic the fatty mouthfeel of the fish.
The Fix-It:
- The Glaze is Too Thin: Continue to simmer the sauce alone after removing the fish. The reduction will naturally thicken as the sugars concentrate.
- The Garlic is Bitter: You likely burnt the garlic. Next time, add it only after the flip, and ensure there is enough fat in the pan to insulate the delicate pieces.
- The Fish is Dry: You bypassed the resting phase. Always pull the fish off the heat slightly "underdone" to account for carryover cooking.
Meal Prep: If reheating, do not use a microwave; it turns the fats rancid and the texture rubbery. Instead, place the salmon in a covered pan with a splash of water over low heat. This creates a steam chamber that rehydrates the proteins without overcooking the core.
The Wrap-Up
Mastering honey garlic glazed salmon recipes is a rite of passage for any home cook looking to bridge the gap between "tasty" and "technical." By understanding the physics of heat transfer and the chemistry of sugar reduction, you transform a simple fillet into a masterpiece of texture and flavor. The contrast of the salty soy against the floral honey, punctuated by the sharp acidity of lemon, creates a profile that hits every taste bud. Now, grab your skillet, trust the science, and get searing.
The Kitchen Table
How do I prevent the salmon skin from sticking?
Ensure your pan is sufficiently hot before adding oil. Use a high-smoke-point oil and do not attempt to flip the fish until it naturally releases from the surface. A thin, flexible fish spatula is the best tool for this.
Can I use frozen salmon for this recipe?
Yes, but it must be completely thawed and patted dry. Frozen fish often contains more internal moisture; use a bench scraper to remove any excess water from your cutting board to keep the fillets dry.
What is the best honey to use for glazing?
A mild, floral honey like Clover or Wildflower works best. Avoid dark, robust honeys like Buckwheat, as their strong mineral flavor can overwhelm the delicate fats of the salmon during the reduction process.
Why did my glaze turn into hard candy?
You over-reduced the sugars. If the glaze becomes too thick or tacky, immediately add a tablespoon of hot water or lemon juice and whisk vigorously to re-incorporate the syrup into a pourable state.