

Close your eyes and listen for that distinct, hollow shatter that only happens when a serrated knife glides through a golden crust. We are moving far beyond soggy breading and entering the realm of high-fidelity texture. Mastering panko and chicken recipes is less about the heat and more about the structural integrity of your coating.
The secret lies in the panko itself. Unlike traditional breadcrumbs, which are ground into dense dust, panko is produced through ohmic heating. This process uses electrical currents to bake the bread without creating a crust; resulting in airy, jagged flakes that act like tiny heat shields. When these flakes hit hot oil, they create a massive surface area for the Maillard reaction to occur without absorbing excess grease. Today, I am pulling back the curtain on eight transformative hacks that will turn your kitchen into a temple of crunch. We will explore the molecular bond between protein and starch, ensuring your breading never slides off like a cheap suit.
The Gathers:
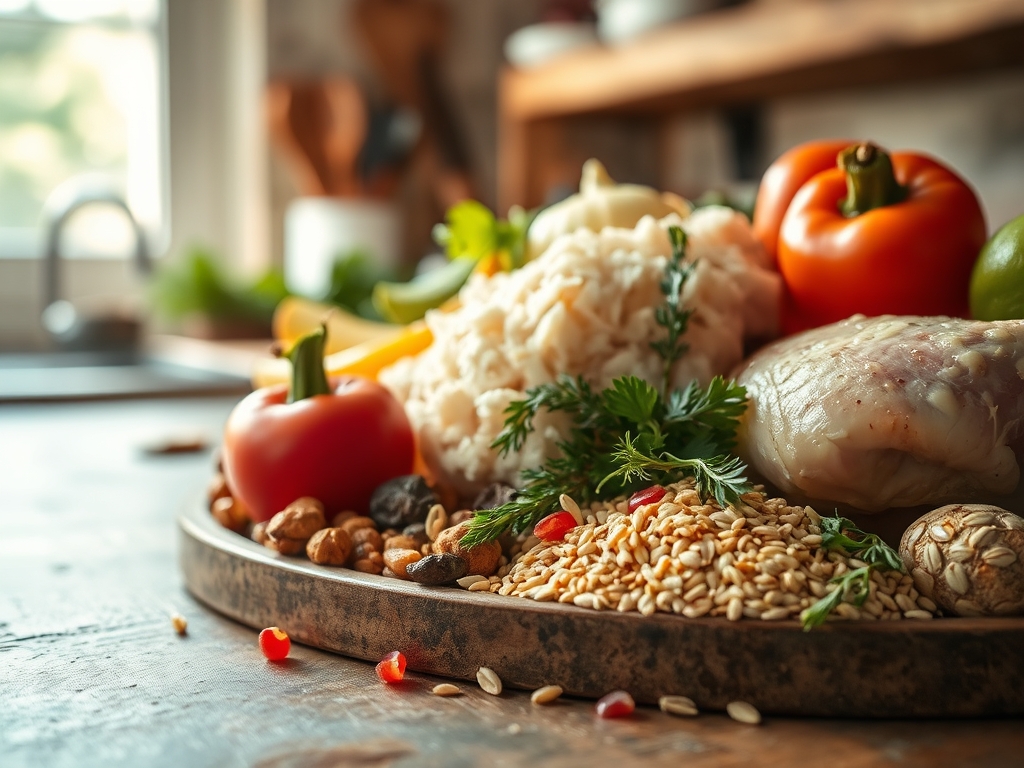
To achieve the ultimate crunch, your mise-en-place must be precise. Start with high-quality chicken breasts or thighs; preferably air-dried in the refrigerator for two hours to remove surface moisture. You will need a heavy-bottomed skillet for even heat distribution and a digital scale to ensure your dry-to-wet ratios are consistent.
Your dry station requires panko flakes, cornstarch, and a piquant blend of smoked paprika and garlic powder. For the wet station, gather large eggs and a splash of heavy cream to create a viscous binder. If you want to elevate the flavor, use a microplane to zest fresh lemon and grate aged Parmesan directly into the crumbs.
Smart Substitutions:
If you are out of eggs, a thin layer of Greek yogurt or Dijon mustard acts as an incredible adhesive while providing an enzymatic tenderizing effect on the meat. For a gluten-free alternative, crushed pork rinds or puffed rice crumbs offer a similar aerated structure. If you lack panko, you can pulse toasted sourdough in a food processor, though the density will be slightly higher.
The Clock
Efficiency in the kitchen is all about the "Chef's Flow." Total preparation time for these panko and chicken recipes is approximately 20 minutes; while the cook time ranges from 8 to 12 minutes depending on the thickness of your cutlets.
The flow begins with the "Dry-Wet-Dry" assembly line. Spend 5 minutes prepping your chicken (slicing and pounding to a uniform thickness). Spend 10 minutes breading, and 5 minutes letting the chicken rest on a wire rack before it touches the pan. This rest period is non-negotiable; it allows the starches to hydrate and form a structural bond with the protein.
The Masterclass
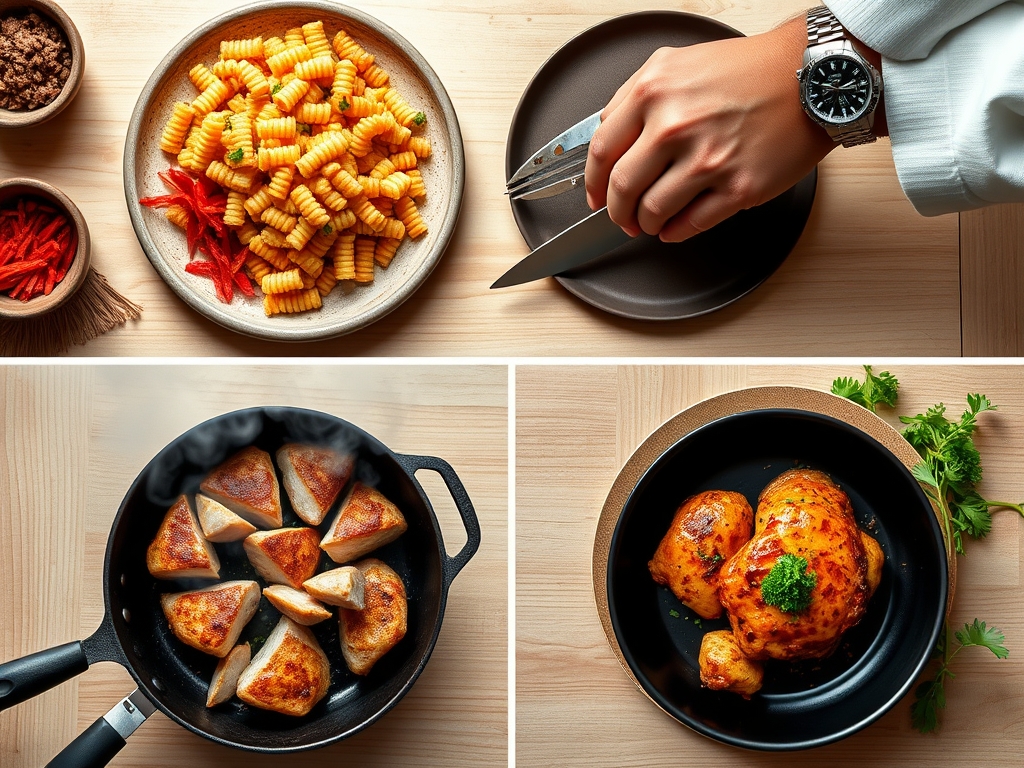
1. The Uniform Pound
Use a meat mallet or the bottom of a saucier to pound your chicken to a consistent half-inch thickness. This ensures that the exterior panko does not burn before the interior reaches safety.
Pro Tip: This process breaks down tough muscle fibers and increases surface area for the panko to cling to; reducing the risk of "buckling" during the sear.
2. The Cornstarch Foundation
Dredge your chicken in cornstarch before the egg wash. Shake off every bit of excess until only a fine mist remains.
Pro Tip: Cornstarch is a pure starch that absorbs lingering moisture; preventing the "steam barrier" that usually causes breading to slip off in one piece.
3. The Viscous Binder
Whisk your eggs until no streaks of white remain. Add a teaspoon of oil to the egg wash to help infuse the fat into the breading layer.
Pro Tip: Adding fat to the binder creates a more flexible protein bridge; allowing the coating to expand slightly as the chicken shrinks during cooking.
4. The Panko Press
When moving the chicken into the panko, do not just toss it. Use the heel of your hand to firmly press the flakes into the meat.
Pro Tip: This mechanical pressure ensures the jagged edges of the panko embed into the egg layer; creating a dense "forest" of flakes that traps air for maximum crunch.
5. The Chill Factor
Place your breaded cutlets on a wire rack in the fridge for 15 minutes before frying.
Pro Tip: This allows the proteins in the egg to "set" and the panko to hydrate slightly; which prevents the coating from shattering and falling off in the skillet.
6. The Shimmering Oil
Heat your oil in a heavy-bottomed skillet until it reaches 350 degrees Fahrenheit. Use a kitchen thermometer to verify.
Pro Tip: If the oil is too cold, the panko will act like a sponge and soak up grease. If it is too hot, the sugars in the bread will carbonize before the chicken is safe to eat.
7. The Gentle Flip
Use tongs to flip the chicken only once. Moving the meat too much will disturb the delicate crust before it has fully polymerized.
Pro Tip: Look for the "golden halo" around the edges of the chicken. This indicates that the Maillard reaction is nearly complete on the underside.
8. The Carryover Rest
Transfer the chicken to a clean wire rack, not a paper towel. Season with salt immediately while the surface oil is still liquid.
Pro Tip: Thermal carryover will continue to cook the interior for 2 to 3 minutes. Resting on a rack allows air to circulate; preventing steam from softening the bottom crust.
The Deep Dive
When we look at the macro nutrition of these panko and chicken recipes, a standard 4-ounce breaded breast contains roughly 280 calories, 32g of protein, and 12g of carbohydrates. To keep it lean, you can spritz the panko with avocado oil and air-fry at 400 degrees Fahrenheit.
Dietary Swaps:
For a Keto-friendly version, replace panko with almond flour and crushed pork rinds. For a vegan approach, swap the chicken for extra-firm tofu (pressed for 30 minutes) and use a "flax egg" or aquafaba as the binder.
The Fix-It:
- Soggy Bottoms: This happens when you rest hot chicken on a flat plate. Fix: Always use a wire cooling rack.
- Breading Fallout: This is caused by wet chicken. Fix: Pat the meat bone-dry with paper towels before the first dredge.
- Burnt Flakes: This occurs when the oil is over 375 degrees. Fix: Add a splash of room-temperature oil to the pan to instantly drop the temperature.
Meal Prep:
To reheat and maintain "day-one" quality, avoid the microwave at all costs. Place the chicken in a 375-degree oven or air fryer for 4 minutes. This flash-heats the existing oils in the crust, re-crisping the panko without drying out the interior.
The Wrap-Up
You are now armed with the molecular secrets to the perfect crunch. By understanding how panko interacts with heat and moisture, you have moved from a home cook to a texture architect. Whether you are prepping a weeknight dinner or an elegant feast, these panko and chicken recipes will provide that satisfying, thunderous bite every single time. Now, get into that kitchen and make some noise!
The Kitchen Table
Why does my panko always fall off the chicken?
This usually happens because the chicken was too wet before dredging. Moisture creates steam under the crust; pushing it away from the meat. Always pat the chicken dry and use a cornstarch base layer to lock the coating in place.
Can I bake panko chicken instead of frying it?
Yes; but for the best color, toast your panko in a dry heavy-bottomed skillet with a little oil until golden before breading. This ensures a deep color and crunch even in the lower heat of an oven.
What is the best oil for frying panko chicken?
Choose an oil with a high smoke point and neutral flavor; such as grapeseed, canola, or avocado oil. Avoid extra virgin olive oil or butter; as they will burn and become bitter at the temperatures required for a perfect sear.
How do I keep the chicken juicy while getting the crust crunchy?
The secret is the "Uniform Pound." By ensuring the chicken is an even thickness, the meat cooks through quickly. This allows the panko to crisp up perfectly without the chicken spending too much time in the heat and drying out.