
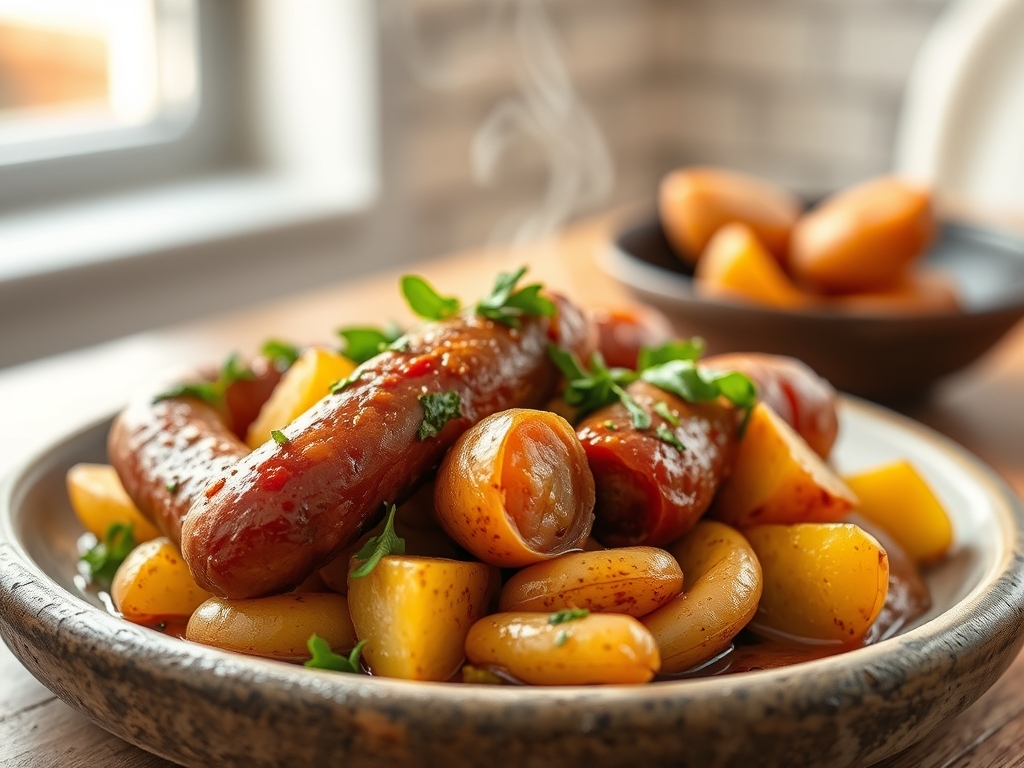
Imagine the scent of fennel seeds hitting a hot, heavy-bottomed skillet; it is the olfactory equivalent of a warm hug from a nonna who also happens to have a PhD in organic chemistry. Finding the perfect balance in italian sausage and potato recipes is about more than just tossing meat and starch into a pan. It is a calculated dance of heat and fat. We are chasing that elusive, shatteringly crisp potato edge paired with a juicy, piquant sausage that has been rendered to its absolute peak. This is comfort food elevated by technical precision, designed to turn your Tuesday night into a masterclass in flavor extraction.
The beauty of the skillet method lies in the singular vessel. By utilizing a wide surface area, we maximize the Maillard reaction across every cubic centimeter of our ingredients. We are not just cooking dinner; we are engineering a texture profile that ranges from the velvety interior of a Yukon Gold to the snap of a natural casing. Whether you are a seasoned home cook or just starting your culinary journey, these six variations on the classic skillet will redefine your weeknight rotation. Let us roll up our sleeves and get into the molecular magic that makes this combination a global staple.
The Gathers:
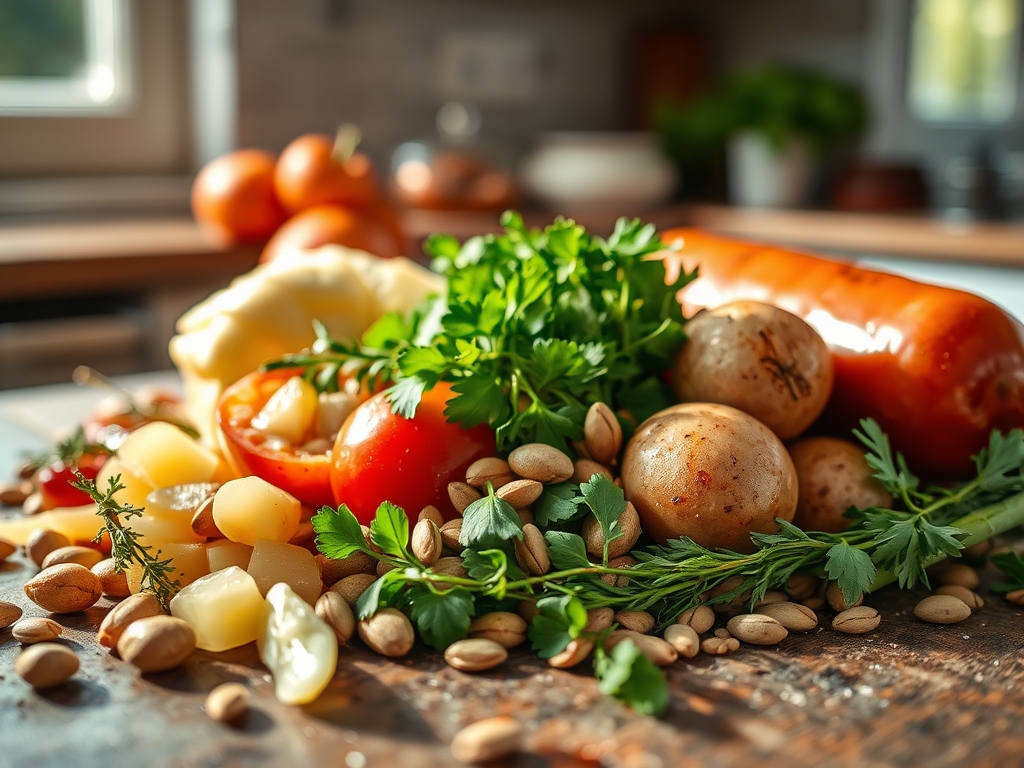
To achieve a restaurant-grade result, your mise-en-place must be intentional. We start with the foundation: the potatoes. I recommend Yukon Golds for their high starch-to-sugar ratio, which allows for a creamy interior while the exterior undergoes enzymatic browning. You will need one pound of these, scrubbed and cubed into uniform half-inch pieces. For the protein, select high-quality Italian sausages. Look for a mix of sweet and hot to provide a complex flavor profile. The fat content here is critical; it is the medium that will eventually infuse our vegetables.
Next, gather your aromatics. You will need a large yellow onion, three cloves of garlic, and a red bell pepper. These provide the volatile organic compounds that create that signature savory aroma. Do not forget the finishing touches: fresh rosemary, a block of Parmigiano-Reggiano for that salty umami kick, and a splash of dry white wine for the deglazing process. Use a microplane to zest a bit of lemon at the end to cut through the richness.
Smart Substitutions: If you are looking to lighten the dish, turkey sausage is a viable alternative, though you may need to add a tablespoon of extra virgin olive oil to compensate for the lower fat content. For a low-carb twist, submerge cauliflower florets or radishes in the rendered fat; they mimic the potato texture surprisingly well when roasted at high heat.
The Clock
Efficiency in the kitchen is about the Chef's Flow. Expect about 15 minutes of active prep time, primarily focused on knife work. Using a sharp chef's knife and a bench scraper to move your ingredients will shave minutes off your clock. The cooking phase takes approximately 25 to 30 minutes. We utilize a staggered entry system: the potatoes need the longest duration to soften and crisp, while the garlic only requires 60 seconds to avoid bitterness. Total time from pantry to table is roughly 45 minutes; a small investment for a high-yield flavor return.
The Masterclass:
1. Render the Protein
Start by placing your sausages in a cold, heavy-bottomed skillet before turning the heat to medium-high. As the pan warms, the fat begins to render slowly, preventing the casing from bursting while ensuring the meat stays moist. Use tongs to rotate them until they are browned on all sides.
Pro Tip: This is known as the cold-start method. By starting cold, you allow the internal fat to liquefy and coat the pan, creating a natural non-stick surface and a more even cook through the center.
2. The Potato Par-Cook
Remove the sausage and set it aside. In the same pan, toss in your cubed potatoes. The residual sausage fat is liquid gold; it carries the fennel and garlic notes directly into the starch. Cover the pan for five minutes to allow the steam to soften the centers.
Pro Tip: This creates gelatinized starch on the surface. When you eventually uncover the pan, this layer will dehydrate and transform into a thick, crunchy crust that a raw potato simply cannot achieve.
3. Aromatics and Aeration
Push the potatoes to the perimeter and add your onions and peppers to the center. Use a wooden spoon to scrape up any fond (the browned bits) stuck to the bottom. Add your minced garlic only when the onions have turned translucent.
Pro Tip: Timing the garlic is essential to prevent pyrolysis, the chemical decomposition of organic matter by heat. Burnt garlic becomes acrid and will ruin the delicate balance of the dish.
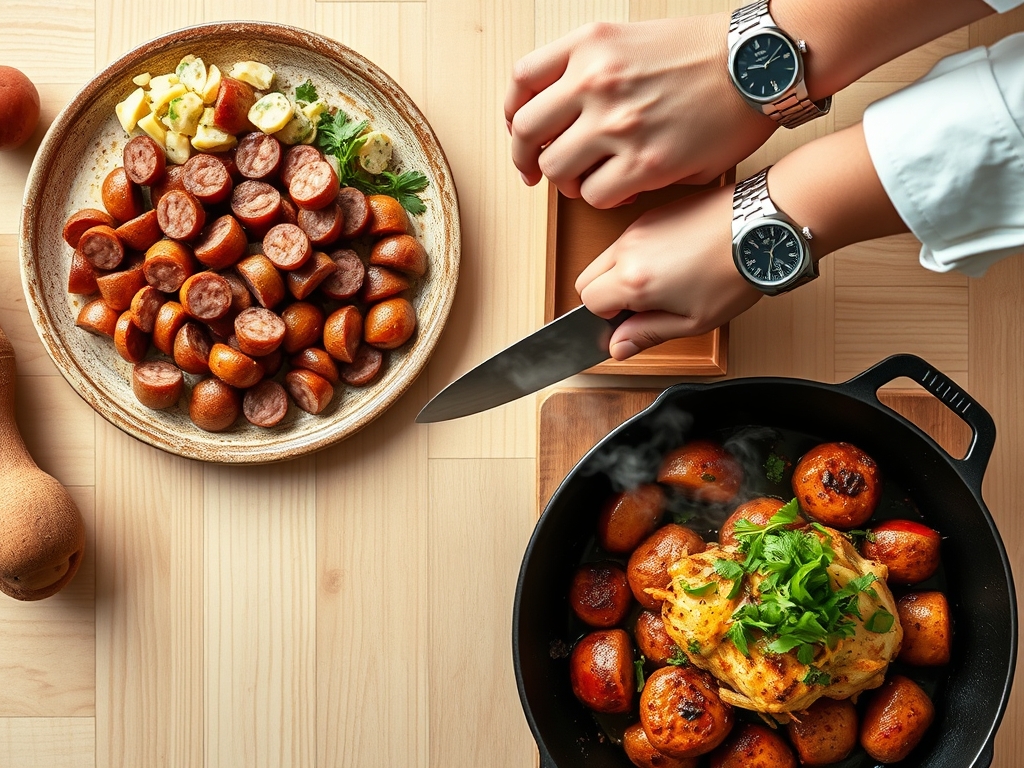
4. The Deglaze and Reintegrate
Slice your sausages into rounds and return them to the pan. Pour in a quarter cup of dry white wine or chicken stock. Use the liquid to deglaze the skillet, lifting every last molecule of flavor from the bottom of the pan into a light, viscous sauce.
Pro Tip: This liquid transition triggers thermal carryover. The steam ensures the sausages are cooked through to an internal temperature of 160 degrees Fahrenheit without drying out the exterior.
5. The Emulsified Finish
Turn off the heat. Toss in a handful of fresh parsley and a squeeze of lemon juice. The acidity will brighten the heavy fats. Grate fresh cheese over the top using your microplane, allowing it to melt into the residual moisture.
Pro Tip: This creates a minor emulsification. The fats, acids, and starches bind together to coat every ingredient in a silky, savory glaze rather than leaving a pool of oil at the bottom.
The Deep Dive
From a nutritional standpoint, this dish is a powerhouse of protein and complex carbohydrates. A standard serving provides roughly 350 calories, with 20 grams of protein and 25 grams of heart-healthy fats. For those on a Keto path, simply swap the potatoes for turnips or zucchini. Vegan friends can utilize soy-based sausages and nutritional yeast for that same umami profile.
The Fix-It:
- Soggy Potatoes: You likely overcrowded the pan. Steam trapped between the cubes prevents browning. Use a larger skillet or cook in batches.
- Tough Sausage: You cooked them too fast over high heat. Stick to the cold-start method to keep the proteins relaxed.
- Bland Flavor: You skipped the deglazing step. That fond on the bottom of the pan contains the highest concentration of flavor; do not let it go to waste.
Meal Prep: To reheat, avoid the microwave as it turns potatoes into rubber. Instead, use a toaster oven or a small pan with a teaspoon of water. The steam will re-hydrate the meat while the dry heat restores the potato's crunch.
The Wrap-Up
Mastering italian sausage and potato recipes is a rite of passage for any home chef who values flavor and efficiency. By understanding the chemistry of fat rendering and the importance of deglazing, you transform humble ingredients into a symphonic meal. This skillet is more than just dinner; it is a testament to how simple techniques, executed with precision and the right tools, can create something truly extraordinary. Now, grab your skillet and go make some magic!
The Kitchen Table
Which potato is best for skillet recipes?
Yukon Gold potatoes are ideal because they occupy the middle ground between starchy and waxy. They hold their shape during flipping but still develop a creamy interior and a crisp, golden-brown crust when sautéed in rendered sausage fat.
Can I make this dish ahead of time?
Yes, you can prep the ingredients 24 hours in advance. Store chopped potatoes in cold water to prevent oxidation. The cooked dish stays fresh for three days; reheat in a skillet to maintain the essential crispy texture of the potatoes.
How do I prevent the sausage from drying out?
Use the cold-start method and keep the sausages whole until the final five minutes of cooking. Slicing them too early allows the juices to escape. Slicing at the end ensures the meat stays succulent while absorbing the pan's aromatics.
What is the best way to clean the skillet afterward?
While the pan is still warm, use a splash of water or vinegar to loosen the remaining fond. A chainmail scrubber or a stiff brush works best for cast iron to remove debris without stripping the hard-earned non-stick seasoning.