
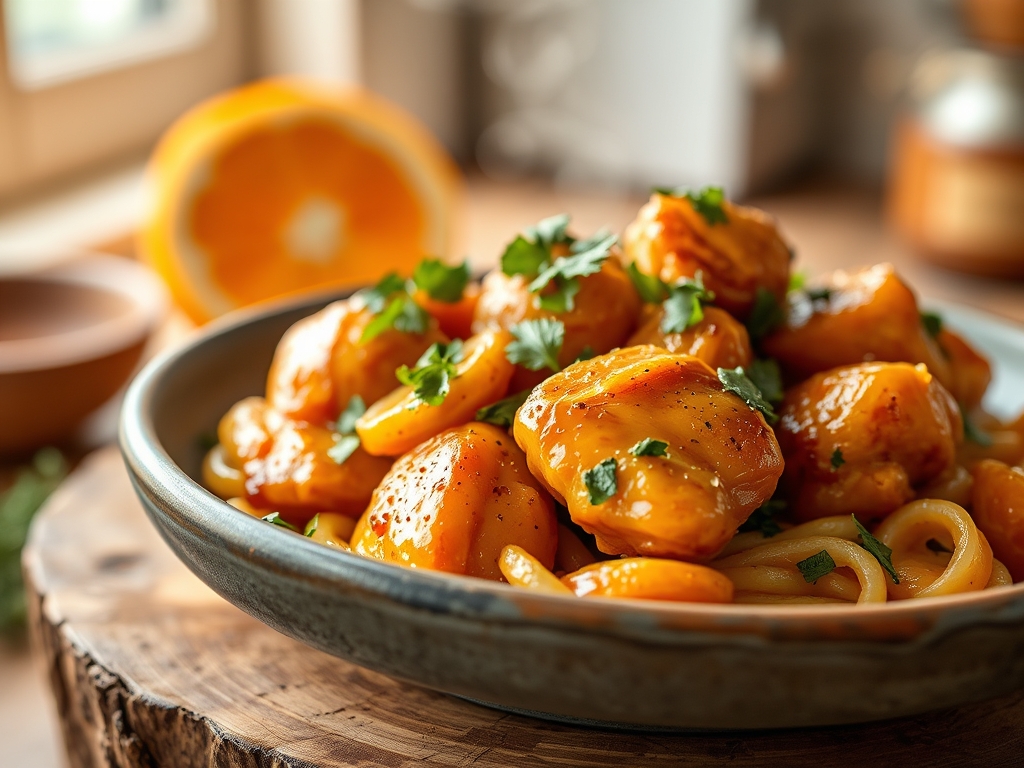
Picture this: the scent of citrus oils hitting a hot pan, the sharp crackle of searing protein, and that perfect, glossy glaze that clings to every morsel without the heavy, sugar-laden guilt of takeout. Finding truly healthy orange chicken recipes used to feel like a culinary compromise, but we are rewriting that narrative today with science and style. We are trading deep fryers for high-heat searing and refined sugars for natural reductions.
The secret to a masterpiece lies in the balance of acidity and sweetness. When you use fresh zest and juice, you are not just adding flavor; you are introducing organic acids that tenderize the meat while providing a bright, piquant punch. This is the art of the "glow-up" for a classic dish. We are focusing on high-density nutrition without sacrificing that iconic sticky texture. Whether you are meal prepping for a busy week or hosting a dinner that needs to impress, these healthy orange chicken recipes offer the perfect intersection of gourmet technique and wellness-focused ingredients. Let us get into the kitchen and transform your standard weeknight rotation into a high-end bistro experience.
The Gathers:
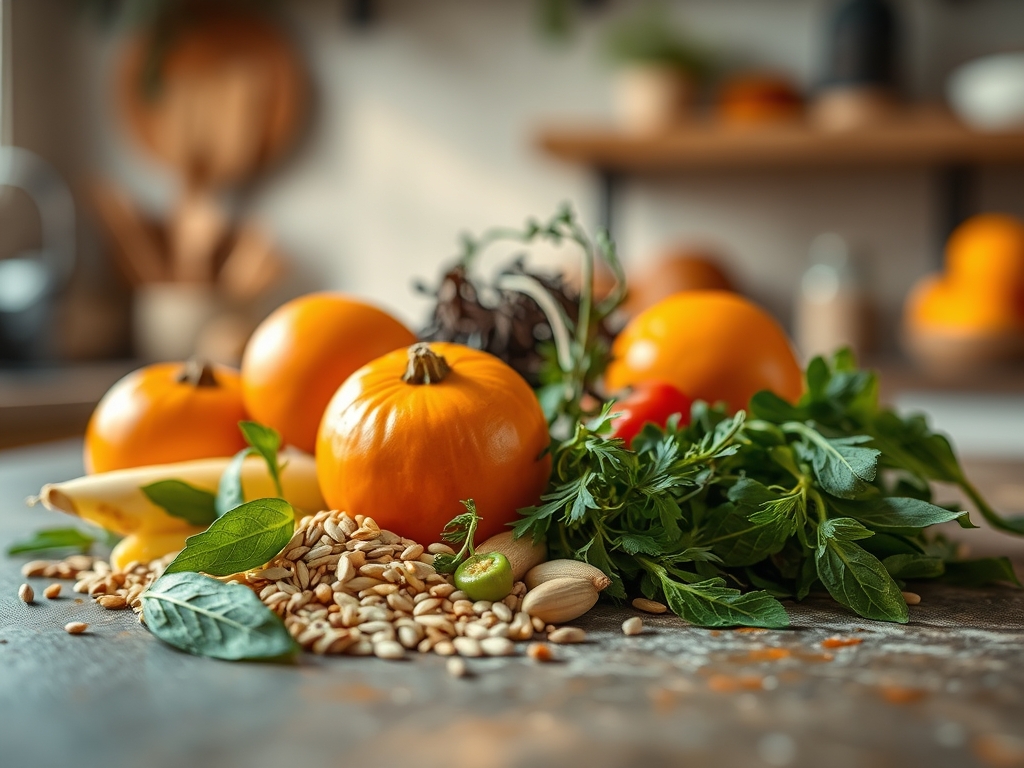
To achieve a restaurant-quality result, your mise-en-place must be precise. Start with high-quality chicken breast or thighs, patted bone-dry to ensure the Maillard reaction occurs immediately upon contact with the heat. You will need a microplane for the orange zest; this tool is essential because it shears the zest into fine ribbons, releasing volatile oils without digging into the bitter white pith.
For the sauce, gather fresh-squeezed orange juice, coconut aminos (a lower-sodium alternative to soy sauce), and grated ginger. The "Smart Substitutions" are where the health magic happens. Instead of a heavy cornstarch breading, we use a light dusting of arrowroot powder or tapioca starch. These starches create a delicate, crisp exterior that remains light. Use a digital scale to measure your proteins and liquids; precision ensures the sauce reduces to the perfect viscous consistency every single time. Finally, keep a high-smoke-point oil like avocado oil or refined coconut oil nearby to handle the intense heat required for a proper sear.
The Clock:
Efficiency in the kitchen is all about "Chef's Flow." Total prep time should clock in at 15 minutes, with a cook time of approximately 12 to 15 minutes depending on your heat source. The goal is to minimize the time the chicken spends in the pan to prevent it from becoming rubbery.
While the chicken rests after its initial sear, use that time to deglaze the pan with your citrus mixture. This utilizes the fond (the browned bits stuck to the bottom) to build a complex flavor profile. By the time the sauce has reduced by half, your chicken is ready to be tossed back in for a final glaze. This rhythmic flow ensures that nothing sits too long and every component hits the plate at its peak temperature and texture.
The Masterclass:
1. The Protein Preparation
Cut your chicken into uniform 1-inch cubes. This ensures even heat distribution and prevents smaller pieces from overcooking while larger ones remain raw. Toss them in a bowl with a pinch of sea salt and your choice of arrowroot or tapioca starch.
Pro Tip: This technique is known as velveting. The starch creates a protective barrier that seals in juices, preventing the proteins from tightening and becoming tough during high-heat cooking.
2. Searing for Flavor
Heat a heavy-bottomed skillet or a carbon steel wok until a drop of water dances and evaporates instantly. Add your oil and then the chicken in a single layer. Do not crowd the pan; work in batches if necessary to maintain high surface temperatures.
Pro Tip: Avoid moving the chicken for the first two minutes. This allows for enzymatic browning, creating a crust that provides structural integrity and a deep, savory flavor profile that contrasts the sweet sauce.
3. Infusing the Aromatics
Once the chicken is browned, remove it with tongs and set it aside. Lower the heat slightly and add your minced garlic, grated ginger, and red pepper flakes. Stir constantly for about 30 seconds until the kitchen smells incredible.
Pro Tip: Aromatics are fat-soluble. By sautéing them briefly in the residual oil before adding liquids, you infuse the fat with flavor, which then carries those notes throughout the entire sauce.
4. Reducing the Citrus Glaze
Pour in your orange juice, coconut aminos, and rice vinegar. Use a silicone spatula to scrape the bottom of the pan, incorporating the fond into the liquid. Bring the mixture to a simmer and let it reduce until it coats the back of a spoon.
Pro Tip: As water evaporates, the natural sugars in the orange juice concentrate. This creates a thick, viscous glaze without the need for excessive amounts of added sweeteners or thickeners.
5. The Final Emulsification
Return the chicken to the pan along with any accumulated juices. Toss vigorously to coat every piece. Finish with a splash of toasted sesame oil and a handful of sliced green onions for a fresh, sharp finish.
Pro Tip: The juices released by the resting chicken contain proteins that help emulsify the sauce, giving it a professional, glossy sheen and ensuring it sticks to the meat rather than pooling at the bottom of the bowl.
The Deep Dive:
When we look at the macro nutrition of these healthy orange chicken recipes, the profile is impressive. By ditching the deep fryer, you save approximately 200-300 calories and 15-20 grams of oxidized fats per serving. You are left with a high-protein, moderate-carb meal that keeps your blood sugar stable thanks to the fiber-rich additions like broccoli or snap peas you might toss in.
Dietary Swaps: For a Keto version, swap the orange juice for a combination of orange extract and water sweetened with monk fruit, and use xantham gum as a thickener. For a Vegan twist, swap the chicken for air-fried cauliflower florets or extra-firm tofu that has been pressed to remove excess moisture.
The Fix-It:
- Soggy Chicken: This happens if the pan is too cool or crowded. Fix it by searing in smaller batches and ensuring the pan is smoking hot before the meat hits the surface.
- Bitter Sauce: You likely zested too deep into the pith. Fix it by adding a tiny pinch of salt or a teaspoon of honey to balance the bitterness.
- Thin Sauce: If the sauce won't thicken, whisk a teaspoon of starch with cold water (a slurry) and stir it into the boiling sauce for an instant fix.
Meal Prep: To maintain "day-one" quality, store the sauce and chicken separately if possible. When reheating, use a saucier over medium heat and add a tablespoon of water to loosen the glaze. This prevents the sauce from breaking and turning oily in the microwave.
The Wrap-Up:
Mastering healthy orange chicken recipes is about more than just a meal; it is about reclaiming your favorite flavors through the lens of modern nutrition and classical technique. You have the tools, the science, and the "chef's flow" to turn your kitchen into the best healthy bistro in town. Remember, great cooking is about the small details—the sear, the zest, and the reduction. Now, grab your skillet and go make something delicious!
The Kitchen Table:
How do I make orange chicken crispy without frying?
Use the velveting technique by coating chicken in arrowroot starch and searing in a preheated heavy-bottomed skillet. This creates a thin, crisp crust using minimal oil while locking in internal moisture for a tender result.
Can I use bottled orange juice for this recipe?
Fresh-squeezed juice is superior because it contains active enzymes and volatile oils that bottled versions lose during pasteurization. If you must use bottled, choose a high-quality "not from concentrate" version and add extra fresh zest to boost the flavor.
What is the best way to zest an orange?
Use a microplane or a fine grater. Glide the orange across the blades lightly, rotating frequently. Stop as soon as you reach the white layer, as the pith is intensely bitter and will ruin your sauce's balance.
Is coconut aminos a direct swap for soy sauce?
Yes, but coconut aminos are slightly sweeter and less salty. If you substitute, you may need a pinch of extra sea salt. This swap significantly reduces sodium while adding a subtle depth of flavor to your glaze.