
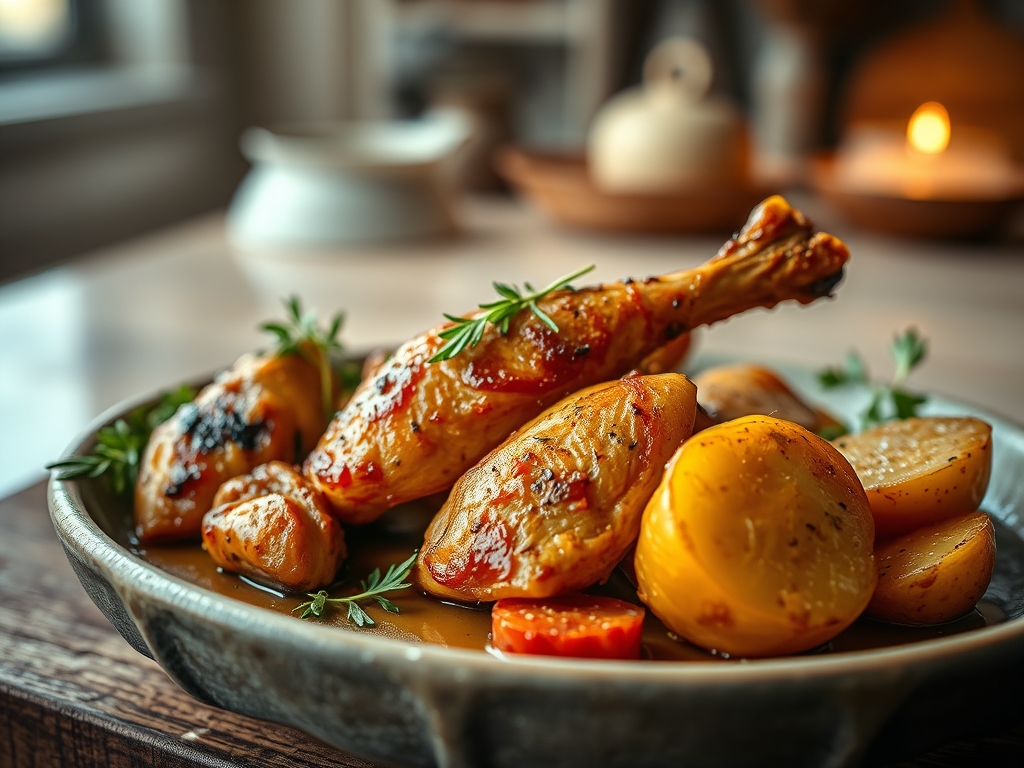
Picture the sound of a heavy sheet pan sliding onto the middle rack of a preheated oven. Within minutes, the air transforms. The scent of rendered chicken fat begins to mingle with the earthy, starch-heavy aroma of roasting tubers. This is the ultimate comfort. When you master chicken and potato recipes oven style, you are not just cooking; you are orchestrating a complex series of chemical reactions that turn humble ingredients into a masterpiece of texture and flavor. We are talking about skin so crisp it shatters like glass and potatoes that have absorbed the savory drippings until they possess a creamy, fondant-like interior. This isn't just a weeknight fallback; it is a technical exercise in heat management and flavor layering. Whether you are hosting a frantic dinner party or meal prepping for a high-performance week, understanding the interplay between moisture and dry heat is your secret weapon. Let us dive into the mechanics of the perfect roast.
The Gathers:
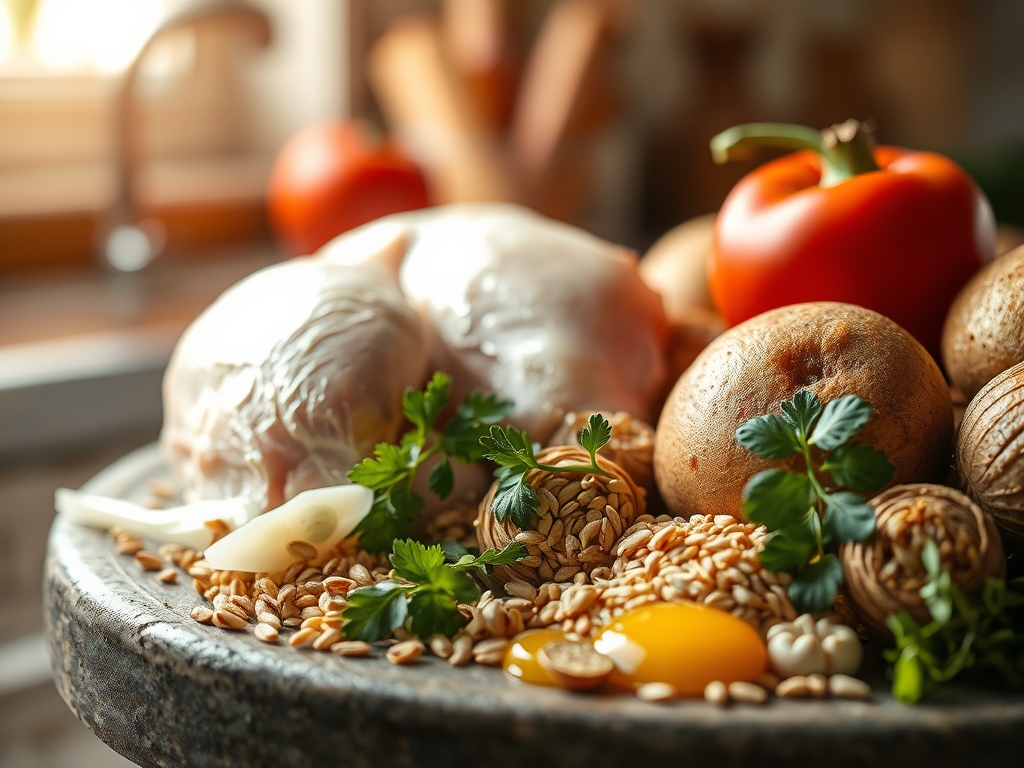
To achieve professional results, your mise-en-place must be precise. Start with five pounds of bone-in, skin-on chicken thighs. The bone acts as a thermal conductor, ensuring the meat remains succulent while the skin provides the lipids necessary for frying the potatoes in situ. For the potatoes, select a high-starch variety like the Russet for maximum fluff, or a waxy Yukon Gold if you prefer a buttery, viscous mouthfeel.
You will also need a high-smoke-point fat. While butter tastes divine, its milk solids burn at 350 degrees Fahrenheit. Instead, reach for avocado oil or clarified butter (ghee). Your aromatics should include a bulb of garlic, halved crosswise to expose the cloves, and woody herbs like rosemary and thyme which can withstand prolonged thermal exposure without turning bitter. Use a digital scale to measure out twenty grams of kosher salt; the large grains allow for better tactile control when seasoning.
Smart Substitutions:
If you are looking to lighten the caloric load, swap half the potatoes for cauliflower florets or radishes. When roasted, radishes lose their piquant bite and take on a sweetness reminiscent of a turnip. For a flavor pivot, replace the rosemary with a tablespoon of smoked paprika and dried oregano to lean into a Mediterranean profile. If you lack a traditional roasting pan, a heavy-bottomed skillet or a cast-iron pan is actually superior for heat retention.
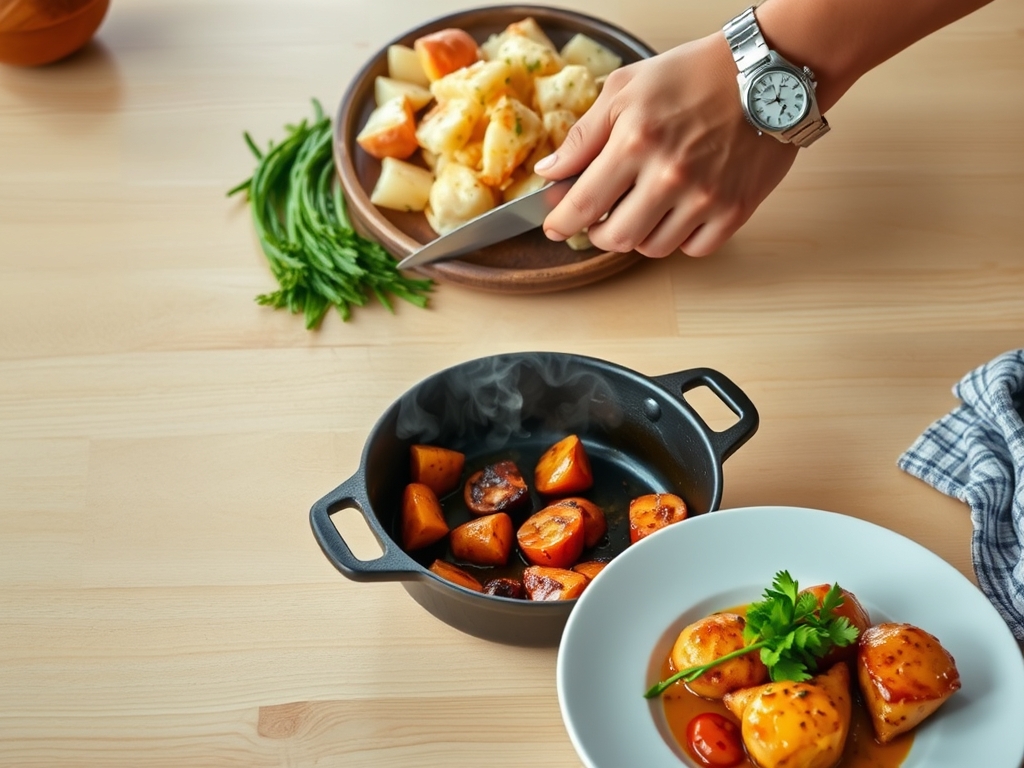
The Clock:
Efficiency in the kitchen is about "Chef's Flow." This isn't just about the total time; it is about overlapping tasks so that no second is wasted.
- Prep Time: 20 minutes. This includes the "dry brine" period where you salt the chicken to begin the process of denaturing proteins.
- Active Cook Time: 45 to 55 minutes.
- Resting Time: 10 minutes. This is non-negotiable for moisture retention.
The flow works like this: While your oven calibrates its internal temperature, you prep the vegetables. By the time the oven chime sounds, your chicken has had ten minutes to sit with salt, drawing moisture to the surface and then re-absorbing it to create a deep seasoning.
The Masterclass:
1. The Surface Preparation
Pat the chicken skin bone-dry using paper towels. Moisture is the enemy of the Maillard reaction. If the skin is damp, the oven's energy is spent evaporating water rather than browning the surface. Use a bench scraper to cut your potatoes into uniform two-inch cubes to ensure they cook at the same rate.
Pro Tip: This is the science of evaporative cooling. If the surface is wet, the temperature won't rise above 212 degrees Fahrenheit, preventing the golden-brown crust from forming.
2. The Emulsion Toss
In a large stainless steel bowl, whisk your oil, salt, pepper, and a zest of lemon using a microplane. Toss the potatoes first, ensuring every edge is coated in a thin, viscous layer of fat. This fat acts as a heat transfer medium, ensuring the potato starch gelatinizes and then crisps.
Pro Tip: Adding a pinch of baking soda to the toss creates a rough, alkaline surface on the potatoes, which increases the surface area for maximum crunch.
3. The Strategic Placement
Arrange the chicken pieces skin-side up on the tray, nestled amongst the potatoes. Use tongs to ensure no pieces are overlapping. Overcrowding the pan creates steam, which leads to rubbery skin. Leave at least a half-inch of "breathing room" between every component.
Pro Tip: Airflow is a critical component of convection heat. Proper spacing allows the hot air to circulate entirely around each morsel.
4. The Thermal Blast
Slide the tray into a 425-degree Fahrenheit oven. This high heat is necessary to render the subcutaneous fat from the chicken quickly. As the fat melts, it will pool at the bottom of the pan, essentially confit-ing the bottom of the potatoes while the tops roast.
Pro Tip: High heat triggers the Strecker degradation, a chemical reaction between amino acids that creates the complex, savory aromas we associate with roasted meat.
5. The Rest and Deglaze
Once the chicken reaches an internal temperature of 165 degrees Fahrenheit, remove it from the pan and place it on a warm plate. While the meat rests, use a saucier to catch any pan drippings. Add a splash of white wine or stock to the pan to deglaze the brown bits (the fond).
Pro Tip: Thermal carryover will cause the internal temperature to rise another 5 degrees after removal. Resting allows the muscle fibers to relax and reabsorb juices.
The Deep Dive:
Macro Nutrition:
A standard serving provides approximately 35g of protein and 40g of complex carbohydrates. By keeping the skin on, you increase the satiety index through healthy fats, though you can easily remove it post-roast to shave off 100 calories.
Dietary Swaps:
- Vegan: Replace chicken with thick slabs of cauliflower "steak" or extra-firm tofu pressed to remove moisture.
- Keto: Swap potatoes for turnips, kohlrabi, or radishes to significantly lower the net carb count.
- GF: This recipe is naturally gluten-free, provided your spices are pure and not bulked with flour.
The Fix-It:
- Soggy Potatoes: Usually caused by overcrowding. Fix: Crank the oven to 450 for the last five minutes or move the potatoes to the top rack.
- Burnt Garlic: If the garlic is bitter, you likely added it too early. Fix: Add whole, unpeeled cloves halfway through the cook time.
- Dry Meat: This happens if you use chicken breasts instead of thighs. Fix: If using breasts, remove them 15 minutes earlier than the potatoes.
Meal Prep:
To maintain "day-one" quality, do not microwave. Reheat in an air fryer or toaster oven at 375 degrees. This reactivates the lipids in the skin and re-crisps the potato starch molecules through retrogradation reversal.
The Wrap-Up:
Mastering chicken and potato recipes oven style is your ticket to culinary confidence. It is a dish that proves you don't need expensive gadgets or rare ingredients to produce a five-star meal; you just need a solid grasp of heat, fat, and timing. When you pull that tray out and see the shimmering gold of the chicken and the rugged edges of the potatoes, you know you have nailed the science. Now, grab your favorite platter, gather your friends, and enjoy the fruits of your technical labor.
The Kitchen Table:
What is the best potato for roasting with chicken?
Yukon Gold potatoes are the gold standard. They possess a medium starch content that allows them to hold their shape while absorbing chicken fat, resulting in a creamy interior and a crisp, lacquered exterior.
How do I ensure the chicken skin is crispy?
The secret is total dryness and high heat. Pat the skin with paper towels and avoid "crowding" the pan. Proper airflow allows the fat to render and the skin to dehydrate into a crisp shell.
Can I use chicken breasts instead of thighs?
Yes, but be cautious. Breasts lack the fat and connective tissue of thighs and dry out quickly. Reduce the cooking time for the meat or add them to the pan twenty minutes after the potatoes.
Why do my potatoes stick to the pan?
This usually happens if the pan wasn't properly preheated or if you didn't use enough fat. Ensure the potatoes are thoroughly coated in oil and avoid flipping them until they naturally release from the surface.