
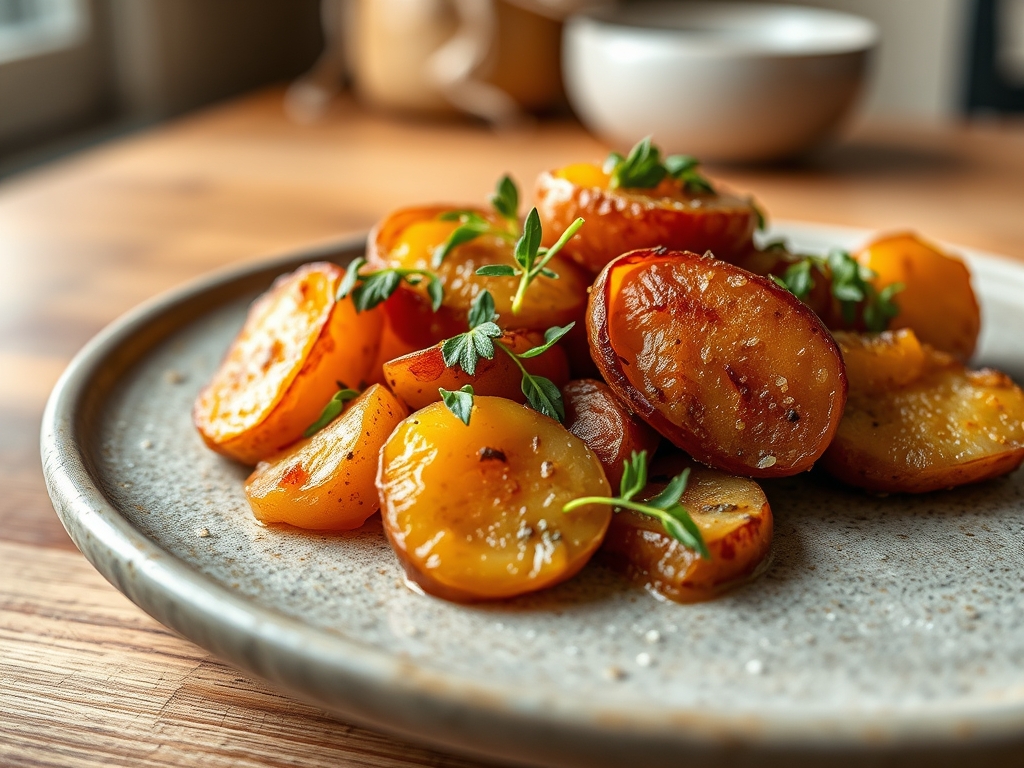
Imagine a kitchen filled with the scent of rosemary infused butter and the rhythmic sizzle of a heavy bottomed skillet. There is something profoundly comforting about the humble ruby skin of a potato meeting high heat. Finding red potato recipes easy enough for a Tuesday but elegant enough for a dinner party is the ultimate culinary win. These waxier gems hold their shape where starchy russets crumble; they offer a creamy, luxurious interior that feels like a hug on a plate. We are moving beyond the basic boil. We are talking about shattering crisp skins, velvet textures, and the kind of golden crust that requires a bit of molecular understanding to perfect. Grab your favorite apron and a glass of wine. We are about to transform these earthy globes into the absolute highlight of your dinner table using science as our secret weapon.
The Gathers:
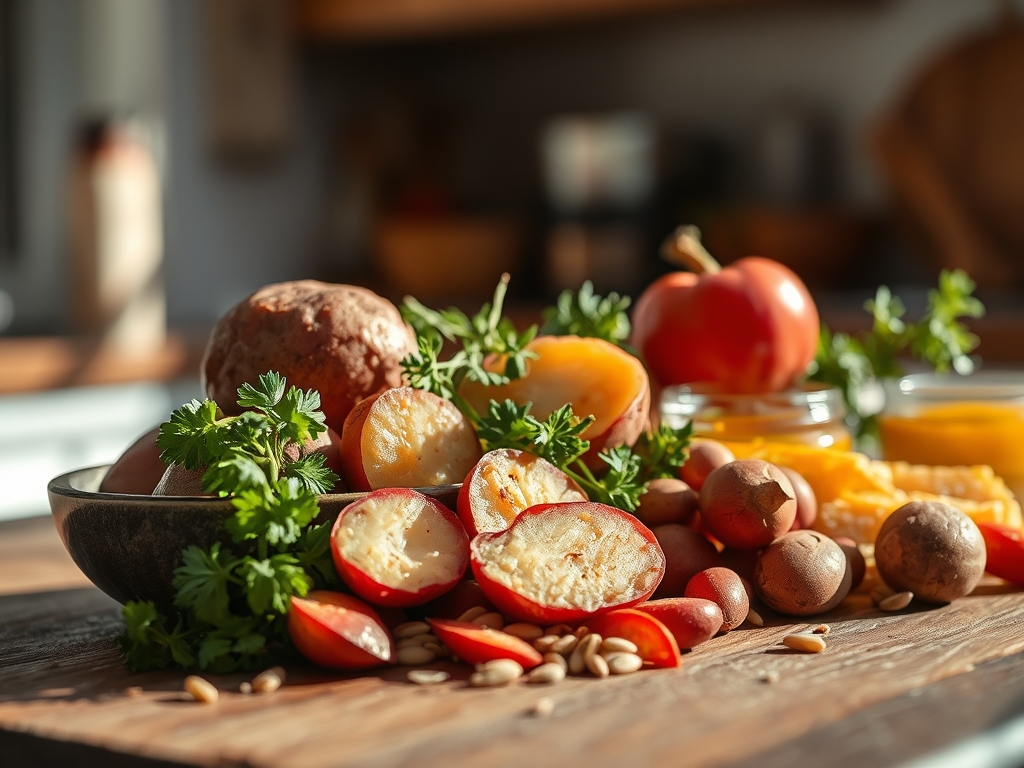
Before we ignite the burner, we must assemble our mise en place with precision. You will need two pounds of small to medium red potatoes; look for skins that are taut and free of soft spots. For the fat, we use a combination of high smoke point avocado oil and unsalted European style butter. This allows for high temperature searing without the milk solids burning prematurely. You will also need four cloves of garlic, a bunch of fresh rosemary, sea salt, and cracked black pepper.
Smart Substitutions: If you are avoiding dairy, a refined coconut oil provides the same viscous mouthfeel as butter without the coconut flavor. For a piquant twist, swap the rosemary for fresh thyme or even a dusting of smoked paprika to encourage a deeper color. Use a digital scale to ensure your potato halves are uniform in weight; this ensures they cook at the exact same rate.
The Clock:
The "Chef's Flow" is all about overlapping tasks to minimize idle time. Your total active prep time is roughly 10 minutes, while the oven does the heavy lifting for 30 to 35 minutes. Start by preheating your oven and your baking sheet simultaneously. This creates an immediate sear the moment the vegetables touch the metal. While the oven climbs to 425 degrees Fahrenheit, you will wash, dry, and halve your potatoes. Drying is non negotiable; moisture is the enemy of the Maillard reaction. By the time your oven pings, your potatoes should be tossed in oil and ready to hit the heat.

The Masterclass:
1. The Surface Area Strategy
Slice each potato exactly in half using a sharp chef knife. If the potato is particularly large, quarter it. The goal is to expose as much of the white interior as possible to the flat surface of the pan.
Pro Tip: This maximizes the Maillard reaction, a chemical reaction between amino acids and reducing sugars that gives browned food its distinctive flavor. More surface area equals more flavor molecules.
2. The Pre-Heat Shock
Place your empty, heavy duty baking sheet in the oven for at least five minutes before adding the potatoes. When you finally arrange the potatoes cut side down, you should hear a distinct hiss.
Pro Tip: This immediate heat transfer prevents the potato from sticking. It creates an instant crust that seals in moisture, preventing the interior from becoming fibrous or dry.
3. The Fat Infusion
In a small saucier, melt your butter with smashed garlic cloves and rosemary sprigs over low heat. Do not let it brown yet. You are simply looking to infuse the fats with the essential oils of the herbs.
Pro Tip: Fat is a flavor carrier. By heating the herbs in oil, you are undergoing a process called lipid extraction, which pulls the aromatic compounds out of the plant material and into the fat.
4. The Searing Phase
Roast the potatoes for 20 minutes without moving them. Resist the urge to peek. You need a stable environment to allow the sugars to caramelize against the hot metal.
Pro Tip: Moving the potatoes too early disrupts the formation of the crust. If you try to flip them and they stick, the crust hasn't fully formed yet; give them another three minutes.
5. The Aeration Flip
Using metal tongs or a thin bench scraper, flip each potato. The undersides should be a deep, mahogany brown. Now, drizzle your infused garlic butter over the top.
Pro Tip: Flipping allows for aeration. This helps the steam escape from the skin side, ensuring that the skin becomes crisp rather than leathery.
6. The Final Crisp
Return the pan to the oven for another 10 to 15 minutes. This is when the skins will puff slightly and the garlic will become golden and sweet.
Pro Tip: Watch for "thermal carryover." The internal temperature of the potatoes will continue to rise by about 5 degrees after you pull them out of the oven. Take them out just before they look perfect.
7. The Microplane Finish
Once out of the oven, use a microplane to zest a small amount of lemon over the hot potatoes and hit them with a final sprinkle of flaky sea salt.
Pro Tip: The acidity of the lemon zest cuts through the richness of the fats, brightening the overall flavor profile and balancing the earthy notes of the red potato.
The Deep Dive:
Macro Nutrition: Red potatoes are surprisingly nutrient dense. One medium potato contains about 150 calories, 3 grams of protein, and a significant dose of Vitamin C and Potassium. Because we are roasting them, we retain more of these water soluble vitamins than boiling would allow.
Dietary Swaps: For a Vegan version, use a high quality olive oil or vegan butter substitute. For a Keto friendly alternative, you can apply this exact roasting technique to radishes, which lose their pepperiness and mimic the texture of a potato when roasted. These are naturally Gluten Free, making them a safe bet for almost any guest.
The Fix-It:
- Soggy Potatoes: Usually caused by overcrowding the pan. Ensure there is at least an inch of space between each potato to allow steam to escape.
- Burned Garlic: If your garlic turns bitter, you likely added it too early. Always add aromatics in the final 15 minutes of roasting.
- Uneven Cooking: This happens when sizes vary. Use a digital scale or visual grading to ensure all pieces are roughly the same volume.
Meal Prep: To reheat and maintain "day one" quality, avoid the microwave at all costs. The microwave agitates water molecules, making the potato gummy. Instead, toss them back into a hot skillet for three minutes to re-crisp the skins.
The Wrap-Up:
Mastering red potato recipes easy enough for every day is all about respecting the chemistry of the kitchen. When you focus on surface area, temperature control, and fat infusion, you turn a simple root vegetable into a culinary masterpiece. These potatoes are crispy, creamy, and vibrantly flavored. They prove that you don't need a complicated list of ingredients to create a sophisticated side dish. Now, get that skillet hot and start roasting!
The Kitchen Table:
Why are my red potatoes always mushy?
Mushiness usually results from boiling too long or overcrowding the roasting pan. When potatoes are crowded, they steam instead of sear. Give them space so moisture can evaporate, allowing the Maillard reaction to create a crisp outer crust.
Do I need to peel red potatoes before roasting?
No, the skin of a red potato is thin and nutrient dense. Leaving the skin on provides a structural contrast to the creamy interior. Just be sure to scrub them thoroughly with a vegetable brush to remove any residual soil.
Can I roast red potatoes at a lower temperature?
You can, but you will lose the signature crunch. High heat (400F to 425F) is essential for dehydrating the surface quickly enough to create a golden crust while keeping the inside fluffy and moist.
What is the best way to store leftovers?
Store them in an airtight glass container in the fridge for up to four days. To restore their texture, reheat them in an air fryer or a hot pan with a splash of oil rather than using a microwave.